Initialize ERS
Initialize Enterprise Resource Security and its PKI after installing the appliance. This procedure does not install the appliance nodes.
| Screenshots show the Management frontend with simulated example data. Versions, hostnames, timestamps and status observations do not describe a deployed appliance. |
Before you begin
Sign in as a Management administrator with an active appliance connection. Complete post-installation checks and retain the installation artifact bundle outside Management.
Prepare:
-
Organization, optional organizational unit, country, and the CLM administrator’s name and email.
-
Key storage choice: software storage in the ERS database, or an HSM. For an HSM, upload the provider library first and prepare its connection settings and PIN.
-
Root and subordinate CA names, algorithms and validity, plus the CARA and CLM management CA settings.
-
Required enrollment interfaces, optional AEC directory integration files and settings, and SMTP settings if used.
| Organization, certificate authority settings, key storage and SMTP settings become locked after bootstrap is accepted. Review the example values in the form and replace them with your deployment values. Changing these choices later is not an ordinary configuration edit. |
Run the Wizard
-
Open ERS > Setup and select Start the ERS wizard.
-
In Organization and administrator, enter your organization and CLM administrator details. The appliance generates administrator passwords.
-
In Key storage, choose Software storage or Hardware security module. For an HSM, select a registered Utimaco or Securosys library and enter its connection settings and PIN. Generic PKCS#11 requires a separate Git configuration procedure; see HSM configuration.
-
In Certificate authorities, review the Root CA and Sub CA settings. The subordinate CA uses the selected root CA key algorithm. Expand Management certificate authorities to review the CARA and CLM management CA names and validity.
-
In Enabled interfaces, select the additional services you need. ACME is always enabled. EST, CMP, SCEP and AEC are optional.
-
In Configuration, review the settings for the enabled components. Supply AEC configuration and required files if you enabled AEC. Review SMTP before submission.
-
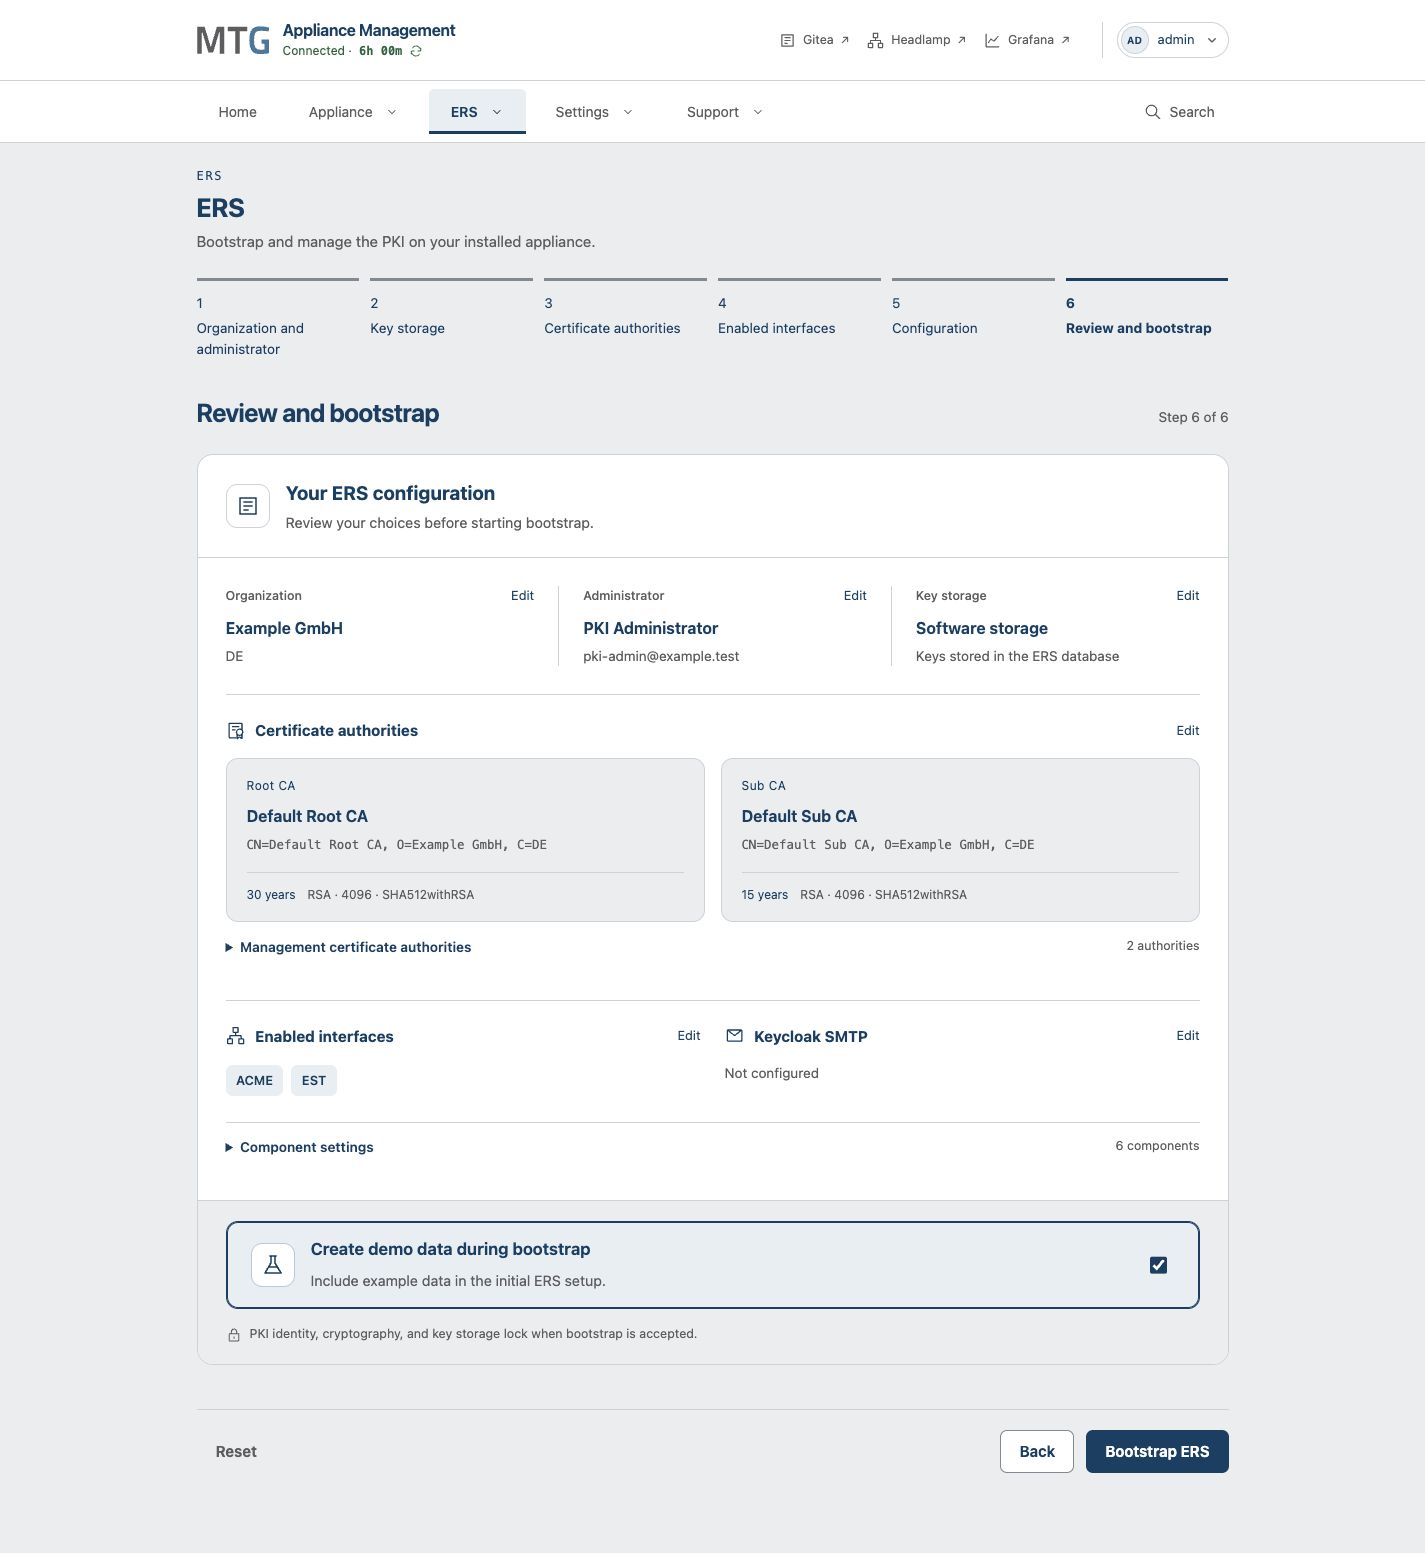
In Review and bootstrap, check the complete configuration. Use the review links to correct a previous step.
-
Select Bootstrap ERS, review the confirmation, and select Start bootstrap.
Form entries remain in the current page until submission. Leaving or reloading the page clears them. Staging a file does not commit it; the file joins the submitted bootstrap configuration.
Verify ERS
Submitting the wizard commits the configuration. Management then publishes it, and the appliance applies it in the background.
-
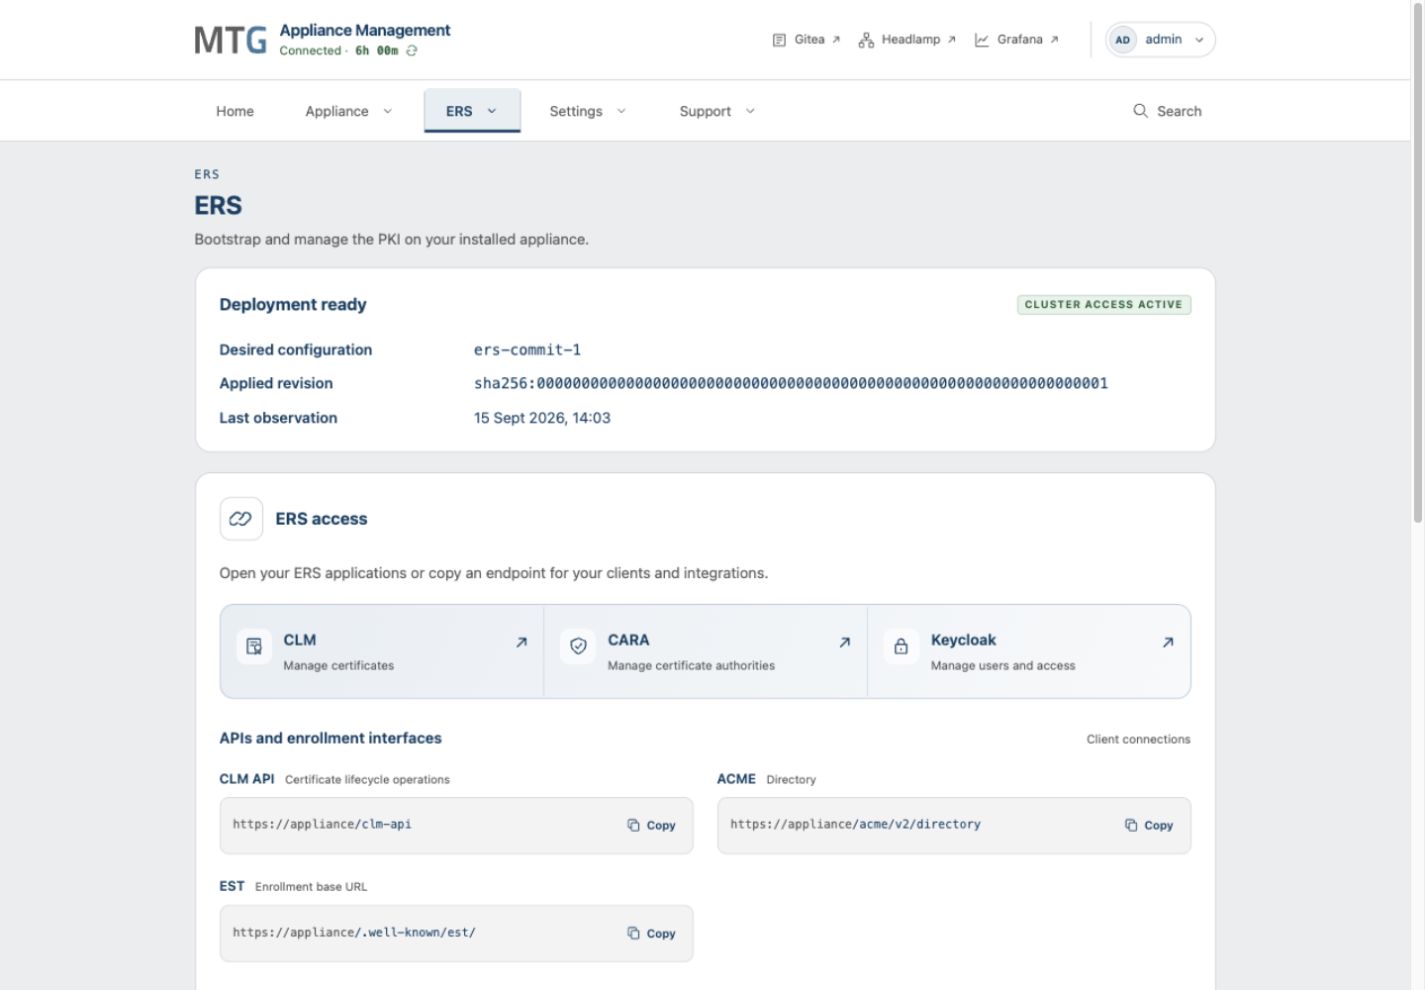
Reopen ERS > Overview to inspect the latest status, desired configuration, applied revision and component availability. Check that the status is current and cluster access is active.
-
Open the CLM and CARA application links in ERS access. Verify browser trust and sign in using the generated credentials from Reveal generated administrator credentials.
-
Verify the required enrollment interfaces using a client and configuration appropriate to your PKI. The displayed CRL URL is an example; use your CA’s actual CRL endpoint.
-
For HSM storage, verify a supported ERS operation that uses the configured keys. Saving a library selection does not confirm that CARA can reach the HSM.
Keep generated credentials in your organization’s credential store. Use the version-matched ERS product manuals for certificate policies and application administration.
Troubleshooting non-complete Initialization
If access is unavailable, reconnect before relying on the last reported status. If configuration could not be published, inspect the reported commit and correct it through the configuration workflow. Inspect component logs and collect diagnostics when the reason is unclear.
Do not reset ERS as a general retry action. ERS reset deletes active ERS data and is a separate operation.