ACME Certificates through GlobalSign for pre-validated domains
This page walks you through all steps needed to issue an ACME certificate using a GlobalSign certificate provider. The methodology described below provides the benefit of automatic issuance of subdomain certificates from GlobalSign, with the use of just one prevalidated parent domain via ACME.
Create a GlobalSign Policy
-
In MTG CLM UI click the Create button and then select Policy.
-
Give a descriptive name to the policy (e.g., Globalsign TLS) and leave the rest of the fields on default.
-
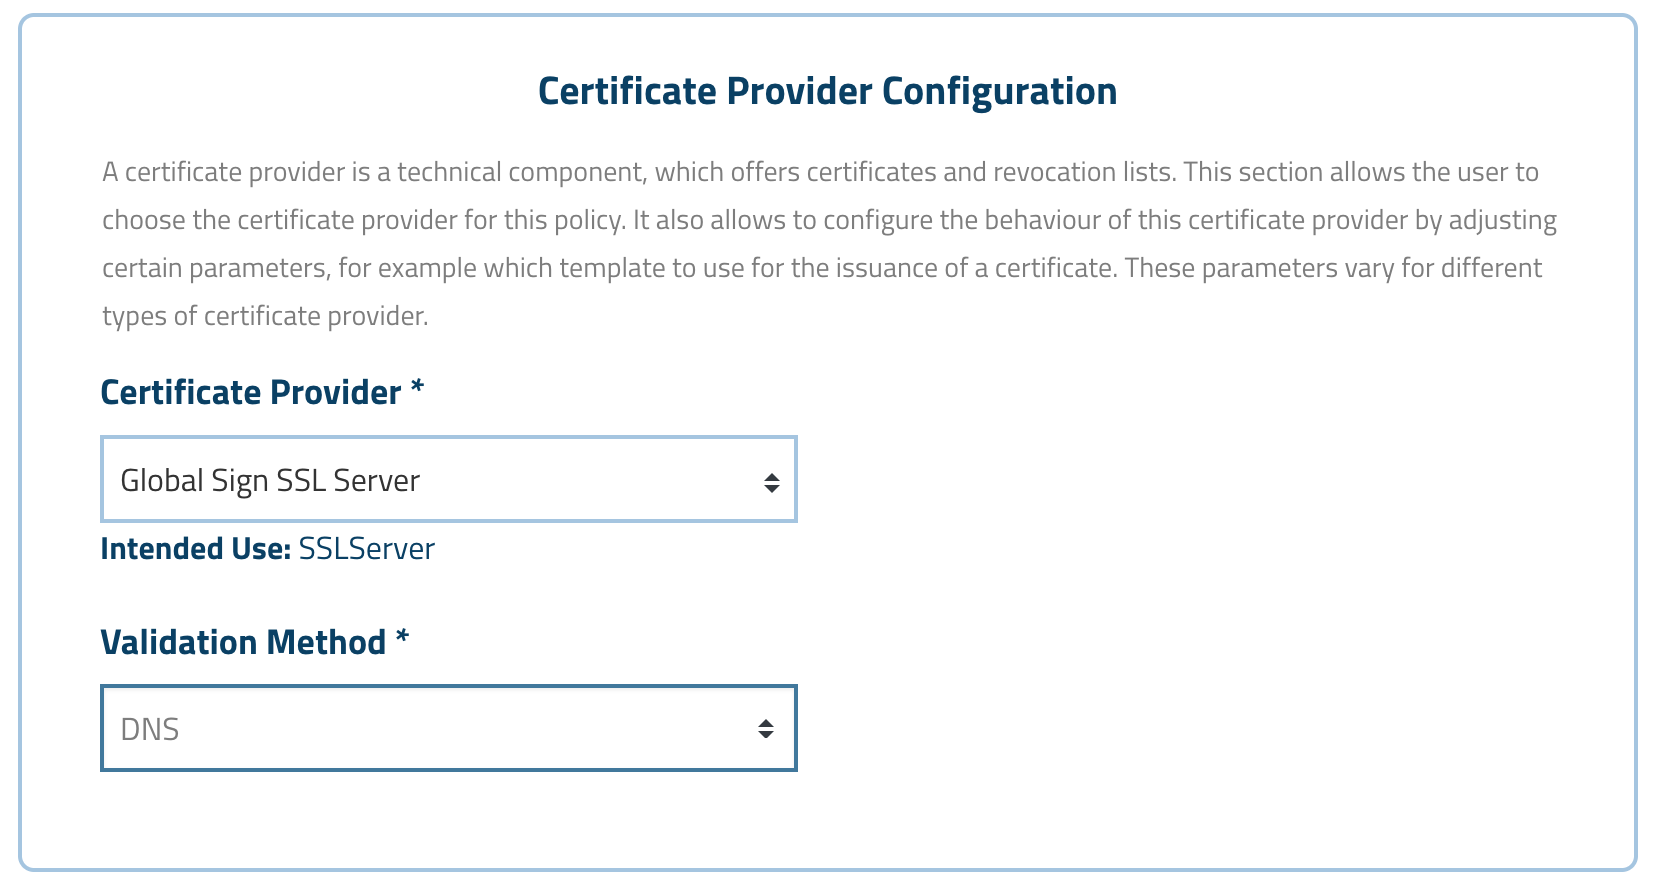
On the Certificate Provider Configuration panel select the recently created GlobalSign certificate provider and choose your validation method.
-
In the Certificate Parameters panel make sure to set the Valid For* parameter to 1 year.
-
Click Apply to create the policy.
Prevalidate Domain for Certificate Issuance
-
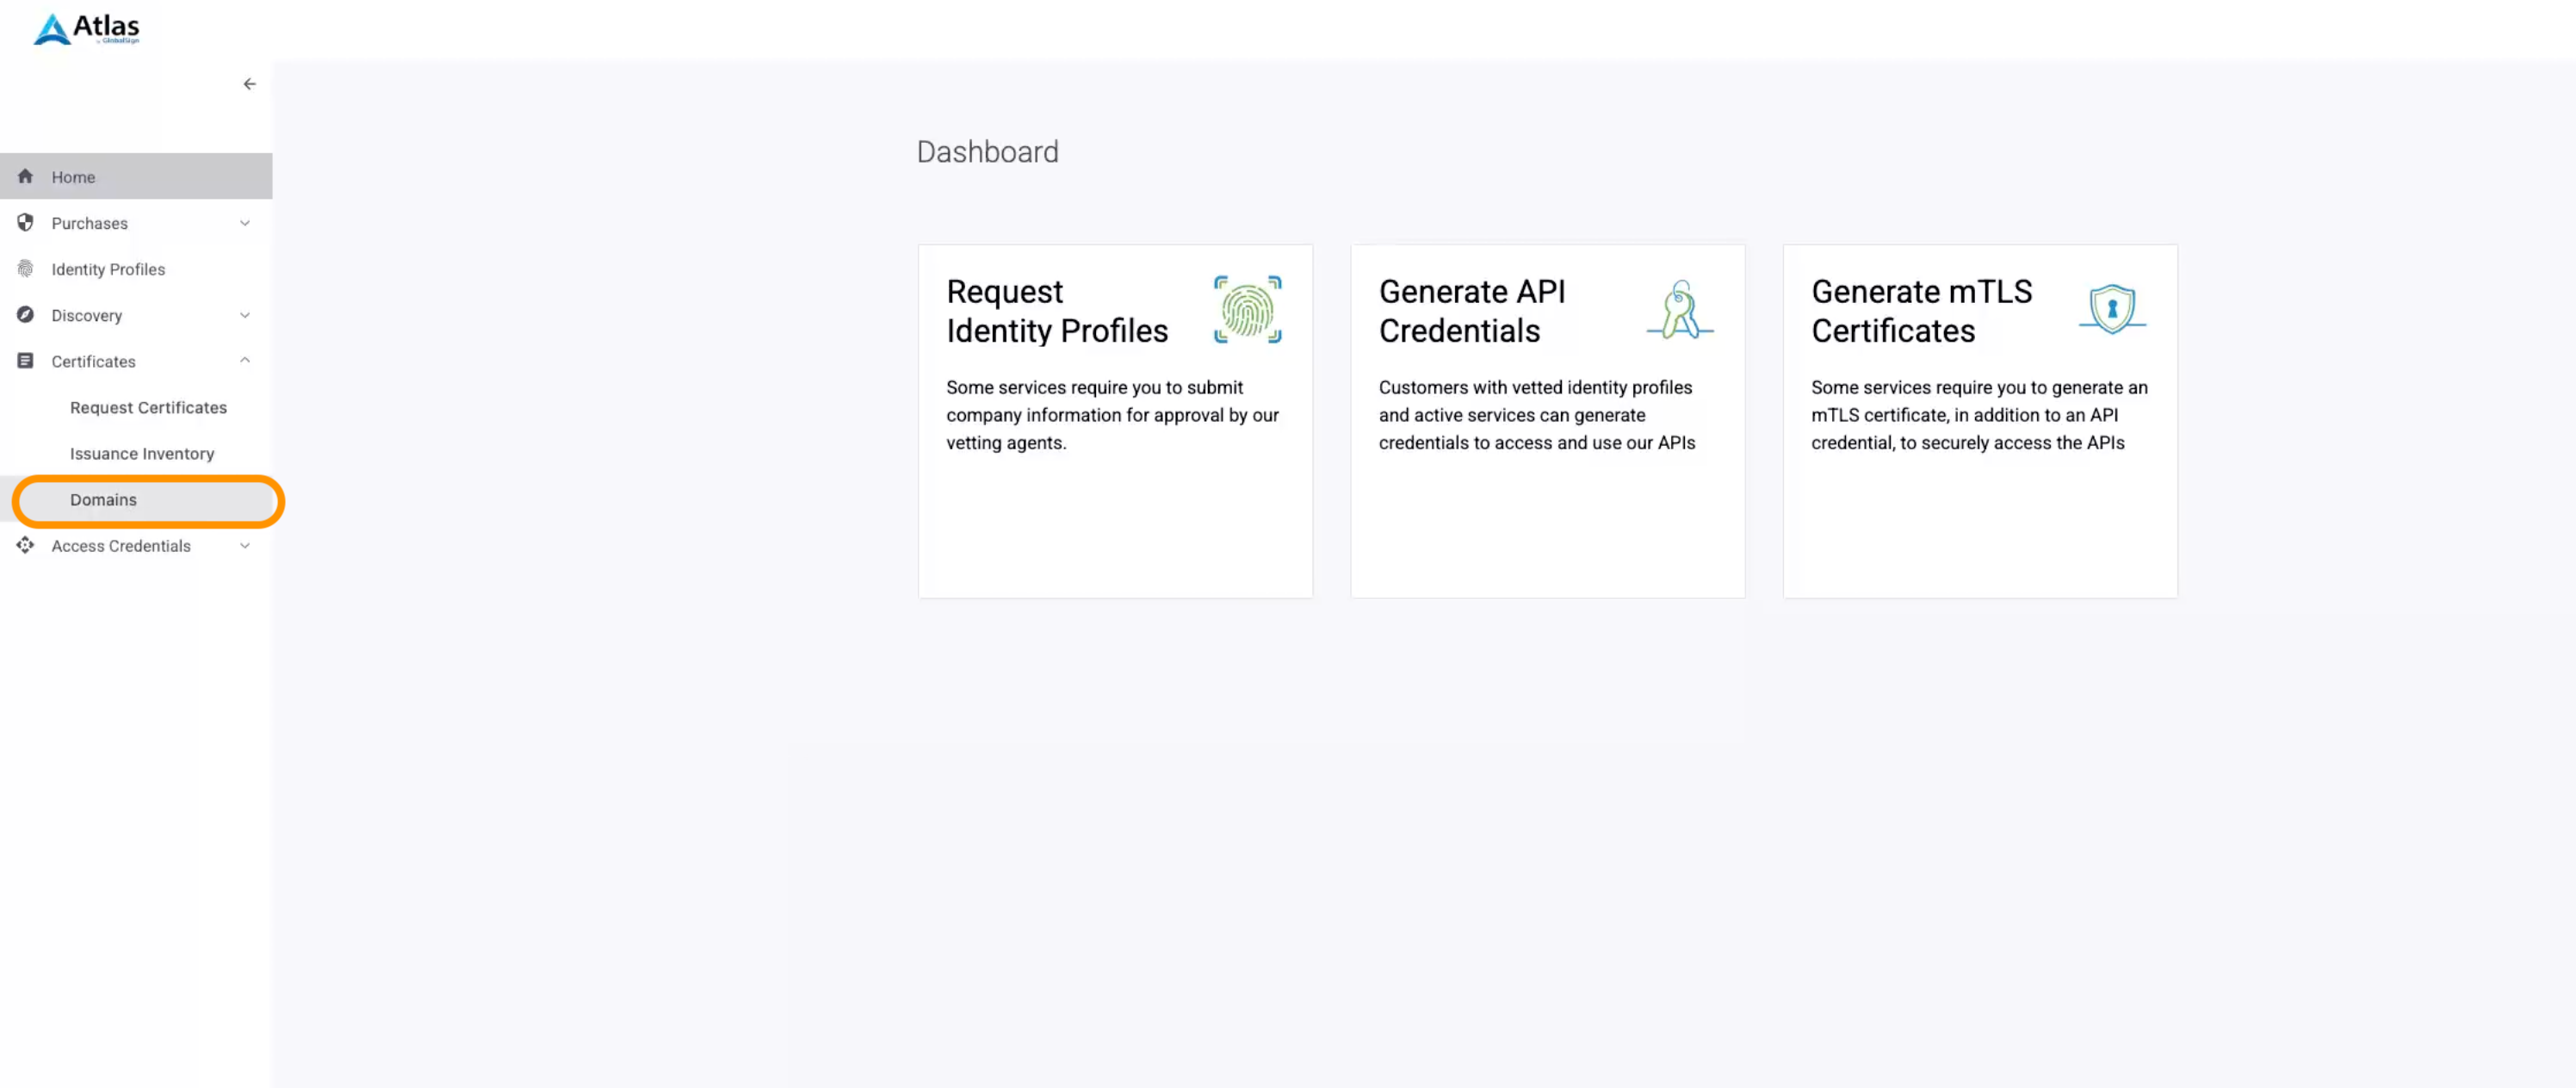
In GlobalSign Atlas portal nagivate to Certificates→Domains using the sidebar.
-
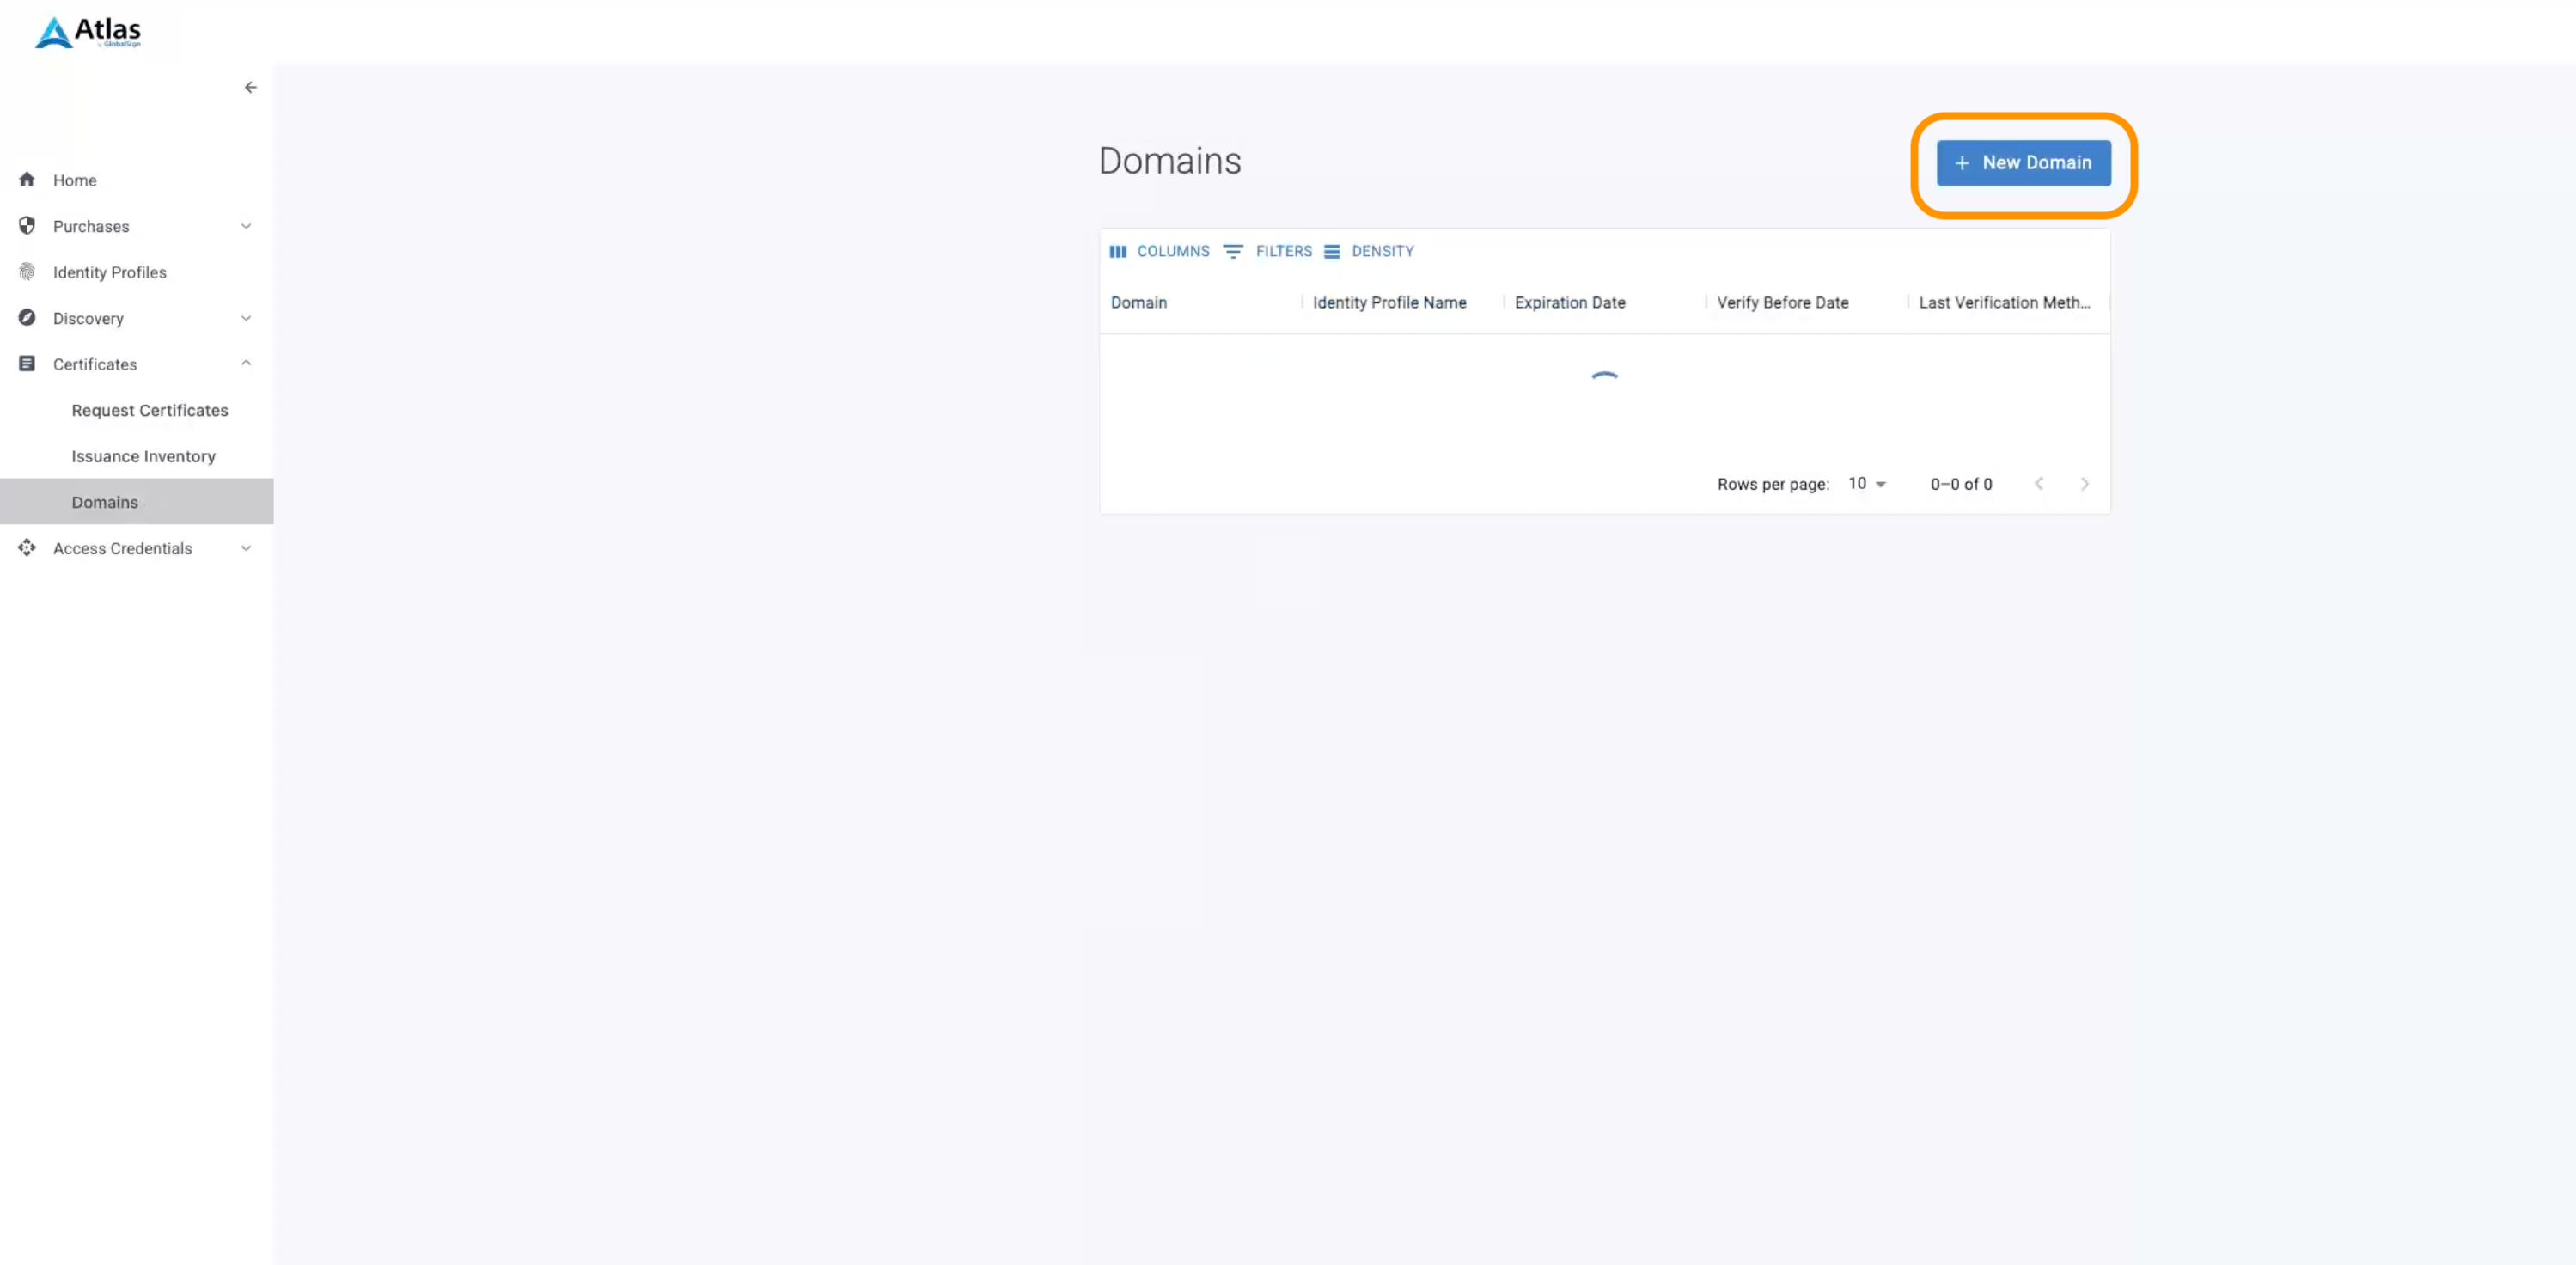
Click New Domain.
-
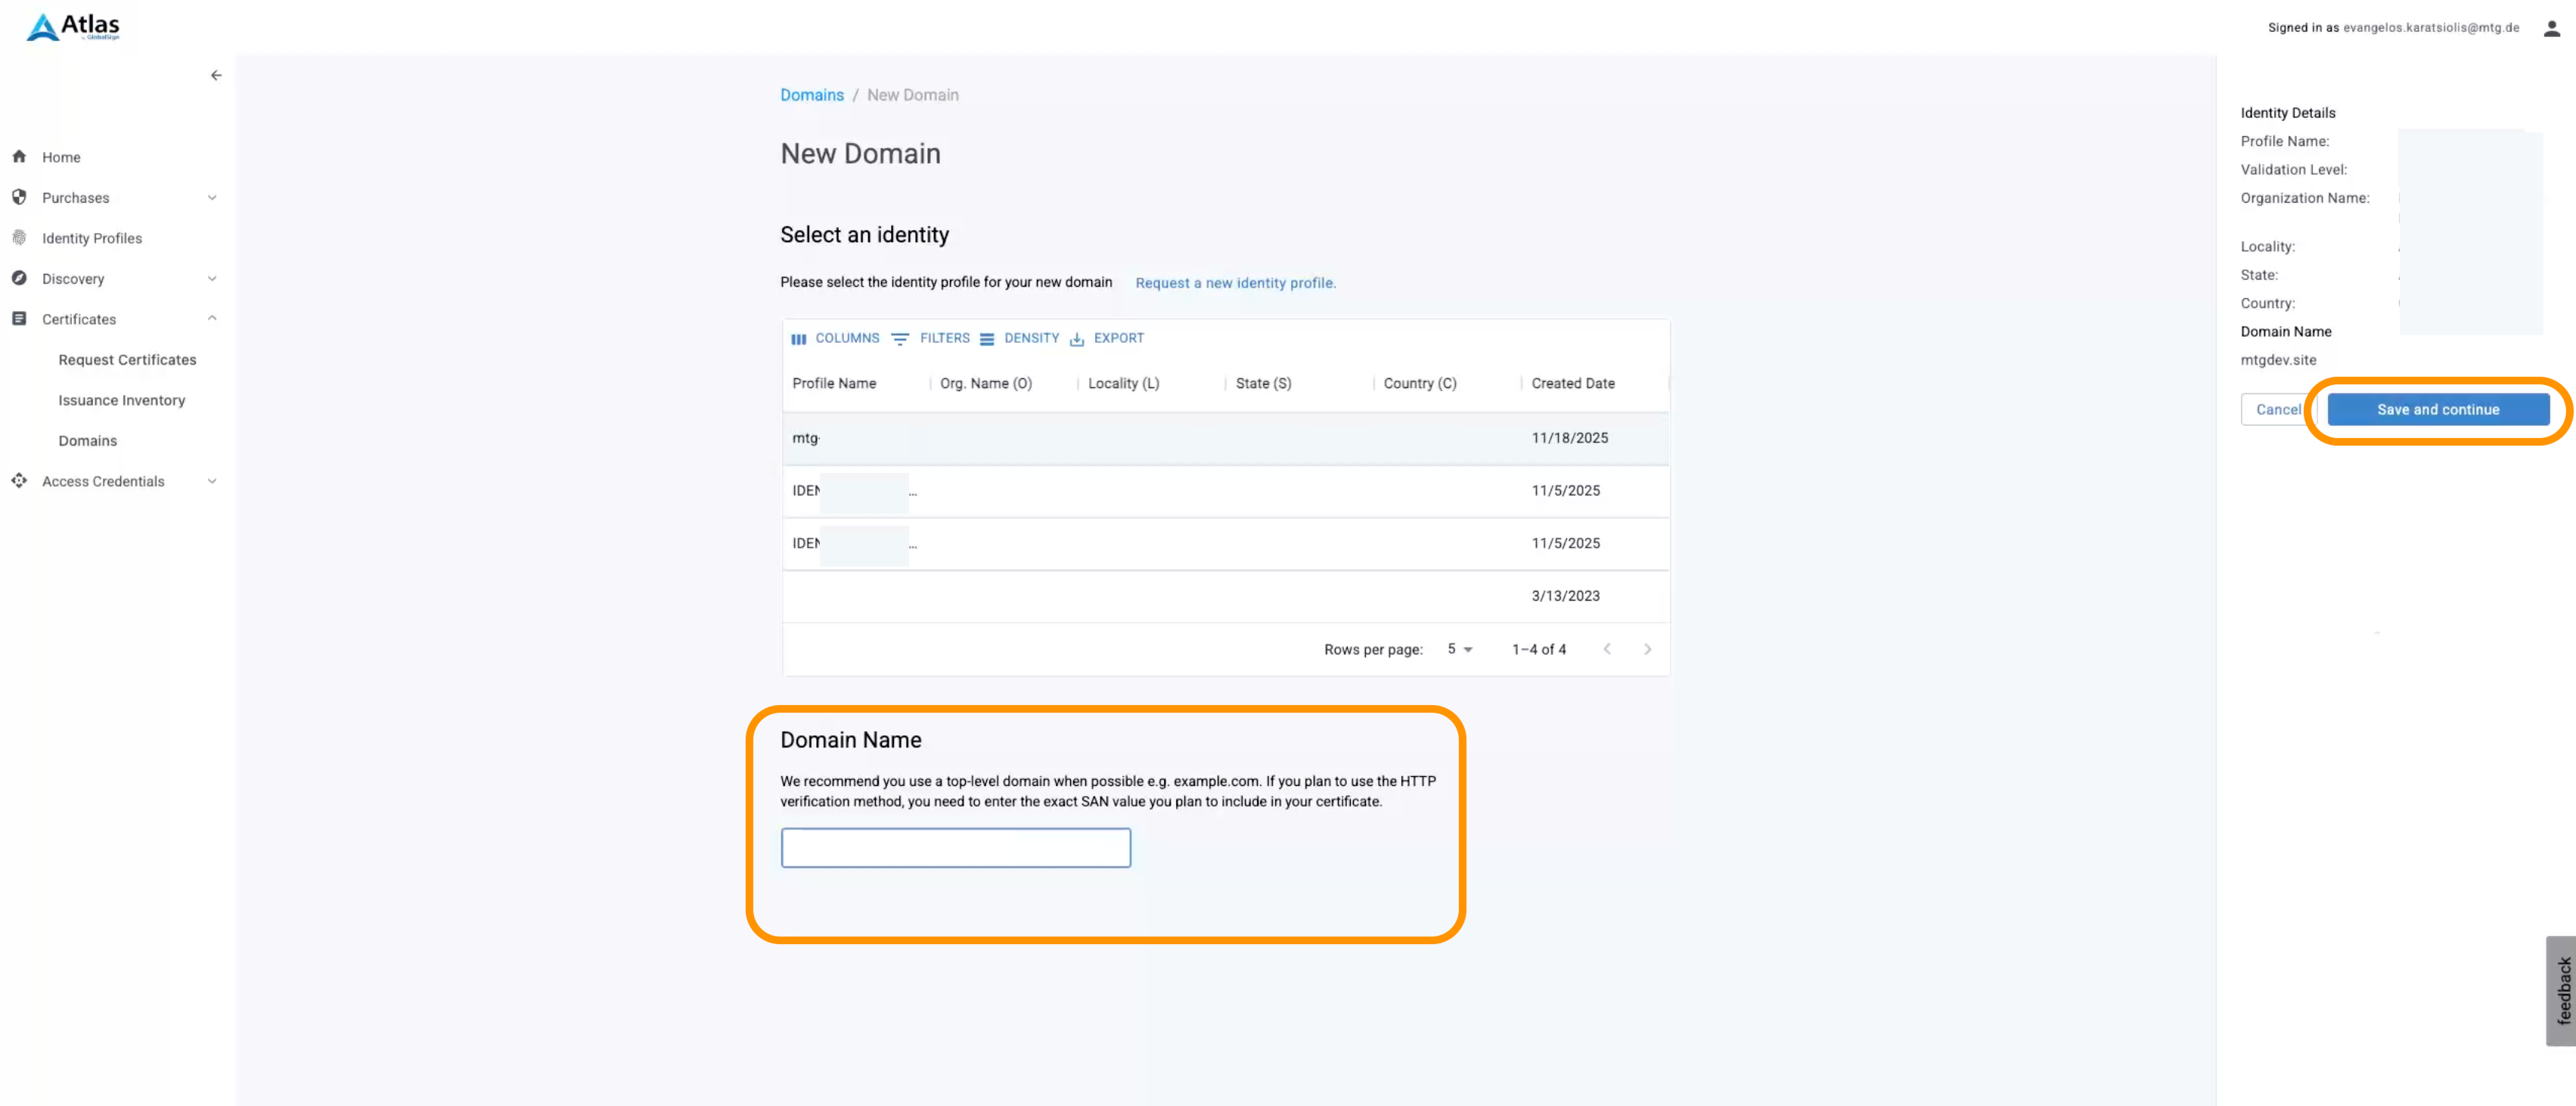
Select an identity from the list, enter your desired domain name and then click the Save and continue.
-
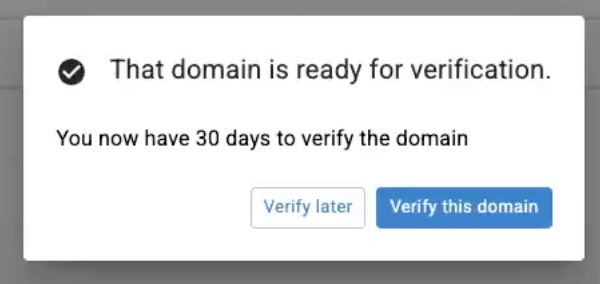
A verification notification will popup prompting you to either verify the domain now or later (within 30 days). Click the Verify this domain button.
-
In the new window you will get access to 3 types of verification:
- DNS TXT
-
Requires you to place the DNS record TXT in your DNS records.
- HTTP
-
Requires you to place a file with a special secret in your webserver on a specific location, enabling GlobalSign to validate your domain by accessing the secret you provided.
-
An e-mail will be sent to a selected address of yours, prompting you to verify the possession of your domain.
For the purpose of this guide we will be proceeding with the DNS TXT option. 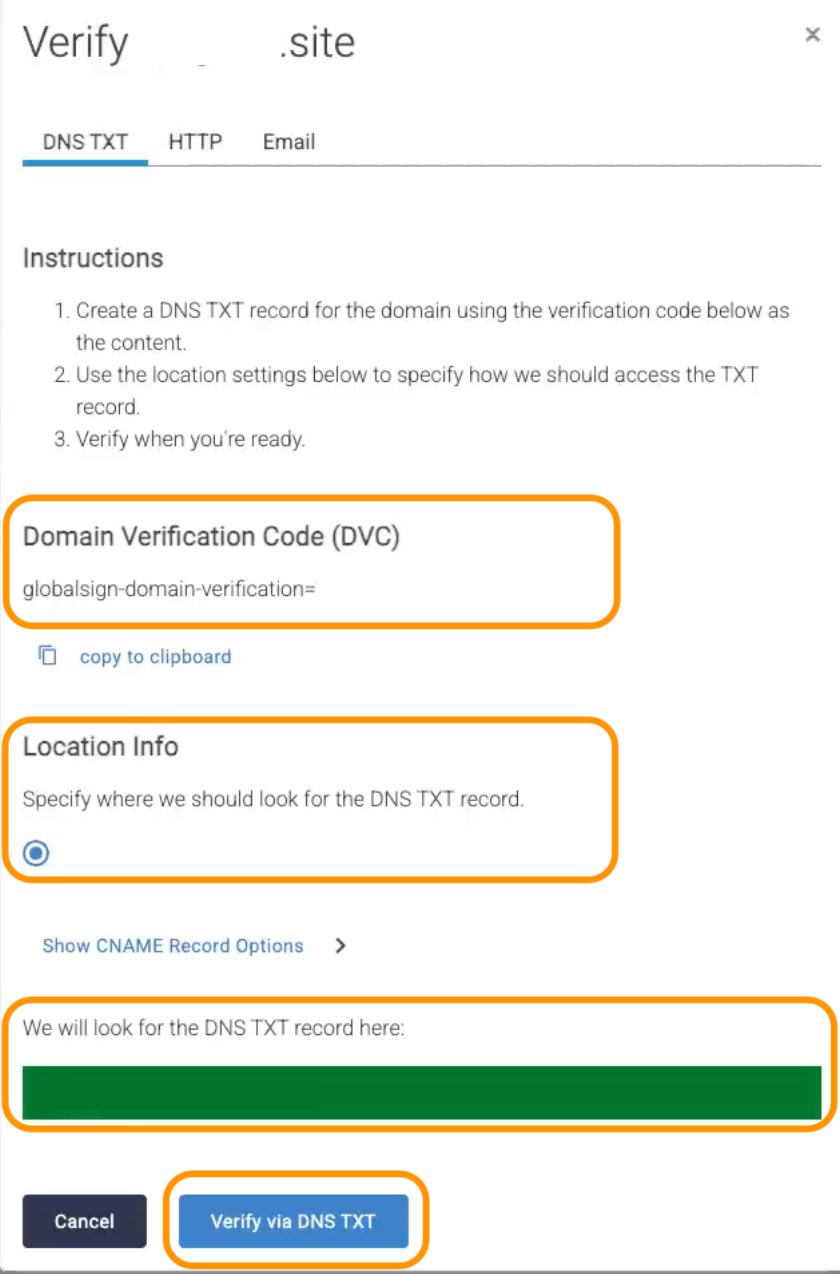
Copy your Domain Verification Code (DVC). Also, make sure your domain is also selected in the Location Info.
Switch over to your preferred DNS provider and add a new DNS record of type TXT using the DVC you copied.
Switch back to GlobalSign Atlas and Click the Verify via DNS TXT button.
-
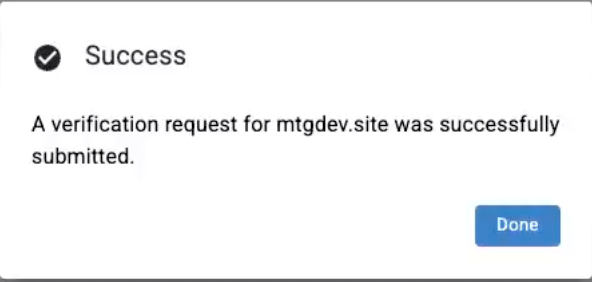
You should now be getting a success popup message like below:
Issue a Certificate
| This section is optional and intended as verification that the GlobalSign certificate provider is correctly set up. |
-
Make sure you are already within the realm you need to create the certificate.
-
Navigate to MTG CLM UI → Create and select Certificate.
-
In the Select an existing policy to use click Select and choose the GlobalSign TLS policy you created in Create a GlobalSign Policy before.
-
In Step 2 of the wizard you will be creating a new end entity representing the web server you are issuing the certificate for. Add your domain both in the Common Name* field and in the Domain Names field.
You may also use this method for any subdomains in your possession such as email.yourdomain.com , etc. -
Next, choose your key pair material source. For the purpose of this guide we will be proceeding with the server side option.
-
Create an RSA 2048 key size and click Apply.
-
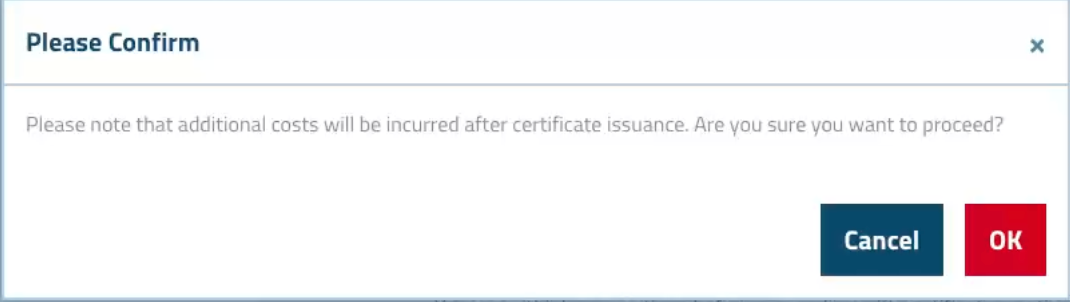
A confirmation message will be shown, informing you of additional costs. Click OK.
-
In the next page you can download your newly created certificate (including the key pair) in PKCS#12 format.
-
Success! In the final page you can check that your certificate is indeed coming from GlobalSign Atlas with the options we chose before, including all organizational information in the Subject DN. You will also be getting new download options such as Single File, Chain or CRL.
-
Your newly created certificate is now also visible in GlobalSign Atlas under Certificates → Issuance Inventory.
Issue the ACME Certificate
-
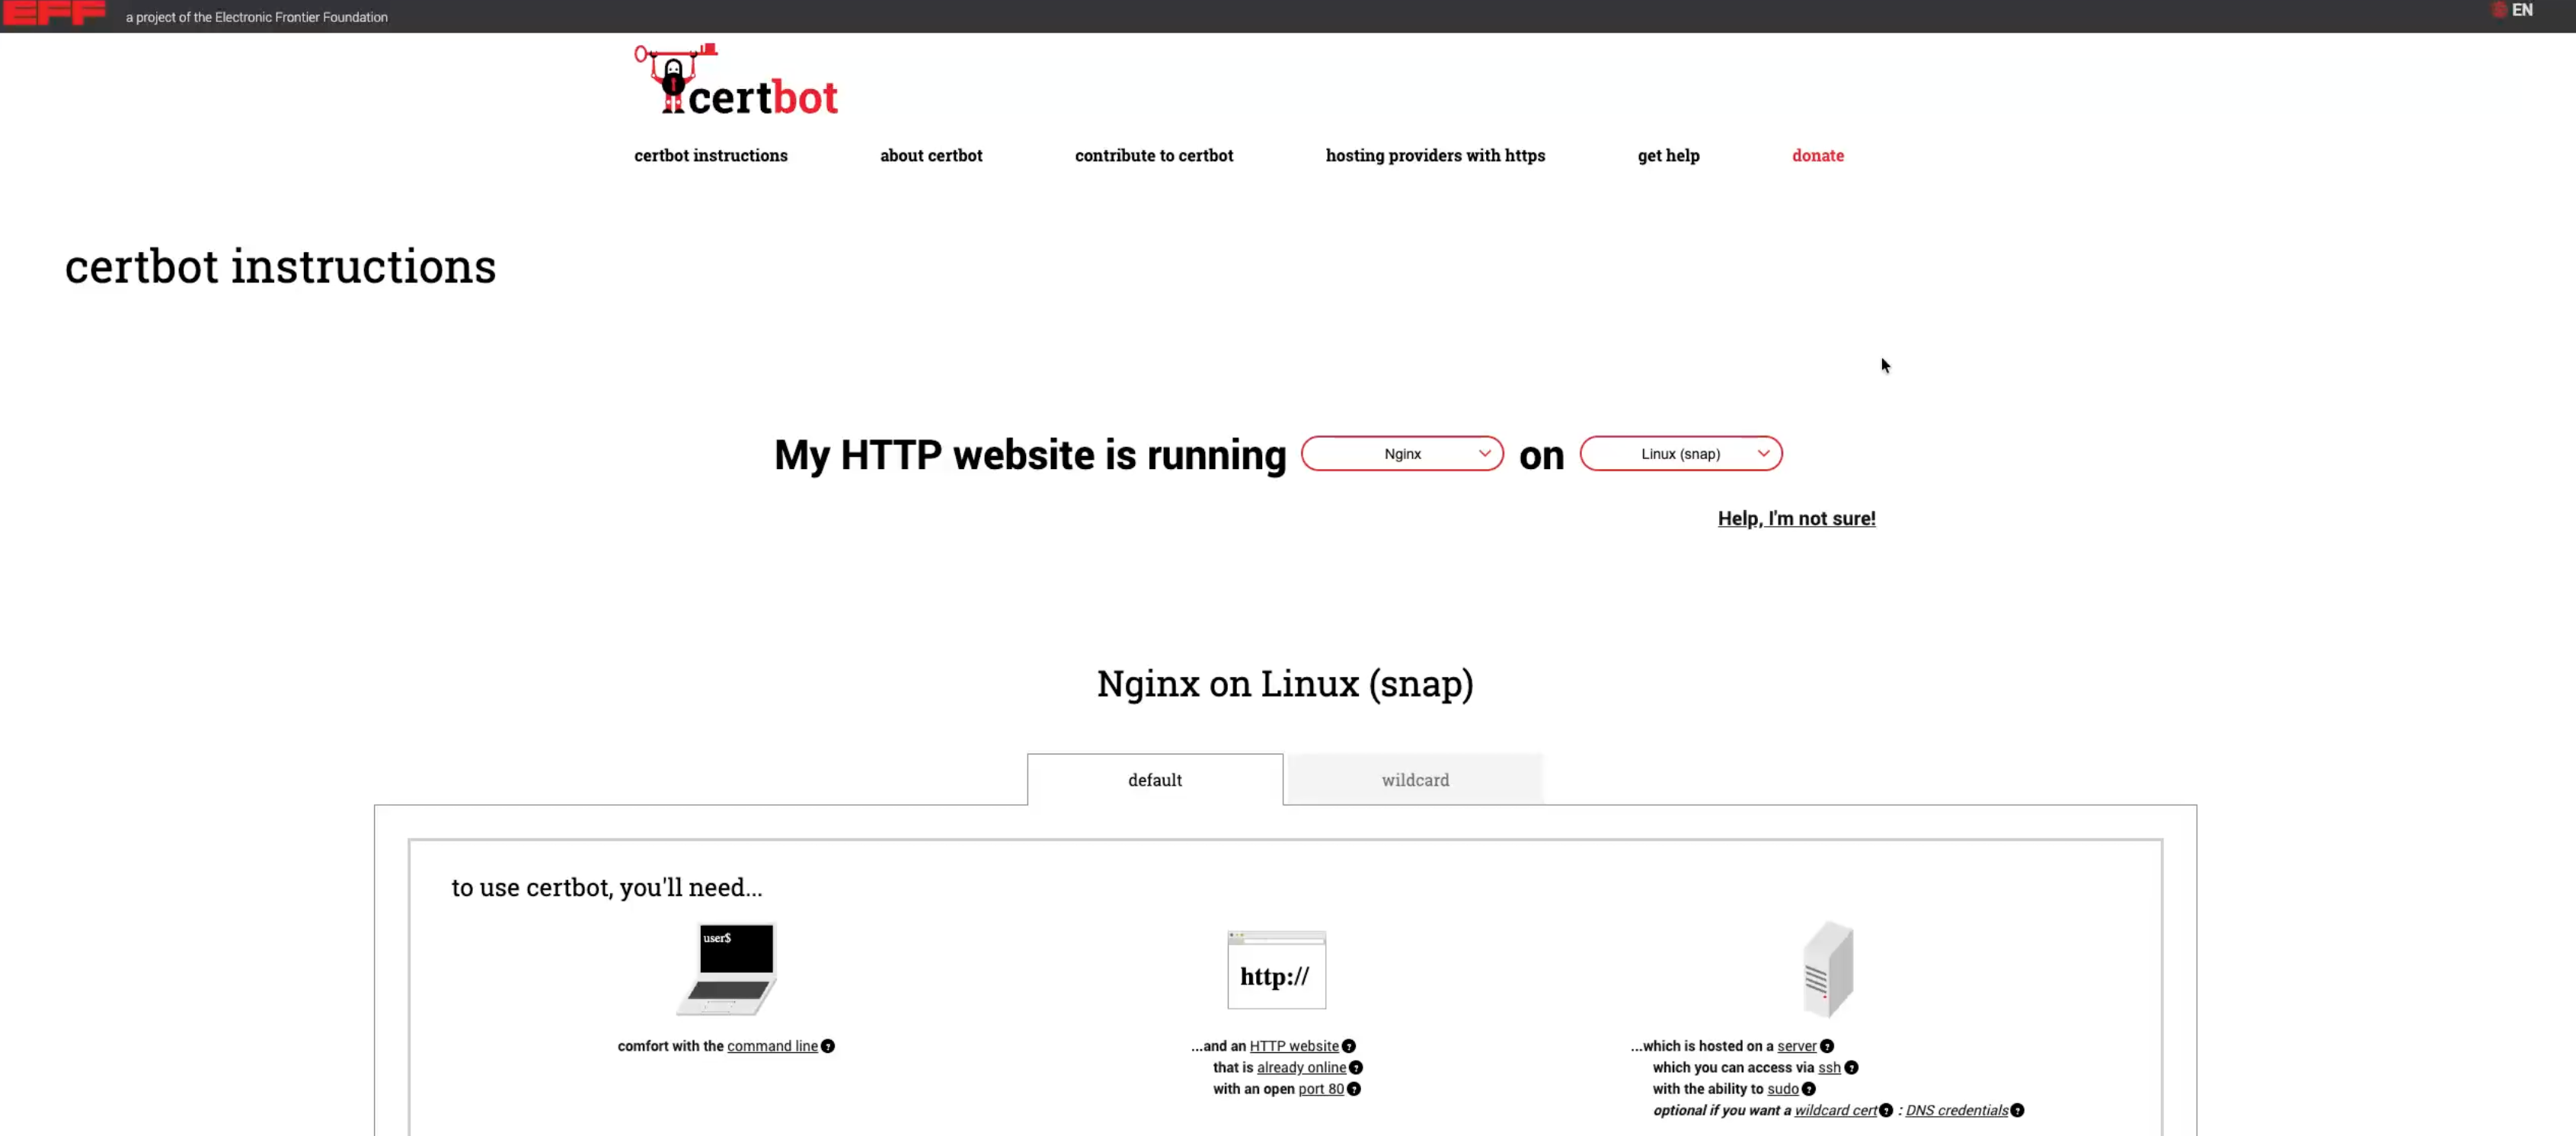
Install an ACME client of your choice. For the purpose of this guide we will be using Certbot with the combination of Nginx on Linux (snap).
-
In the Certbot webpage choose your webpage setup.
-
Follow the 3 initial steps mentioned in the certbot website, namely:
-
SSH into the server
-
Install snapd
-
Remove certbot-auto and any Certbot OS packages
-
-
Install Certbot using the following command:
sudo snap install --classic certbot
-
Prepare the Certbot command, to ensure that the certbot command can be run:
sudo ln -s /snap/bin/certbot /usr/local/bin/certbot
-
Choose how you’d like to run Certbot: either with preconfigurations and automatic handling of nginx:
sudo certbot --nginx
or with certificate only:
sudo certbot certonly --nginx
For the purpose of this guide we will be proceeding with the first option and adapting the command as follows:
certbot --nginx \
--server https://youracmeinterfaceurl/acme/v2/yourglobalsignpolicyid/directory \
-d yoursubdomain \
--agree-tos \
--key-type rsa
The GlobalSign policy ID in this command is derived from the policy you created in Create a GlobalSign Policy above. The subdomain in this command is the subdomain for which you are issuing the ACME certificate.
The
--key-type rsaparameter is used because Certbot is creating EC certificates by default but our GlobalSign connection with our GlobalSign credentials only allows RSA certificates to be issued. -
You should now be seeing a Successfully received certificate. response in your terminal alongside information on location, expiration, renewals, deployment and reconfigurations made.
Manage Certbot Renewal Process
-
Execute the following command in your terminal:
systemctl list-timers | grep certbot
You should now be seeing information on your
snap.certbot.renew.timer. -
To see the details on
snap.certbot.renew.timerexecute the following command in your terminal:cat snap.certbot.renew.timer
Final Check
You can find your newly created certificate in MTG CLM UI under Certificates. It’s going to look similar to the one you created before in Issue a Certificate, however in the Meta Data Information panel it will read "Created by: ACME API Client" like below:
