|
For the latest version, please use Certificate Lifecycle Manager 6.3.0! |
Integrating MTG SCEP with Microsoft Intune
This guide walks you through configuring Microsoft Intune to work with MTG SCEP for automated certificate enrollment on your devices.
Prerequisites: Azure AD administrative privileges and access to your MTG CLM environment.
Authorize Communication between MTG SCEP and Intune
Create Azure AD Application Registration
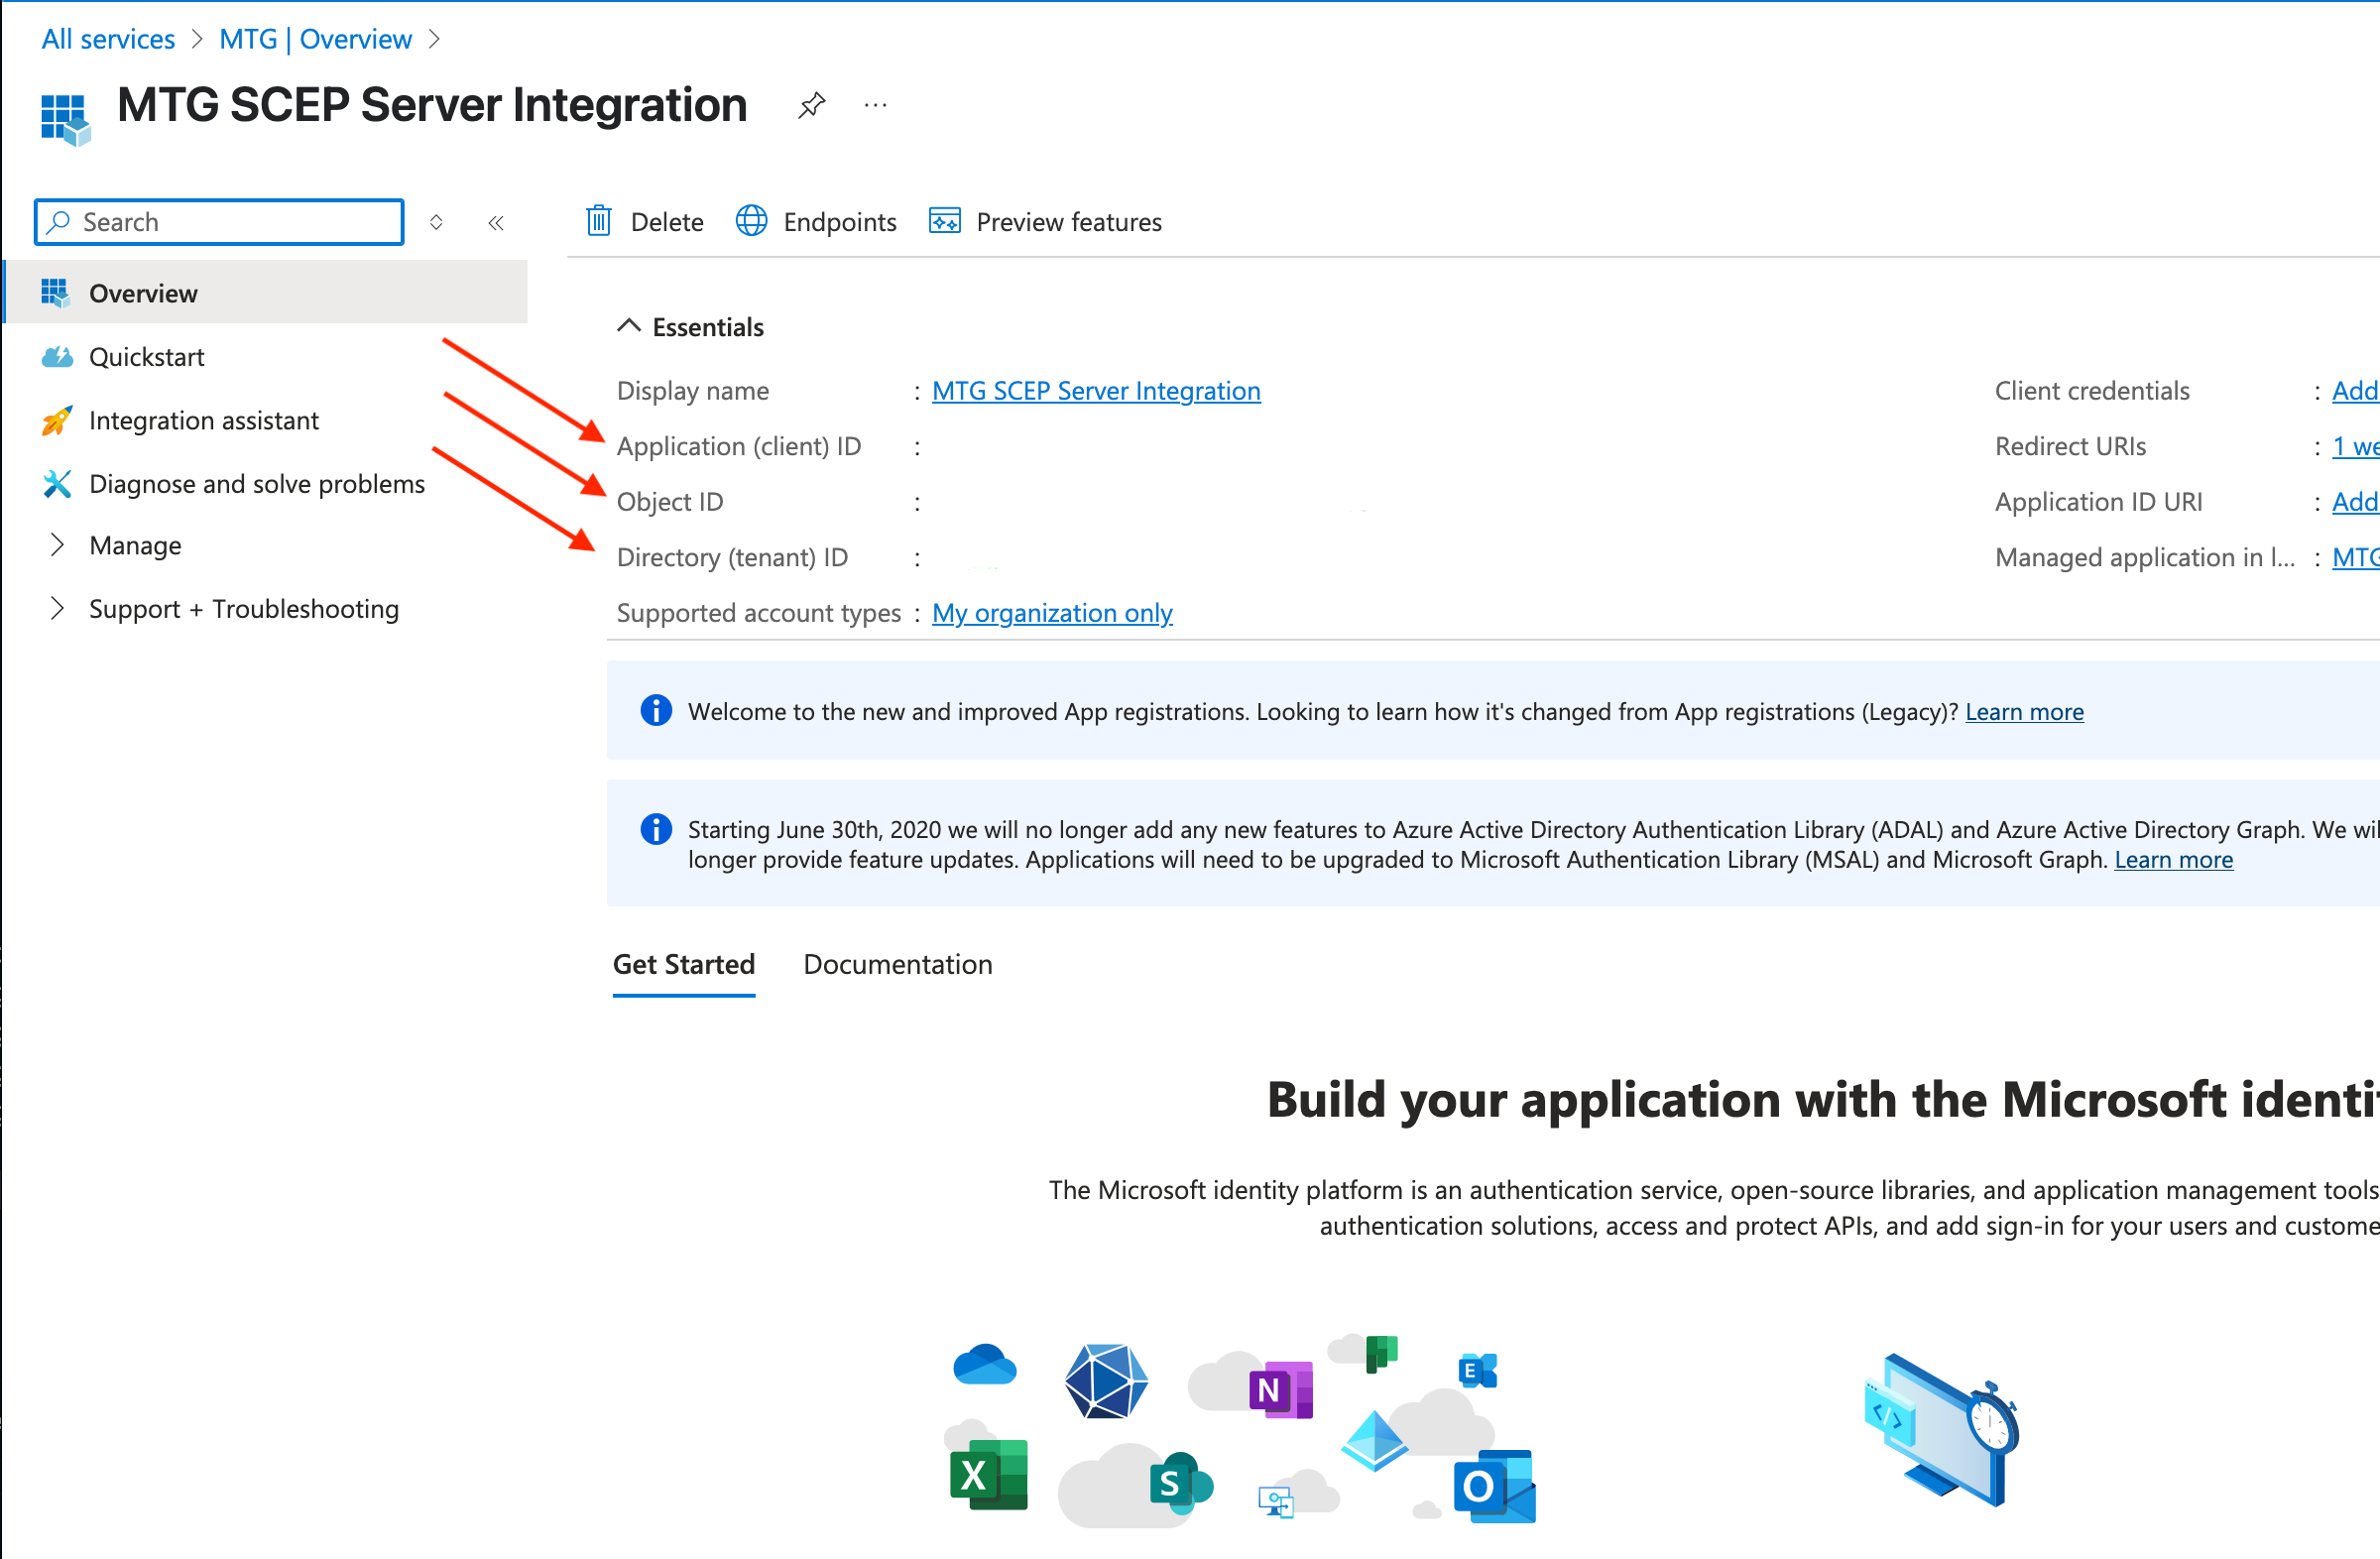
1. Access App Registrations
-
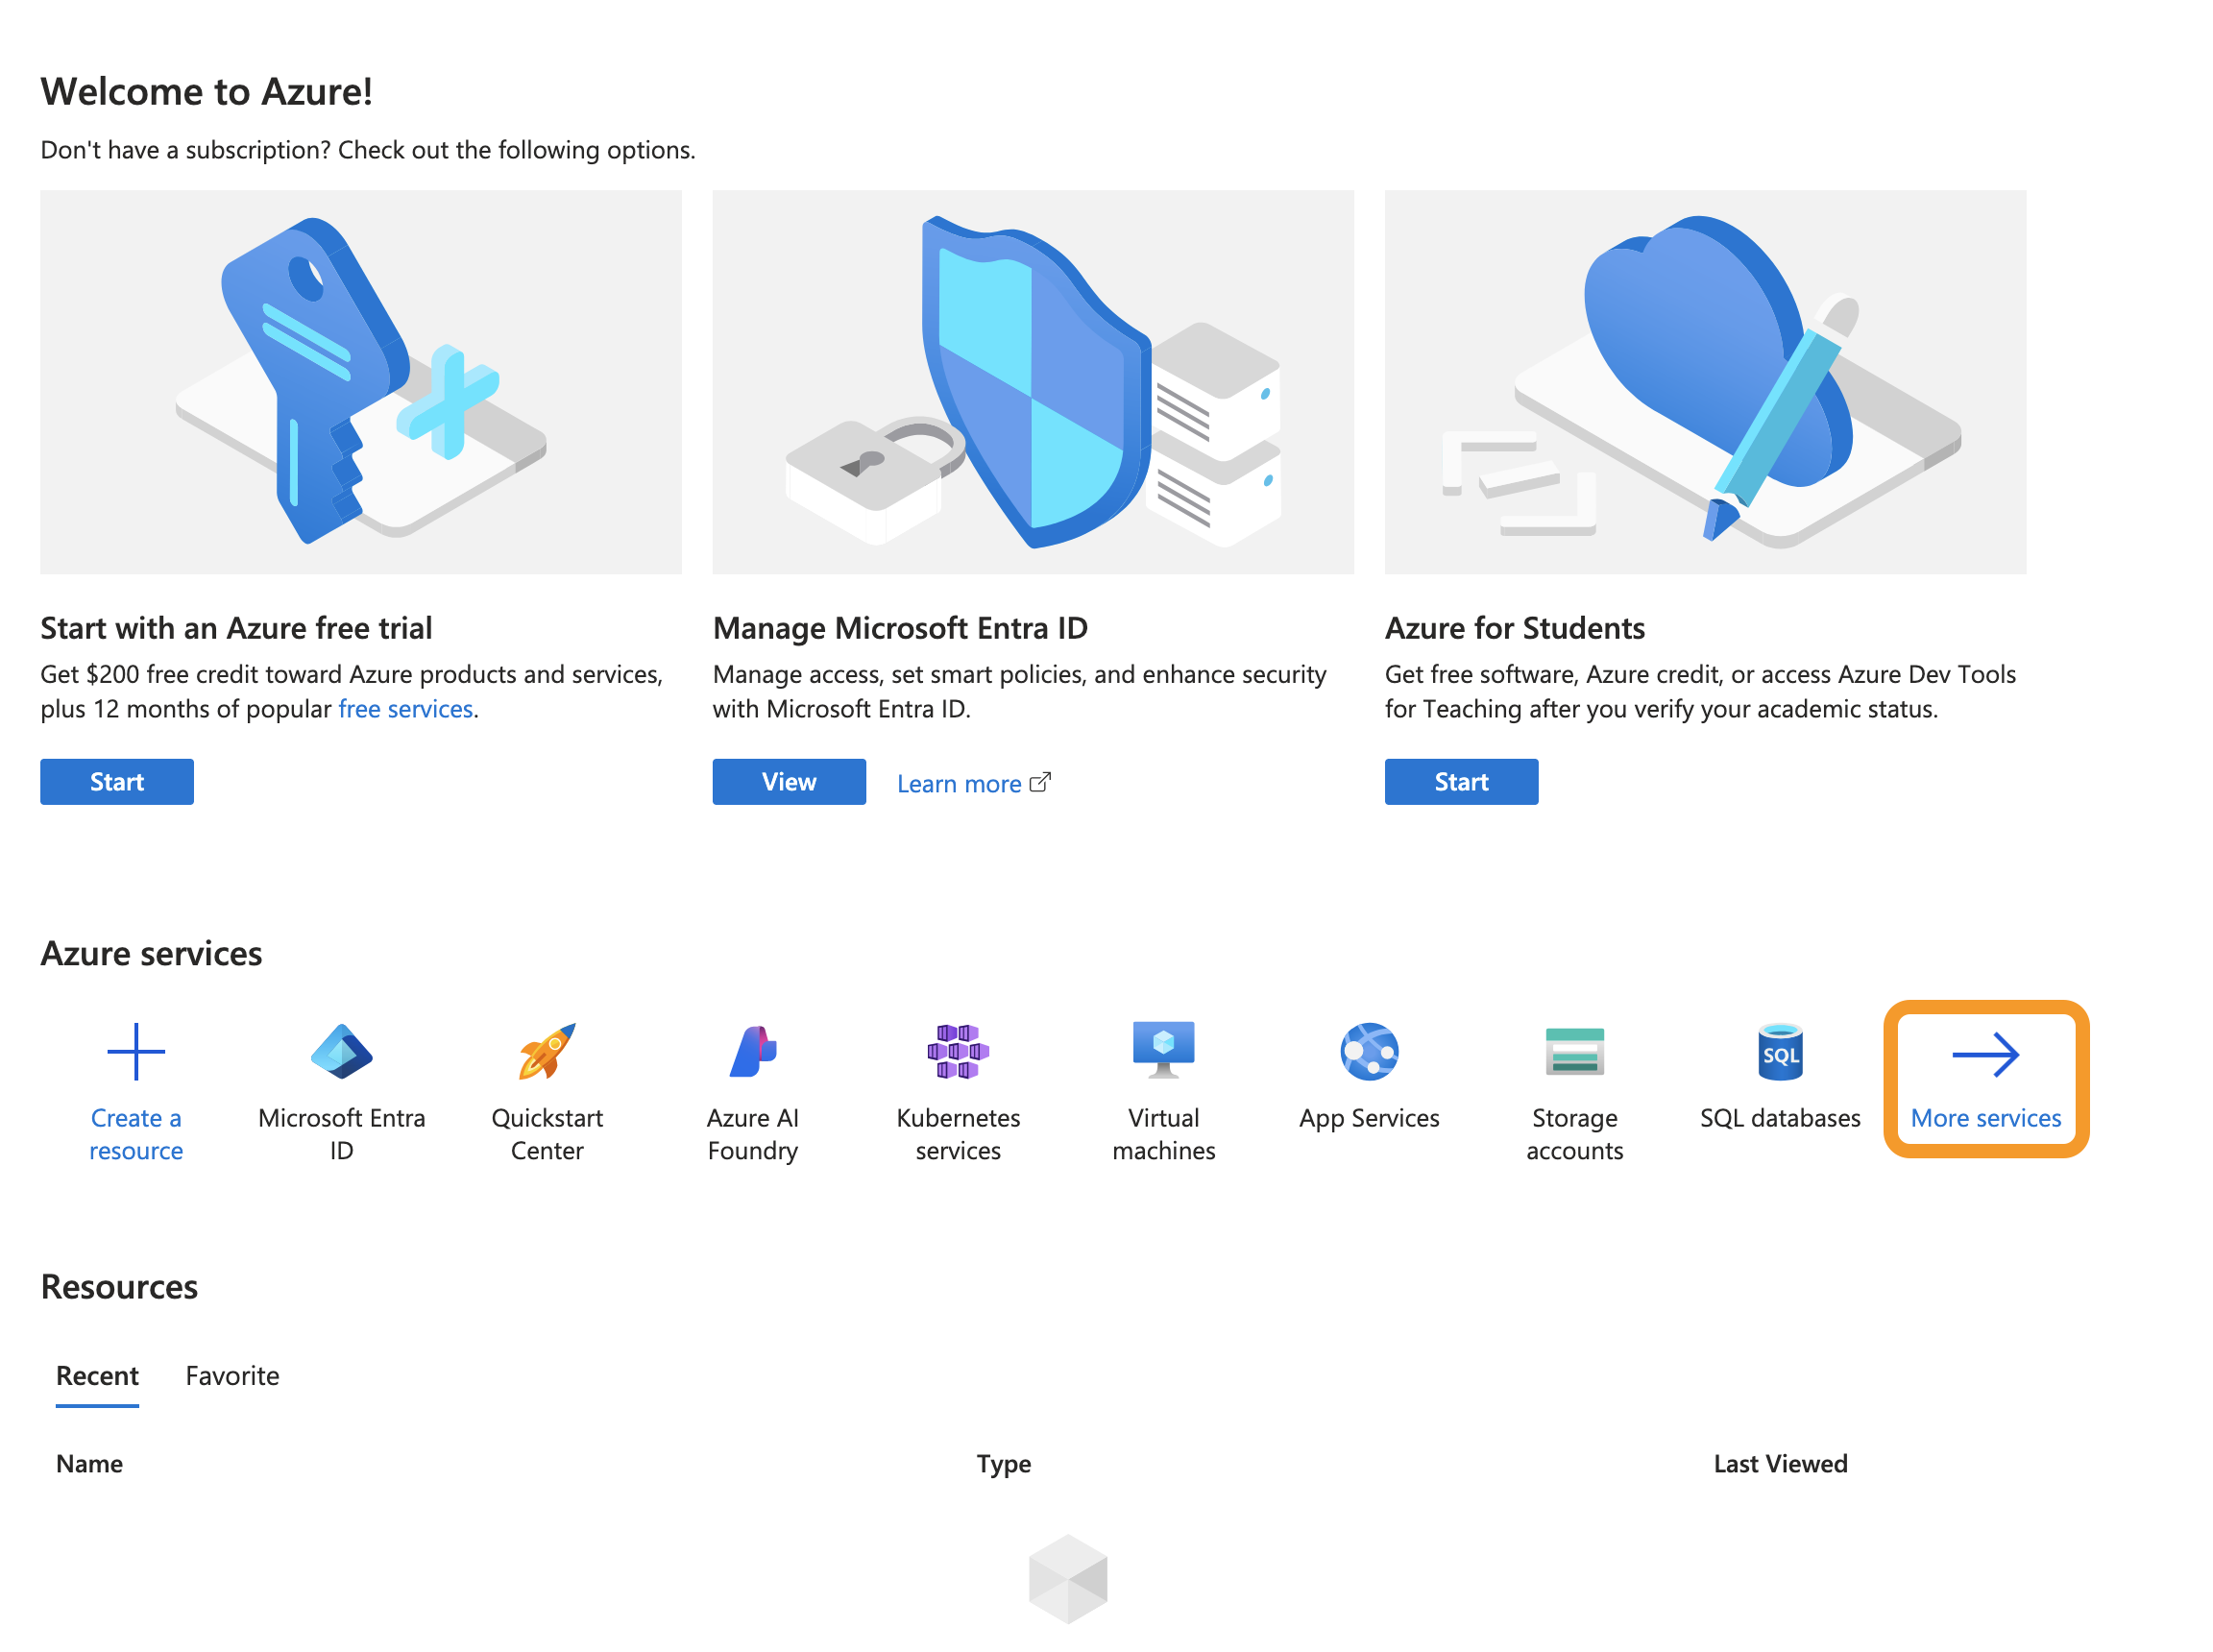
Sign in to the Azure portal and select "More services".
Click to reveal screenshot
-
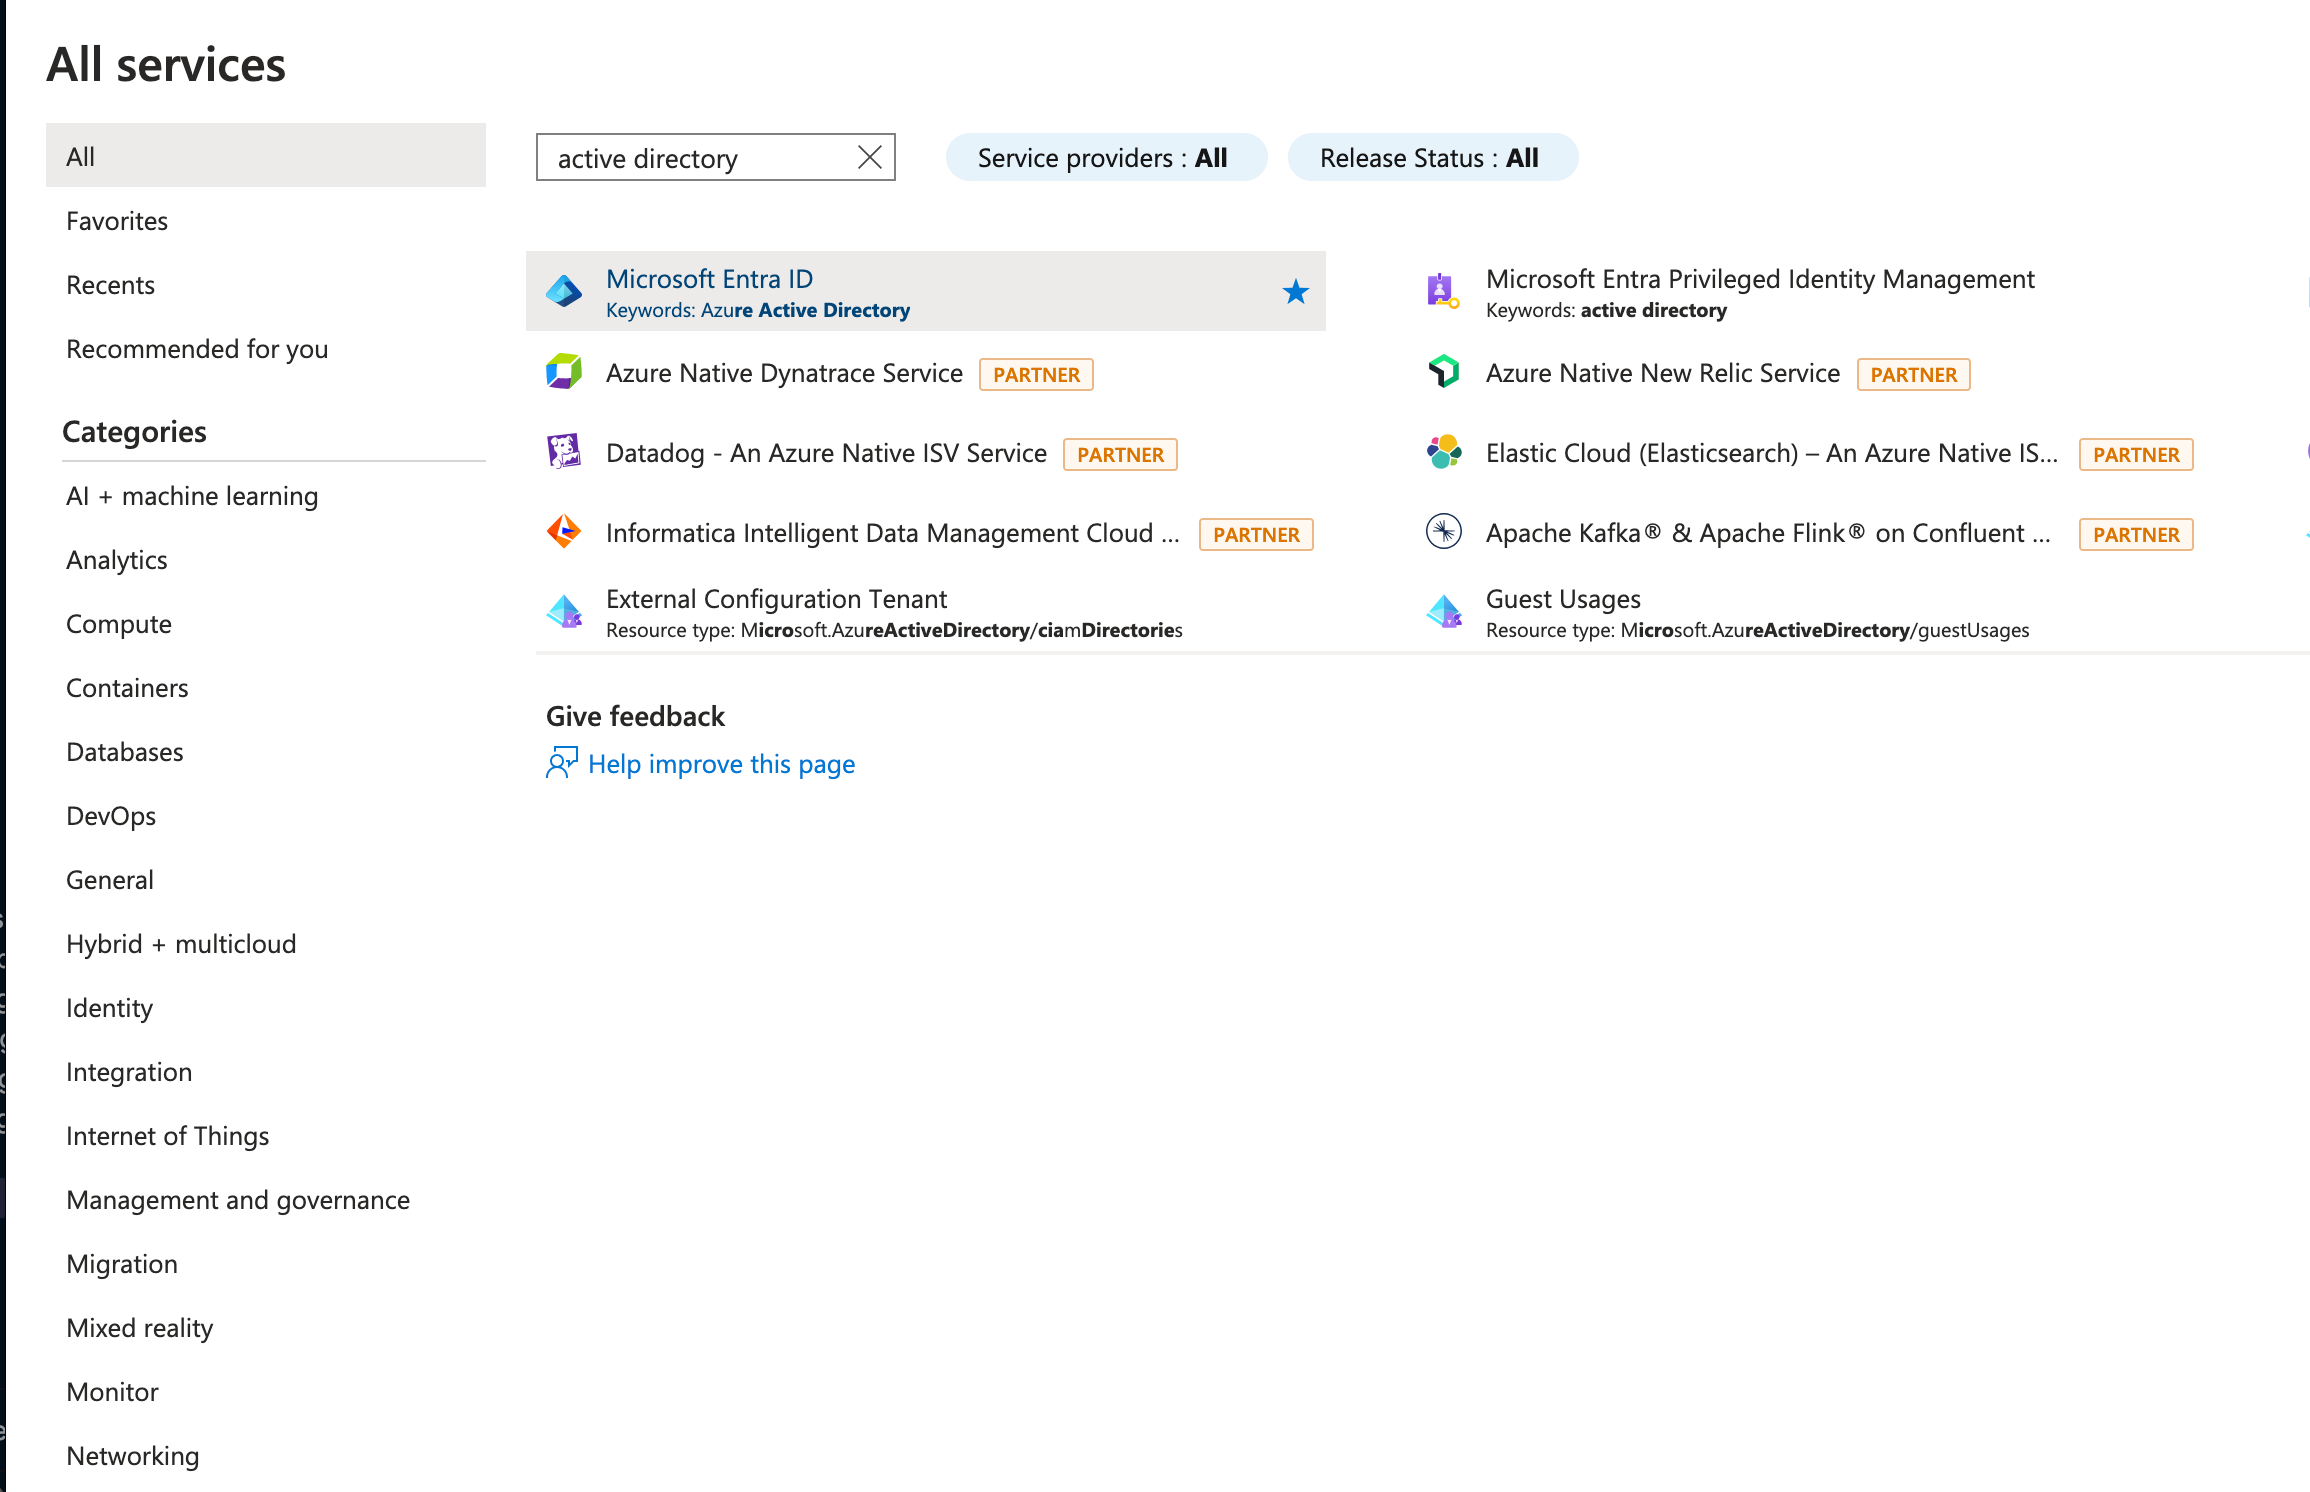
Navigate to Azure Active Directory.
Click to reveal screenshot
-
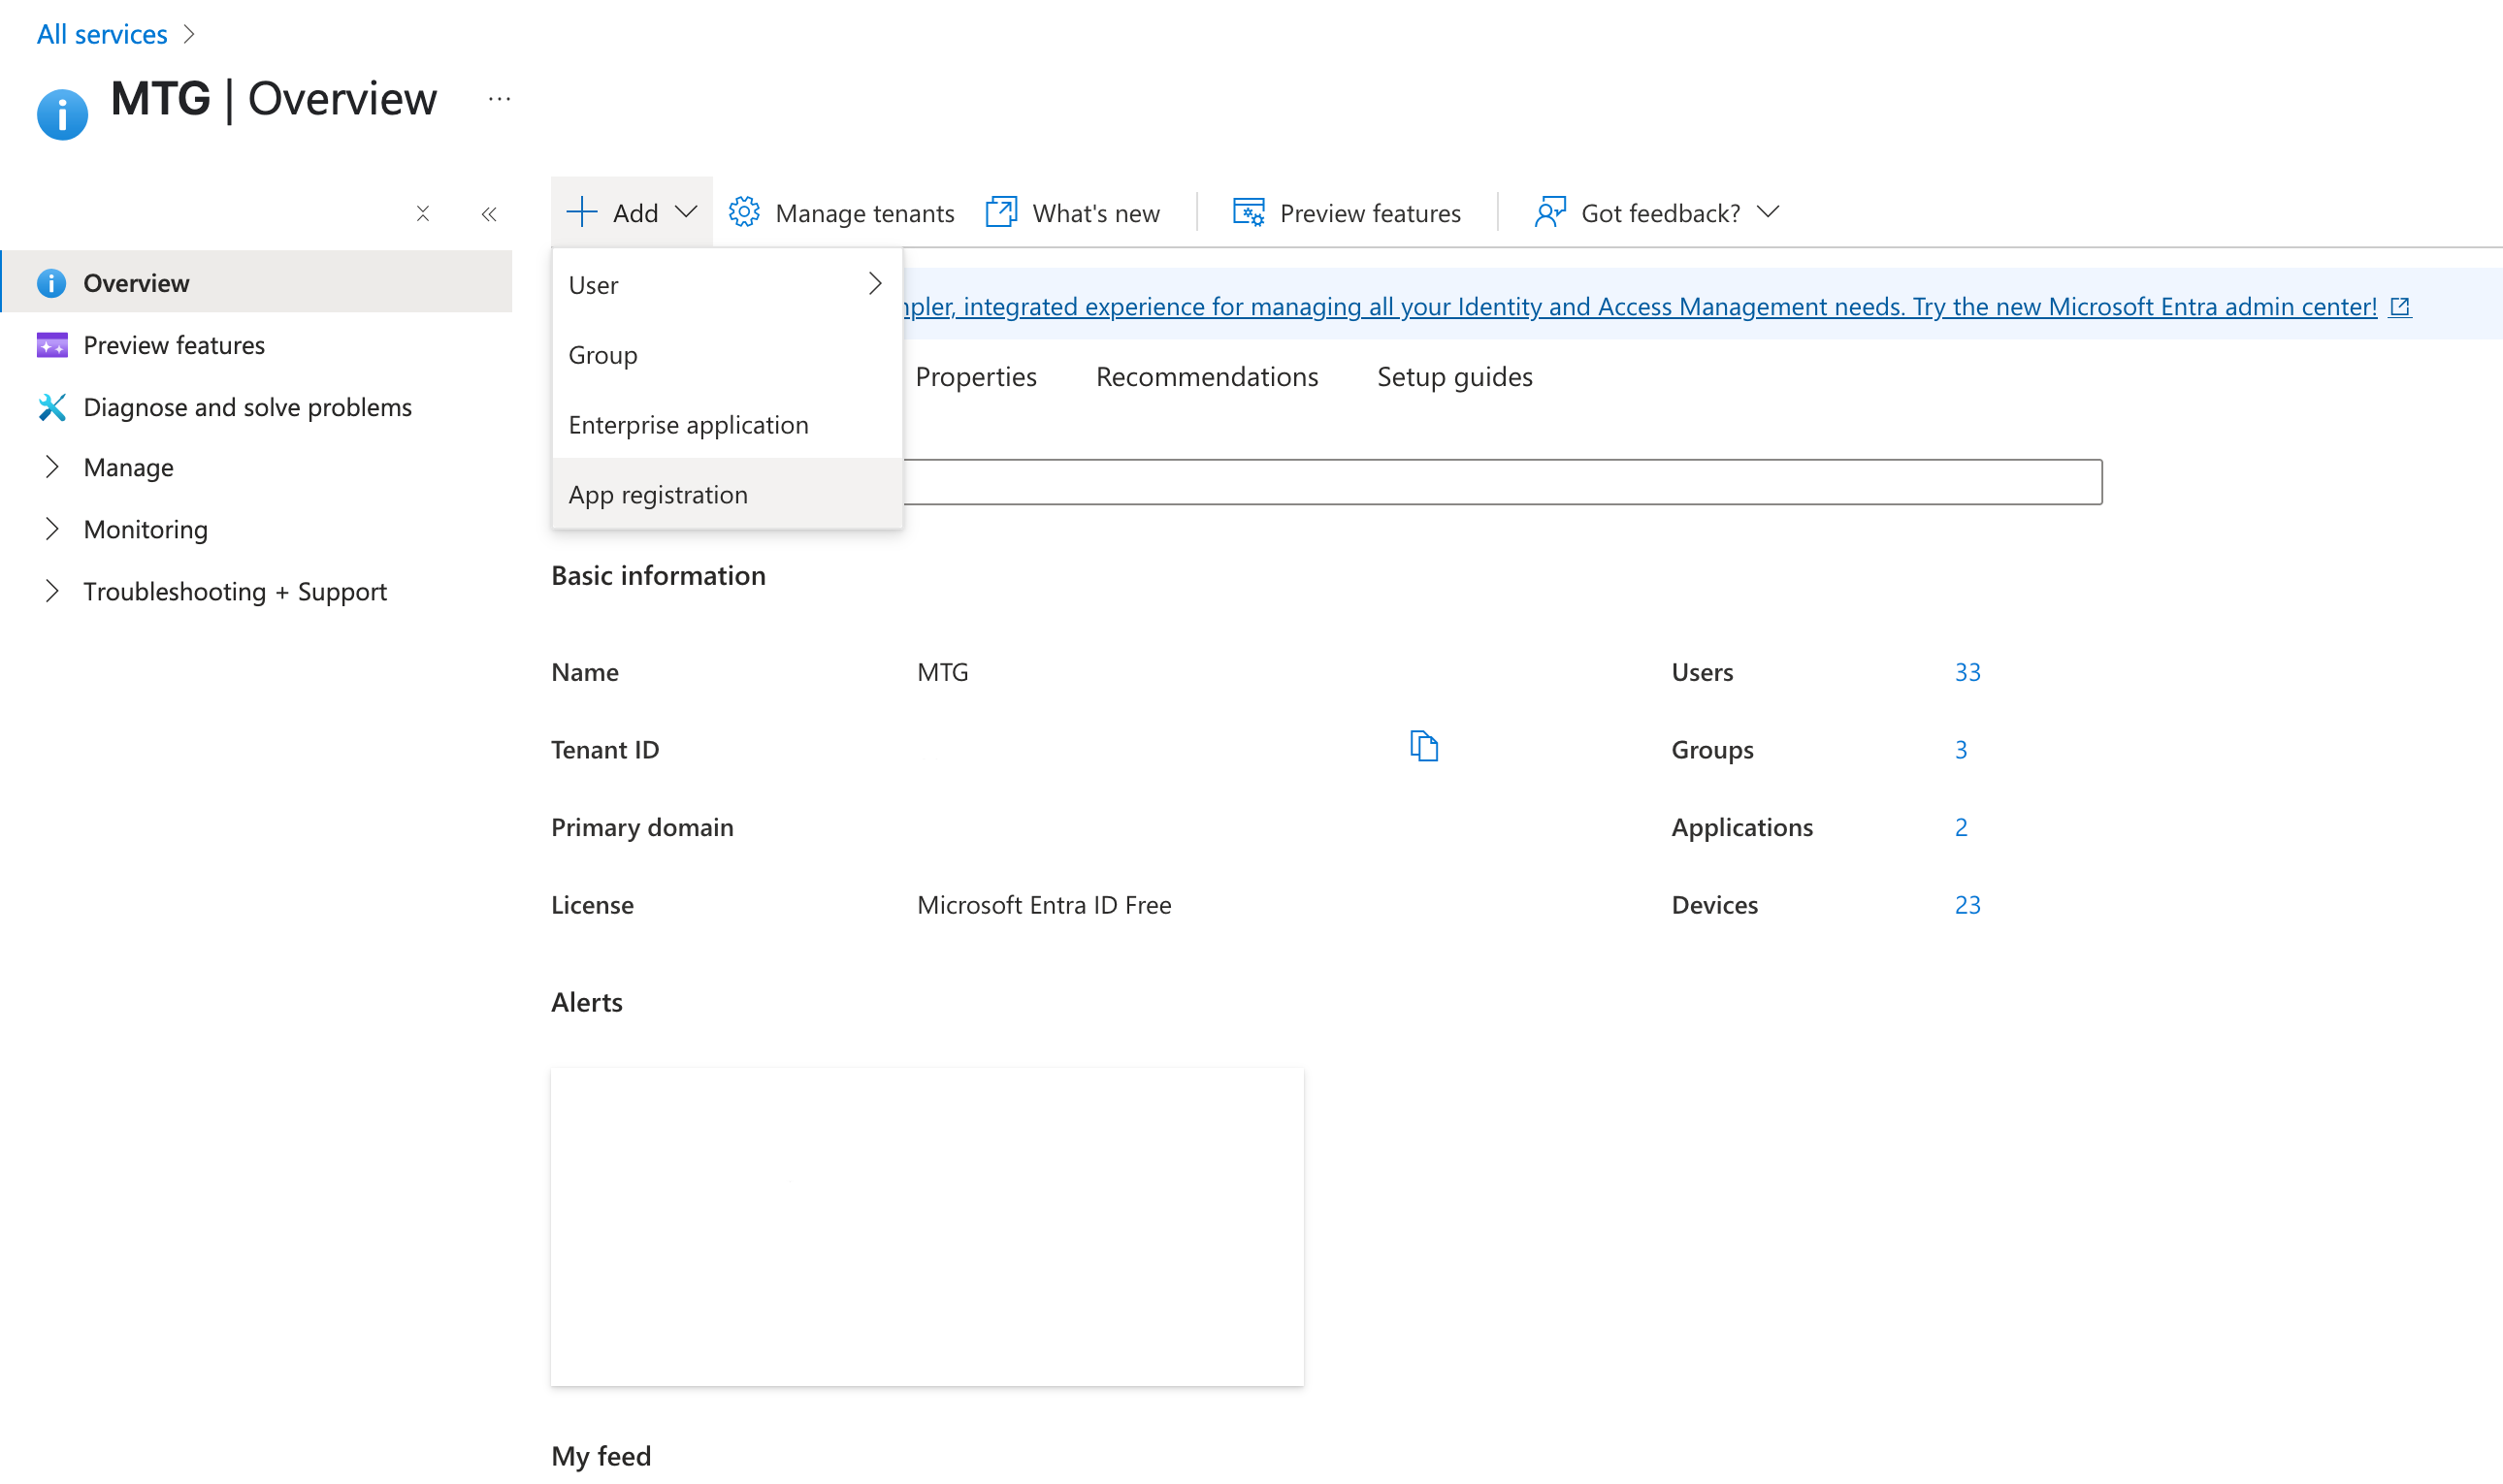
Select Add and then App registration.
Click to reveal screenshot
2. Configure Application Details
-
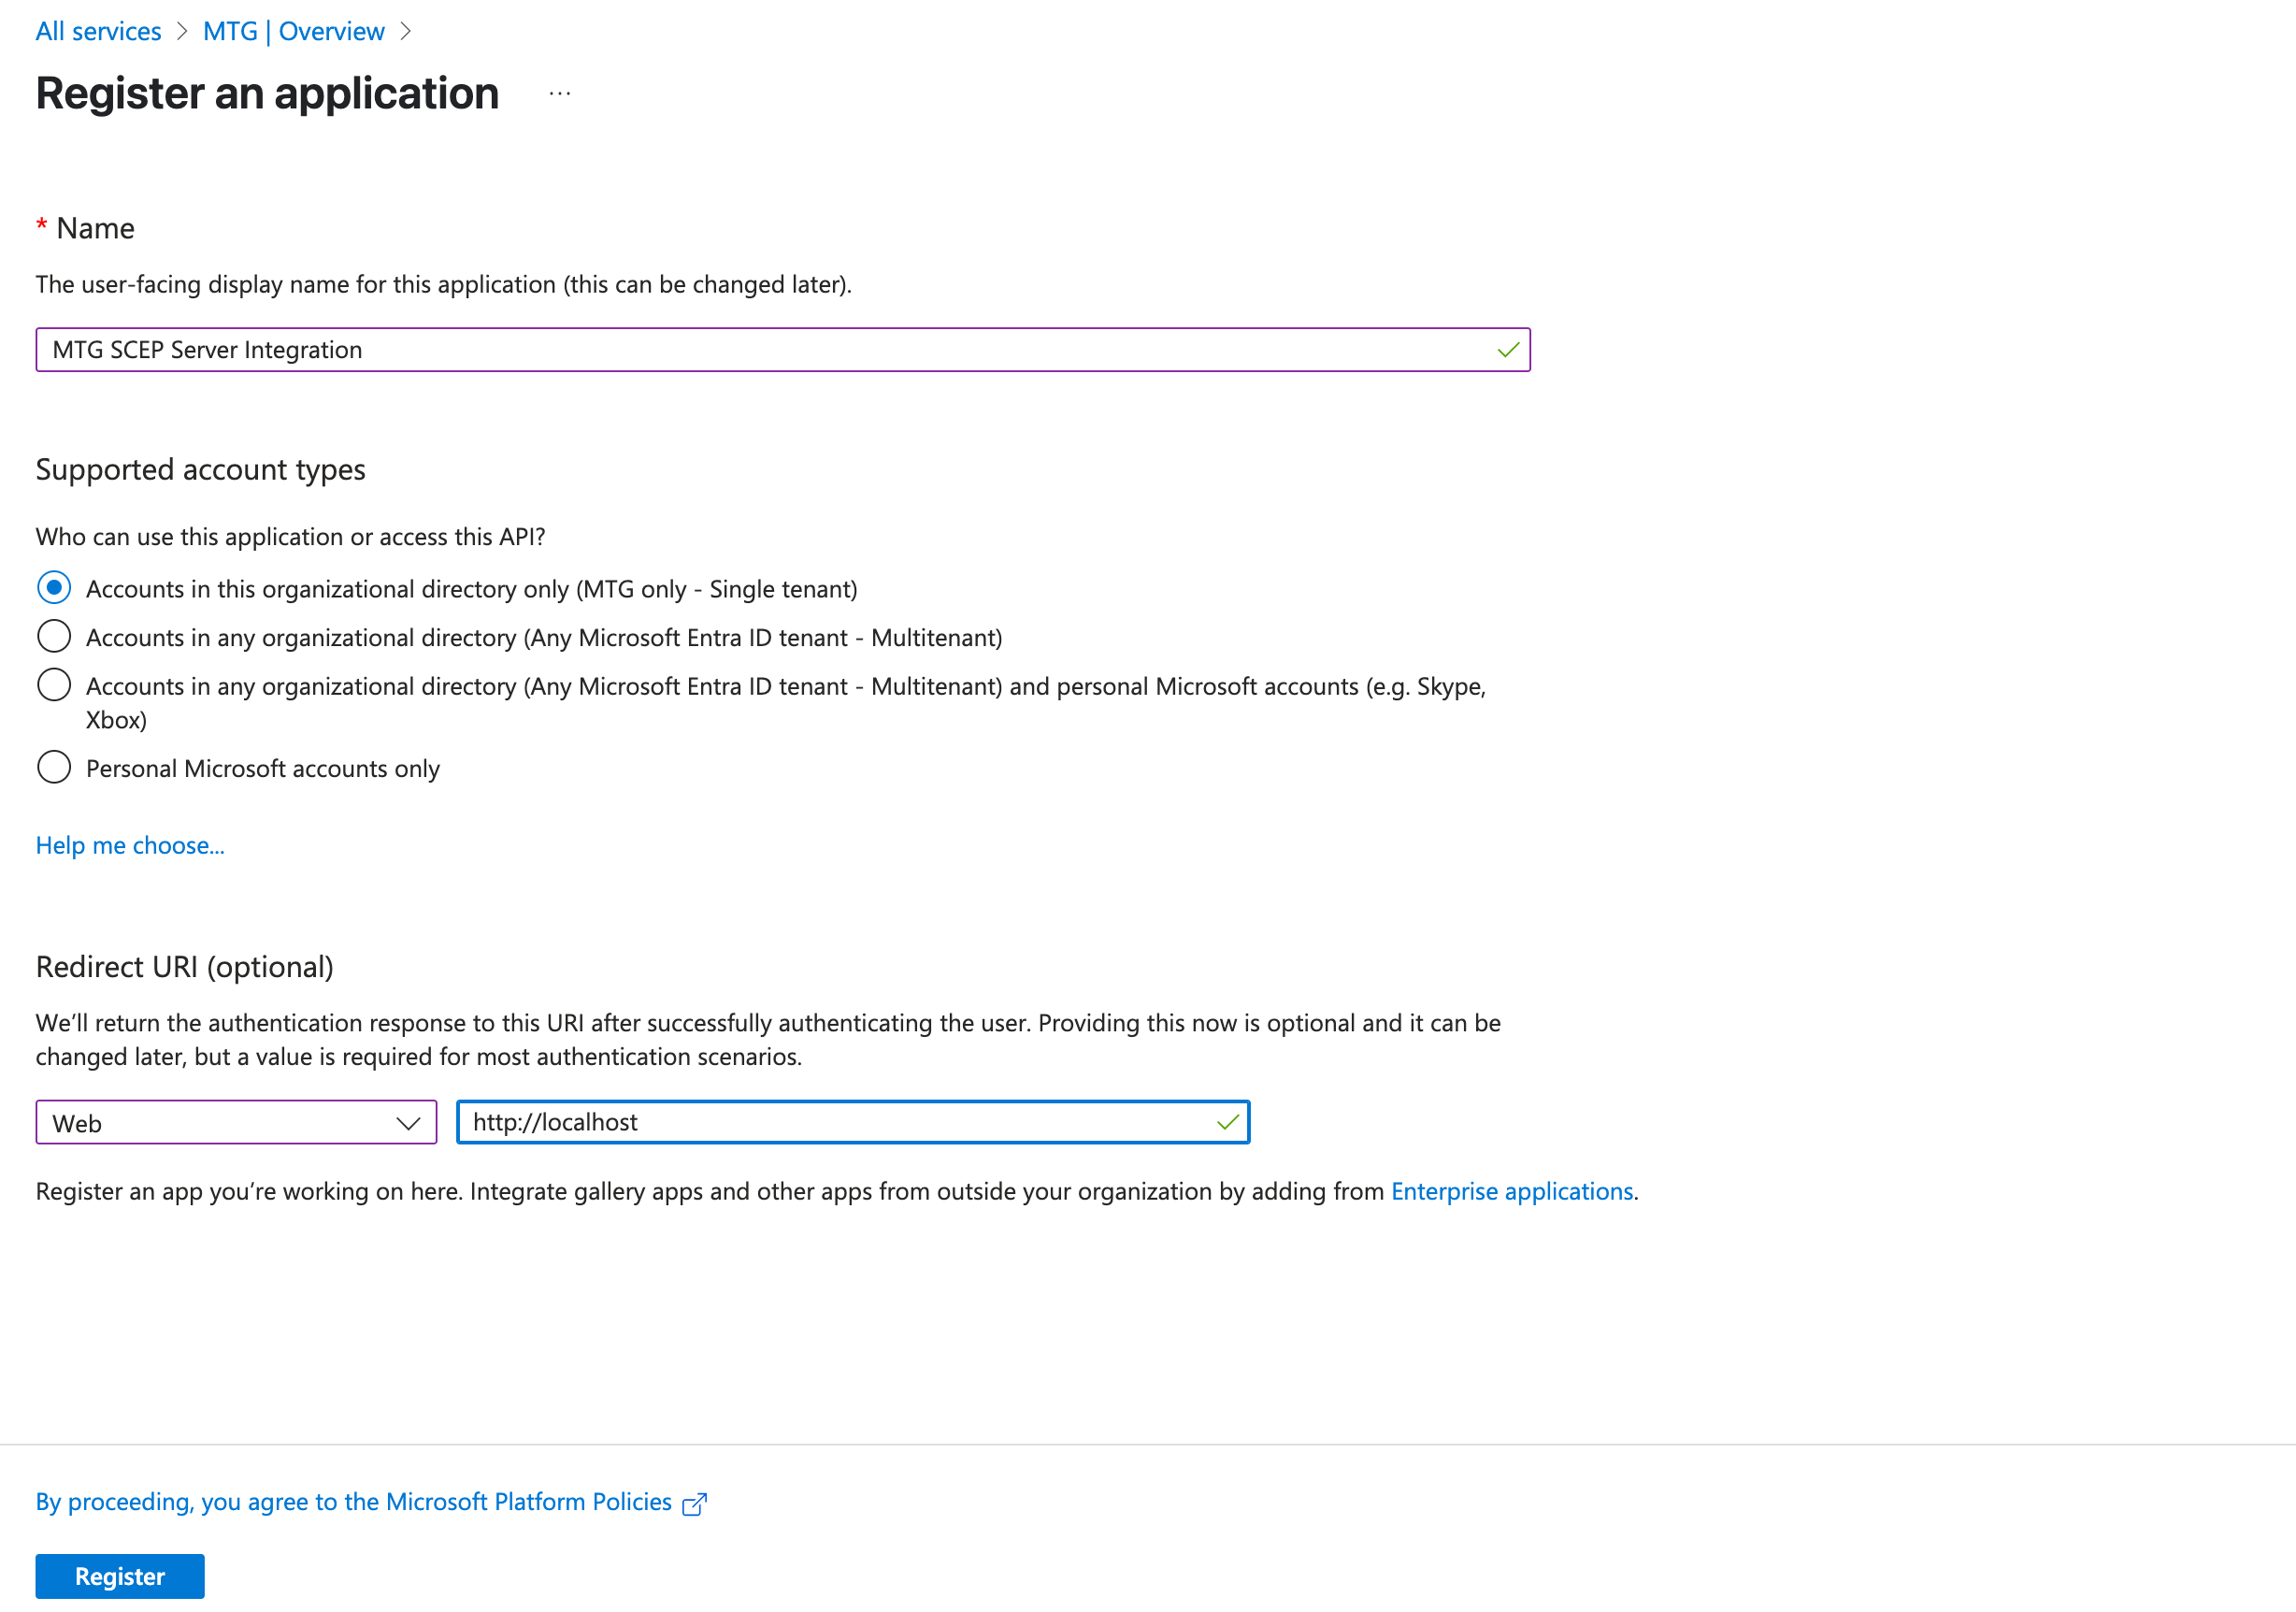
Name: Enter a descriptive name (e.g., "MTG SCEP Integration").
-
Supported account types: Select "Accounts in this organizational directory only".
-
Redirect URI: Choose "Web" and enter
localhost. -
Select Register.
Click to reveal screenshot
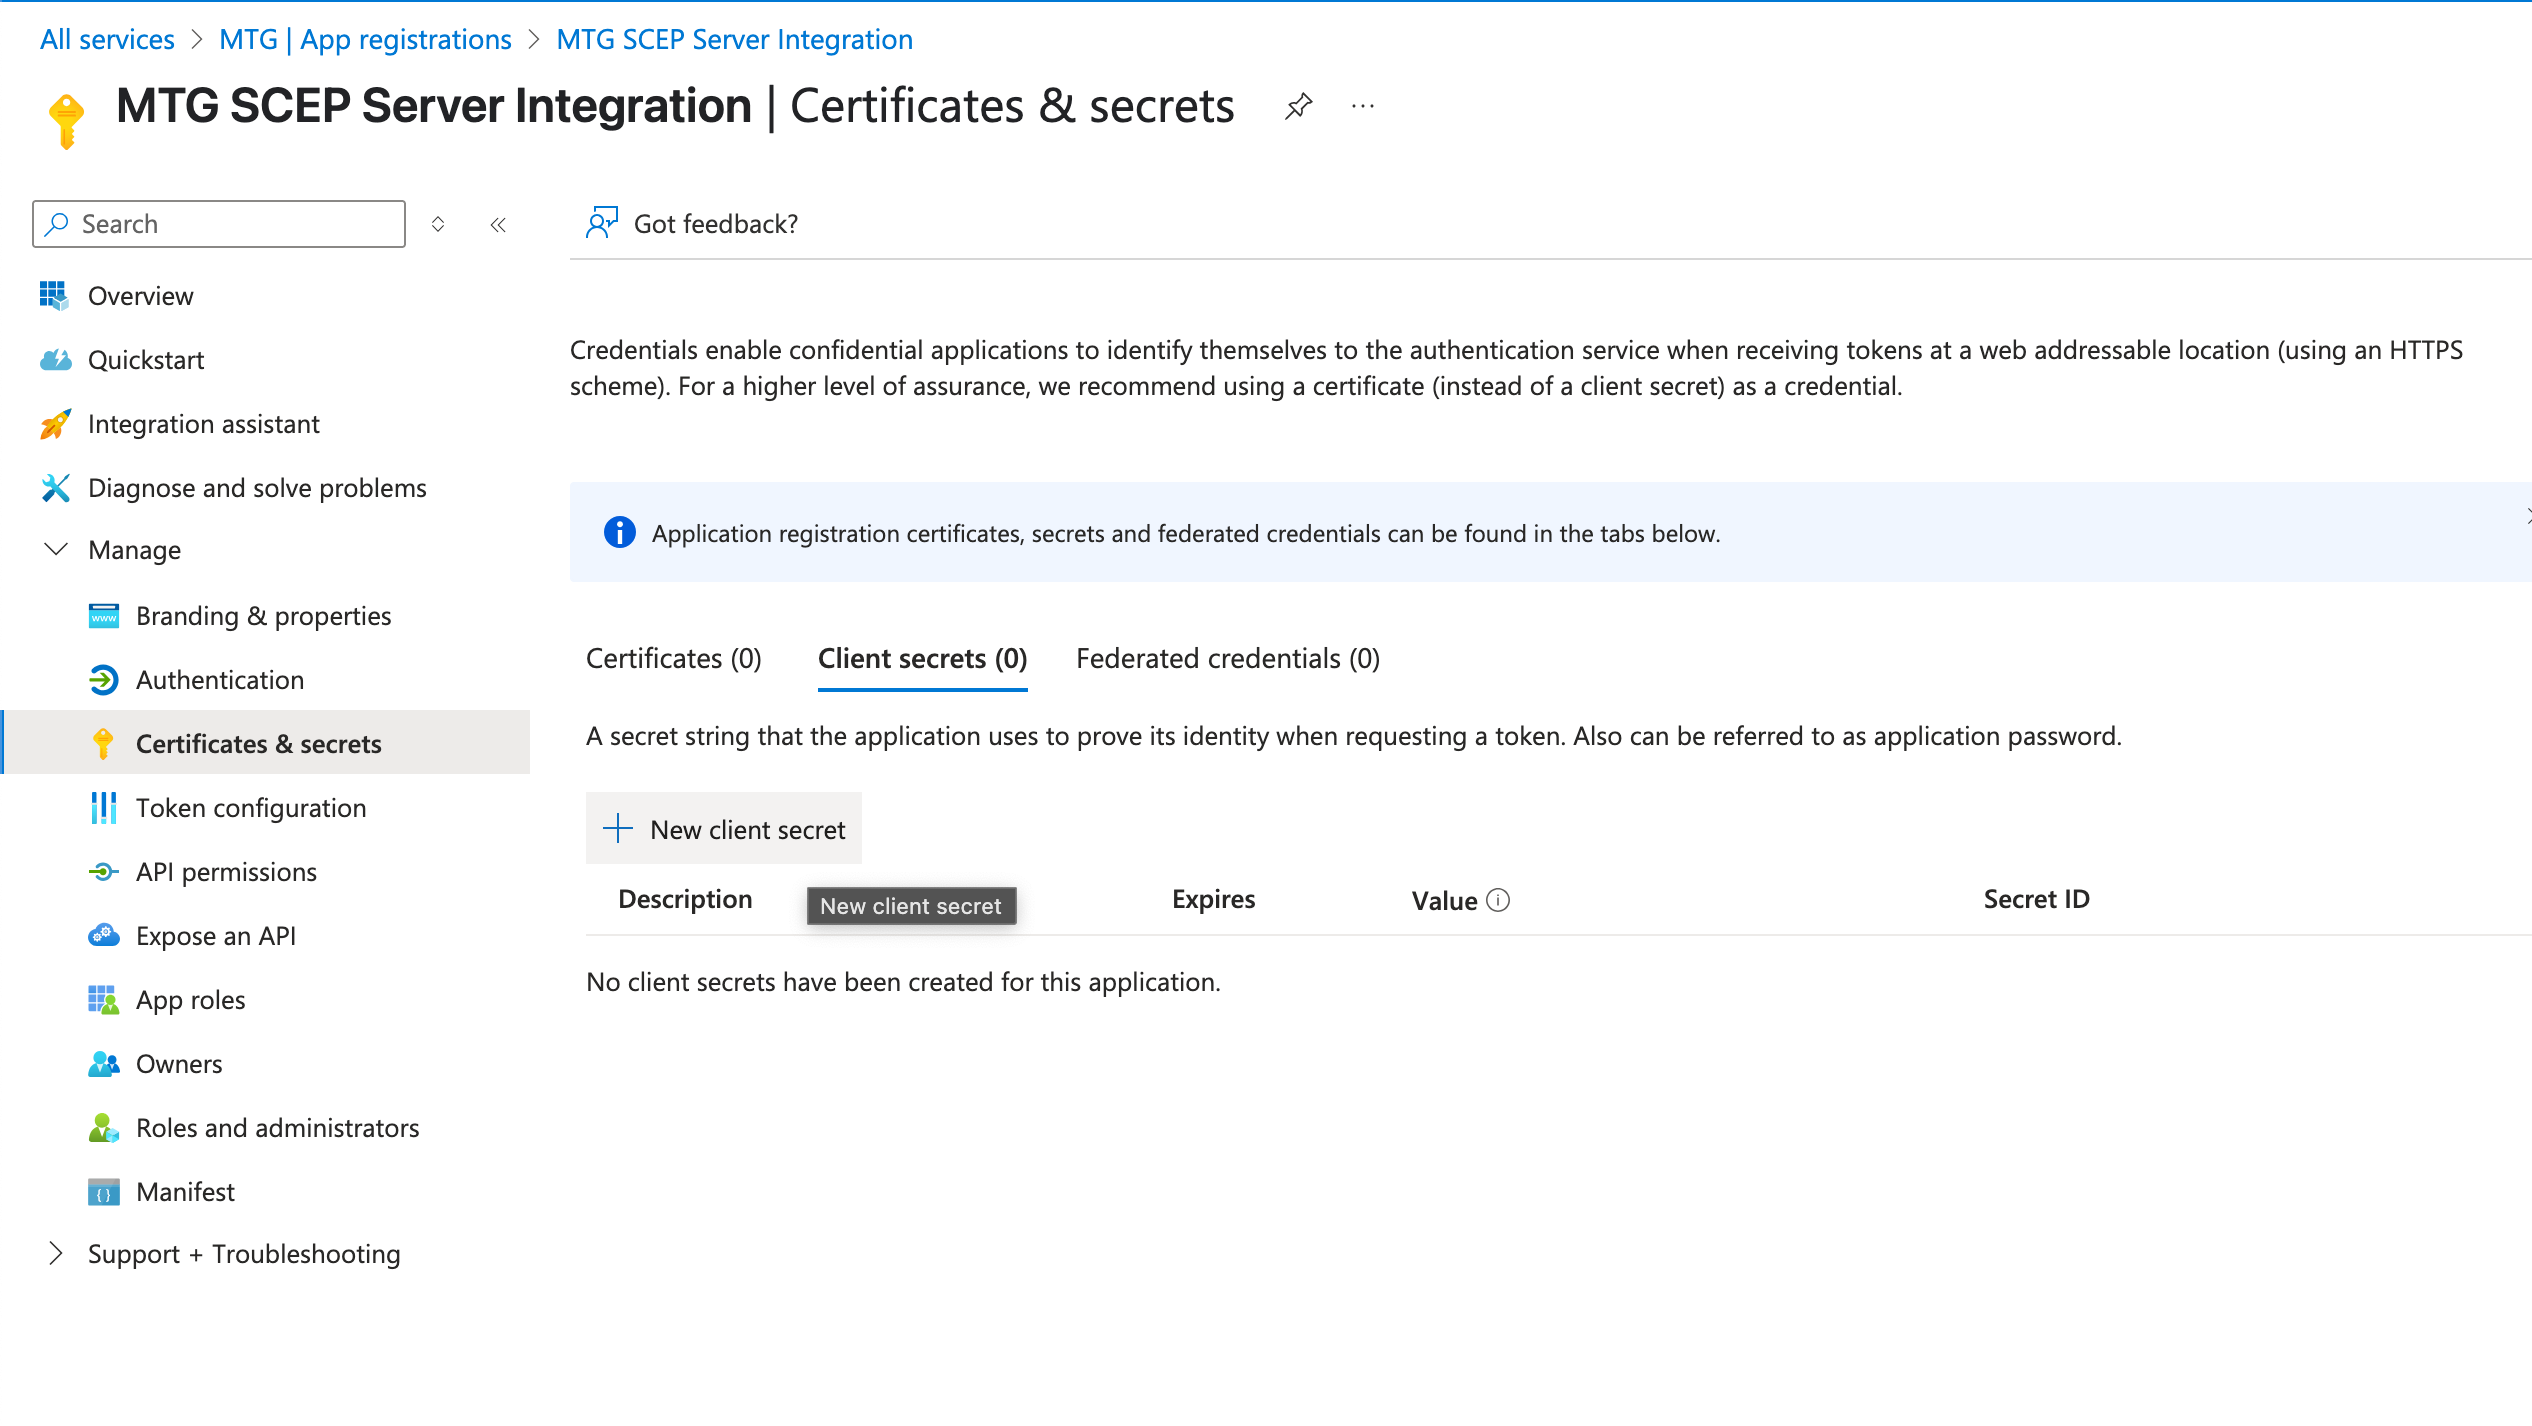
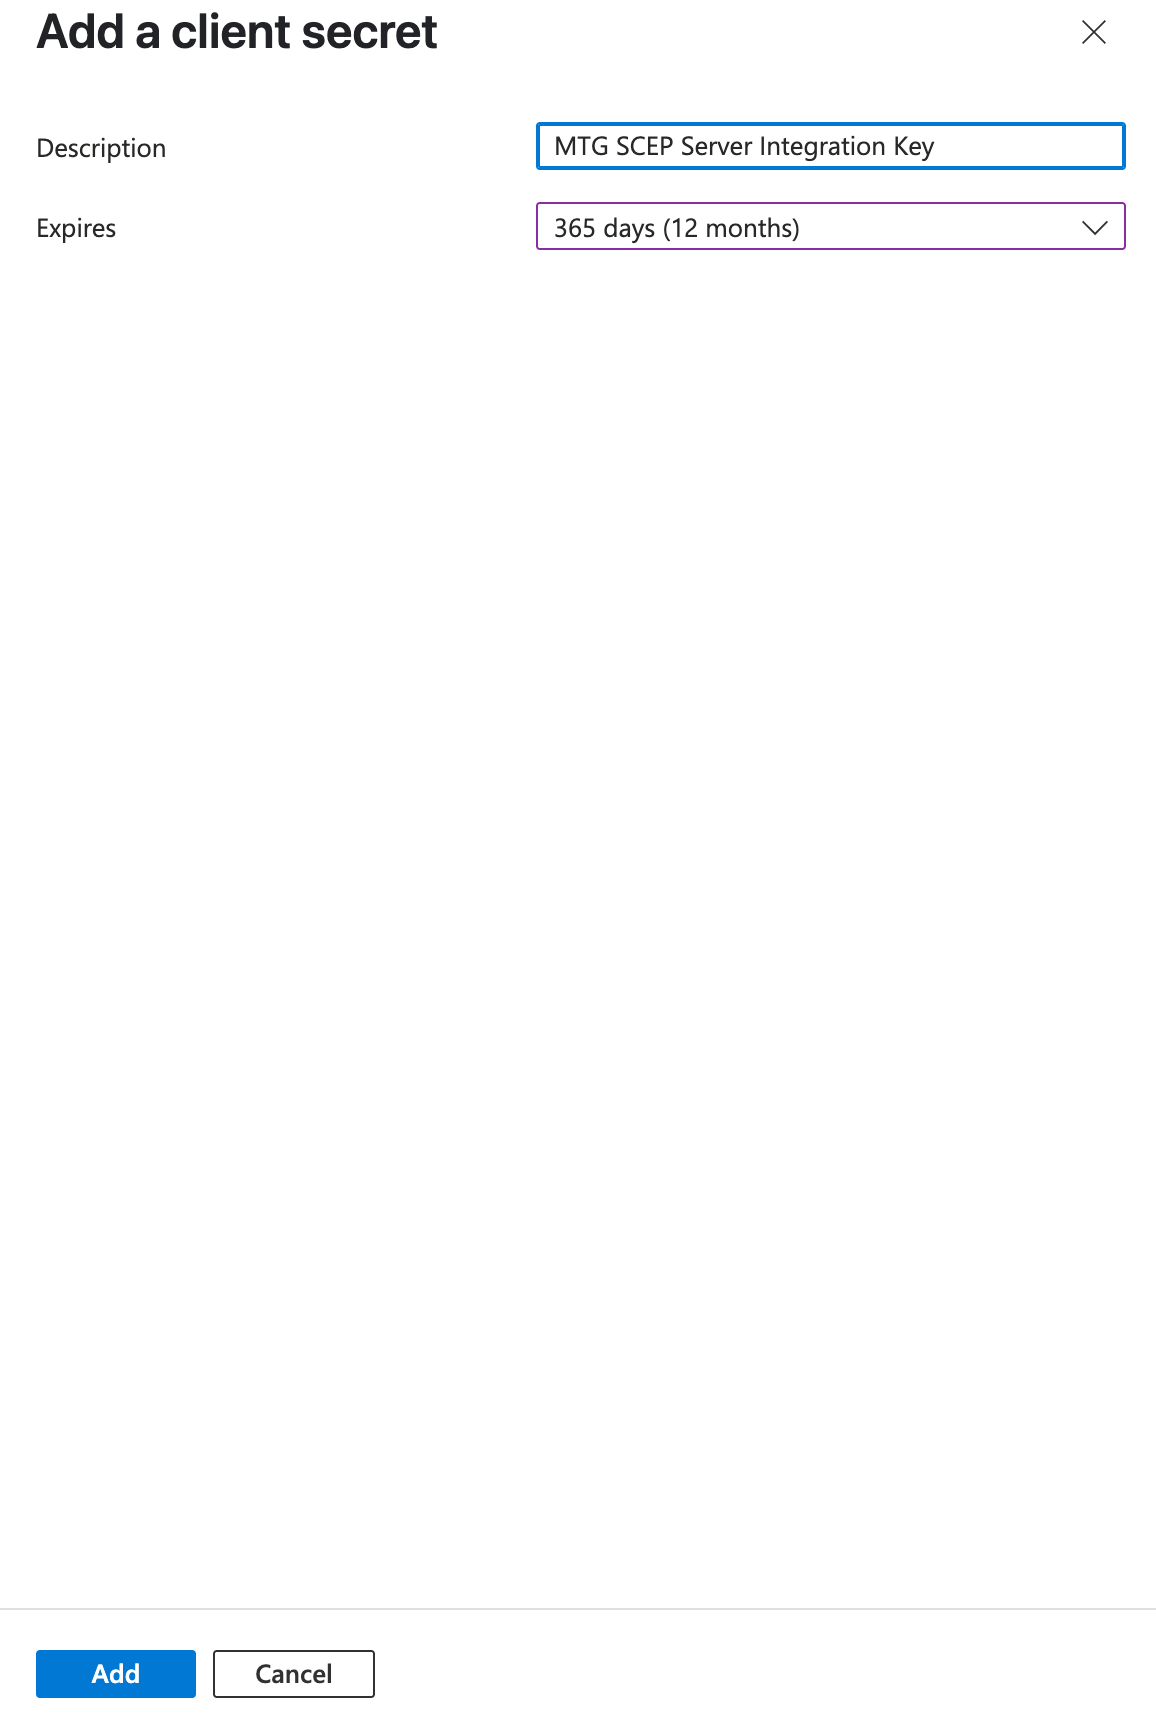
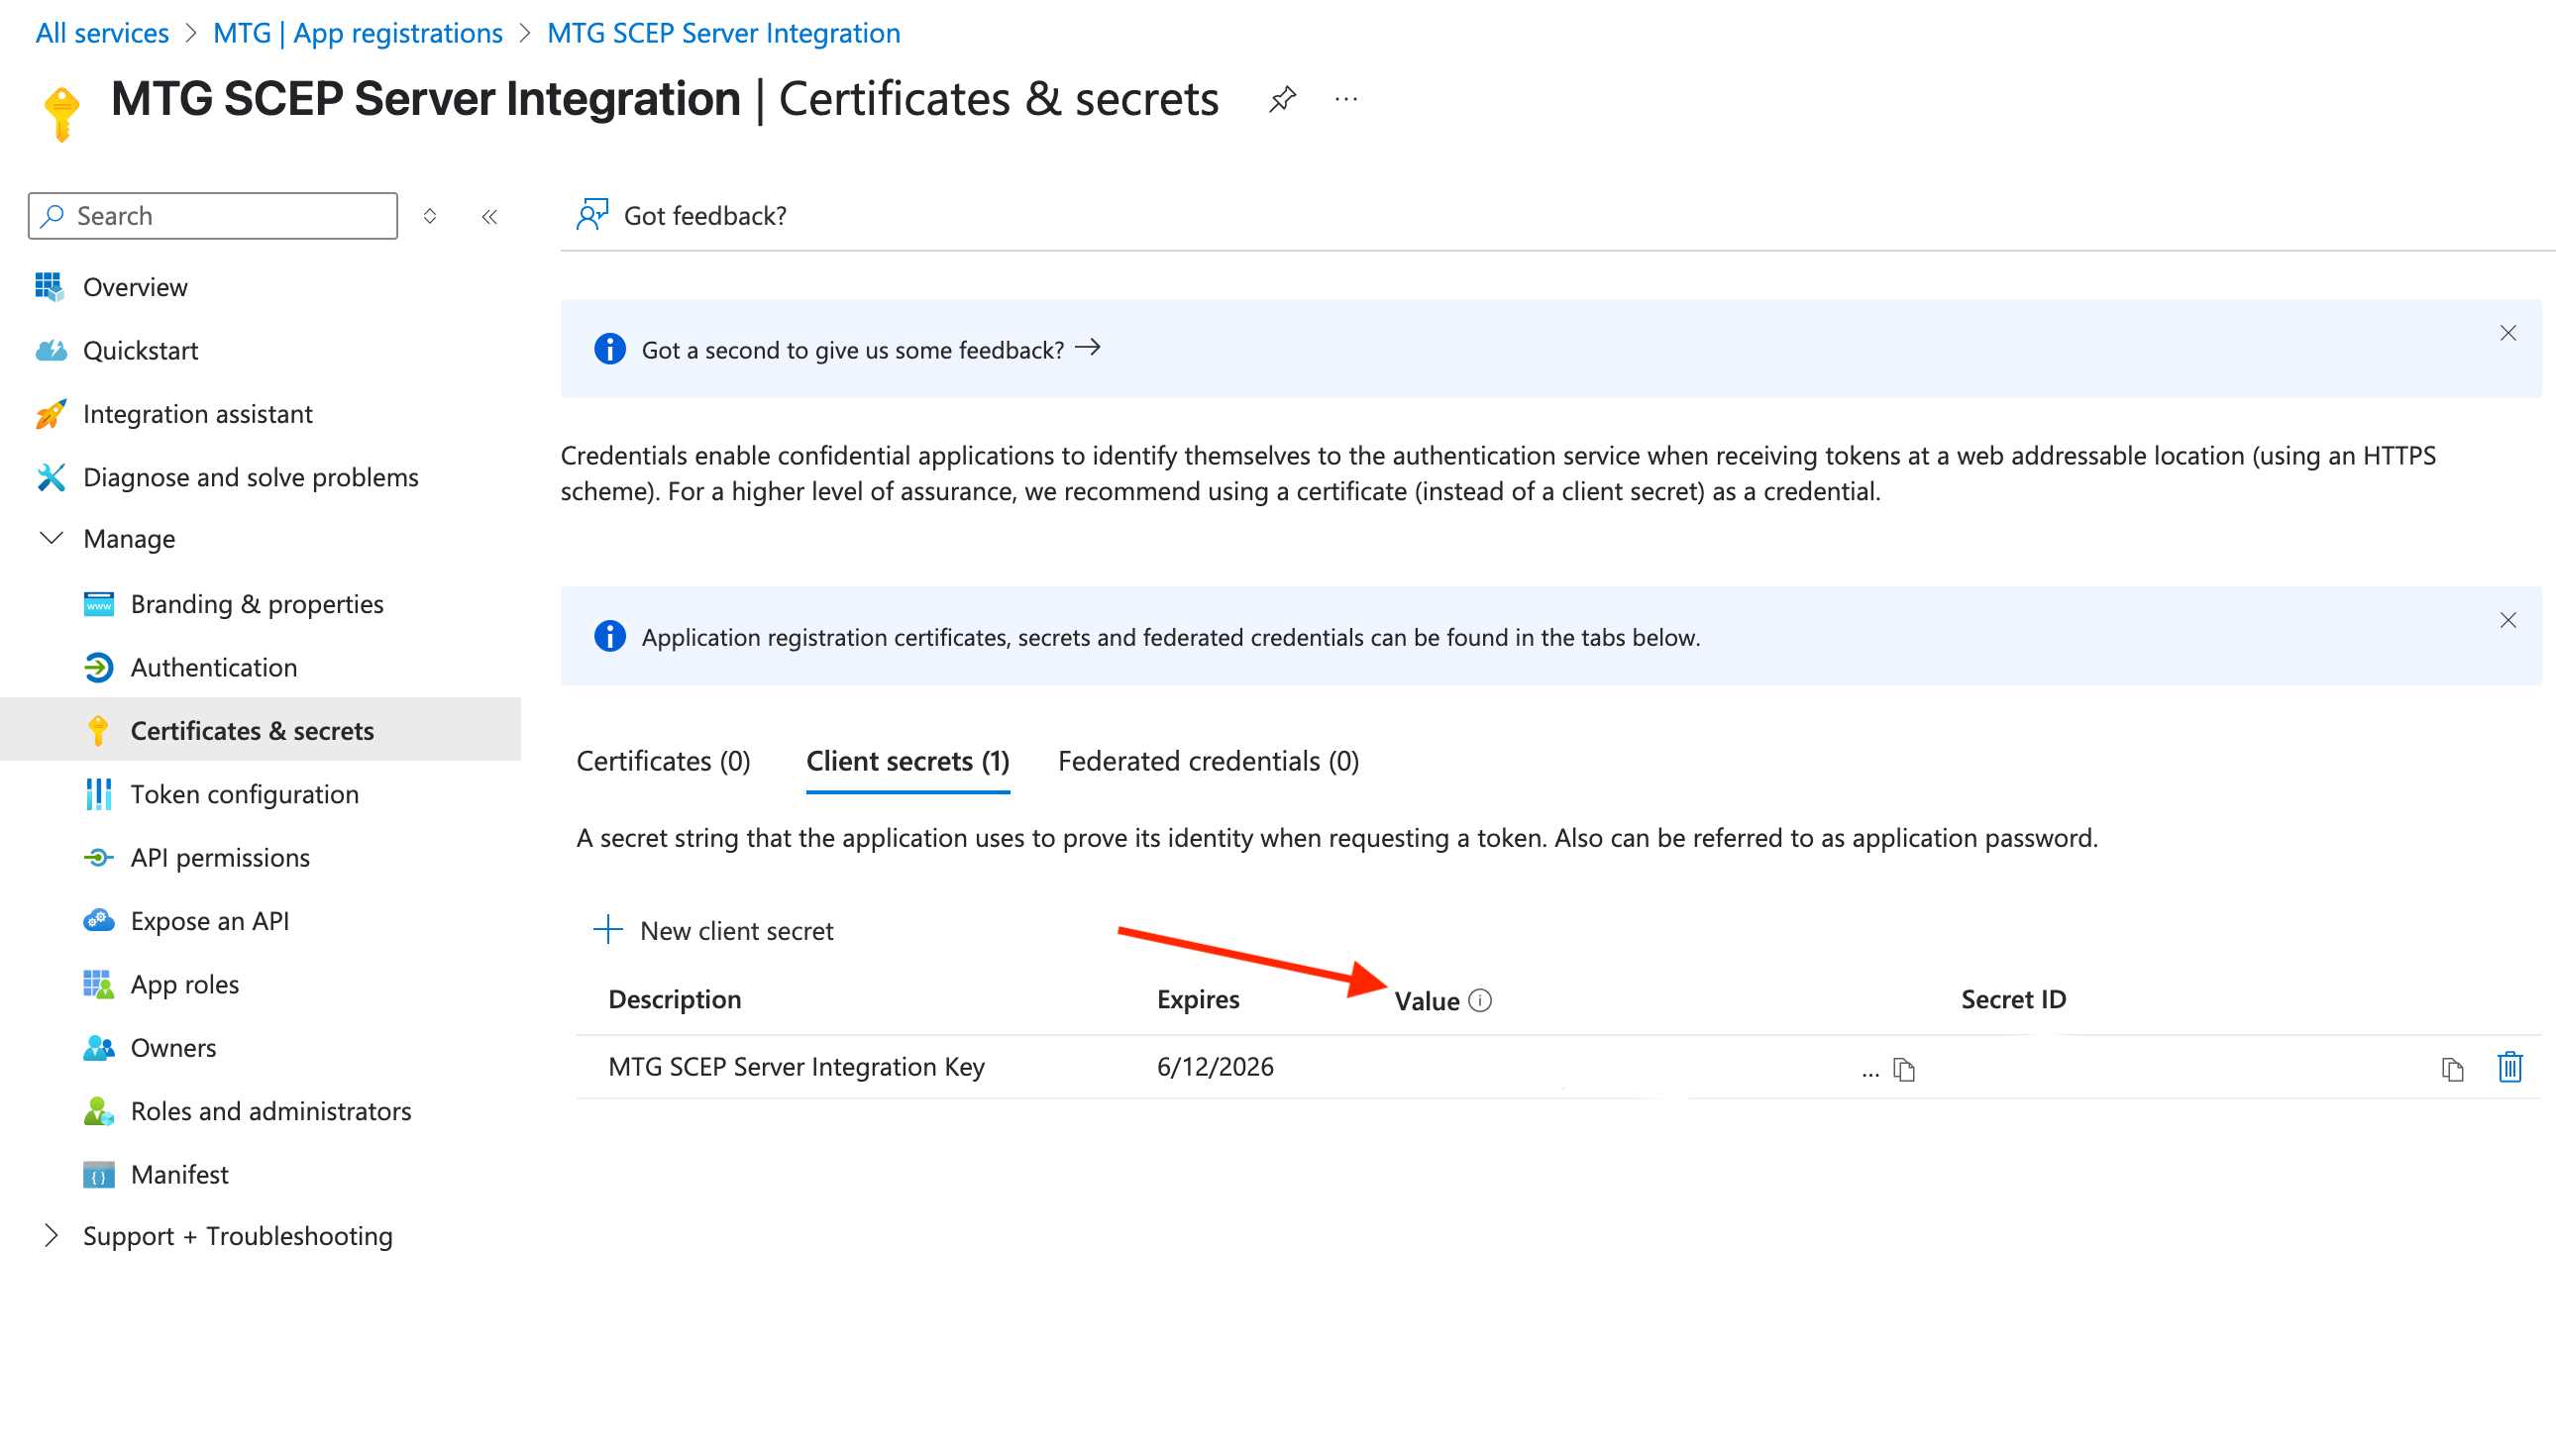
Generate Client Secret
1. Access Certificates & Secrets
-
In your registered application, navigate to Certificates & secrets in the sidebar.
-
Select New client secret.
Click to reveal screenshot
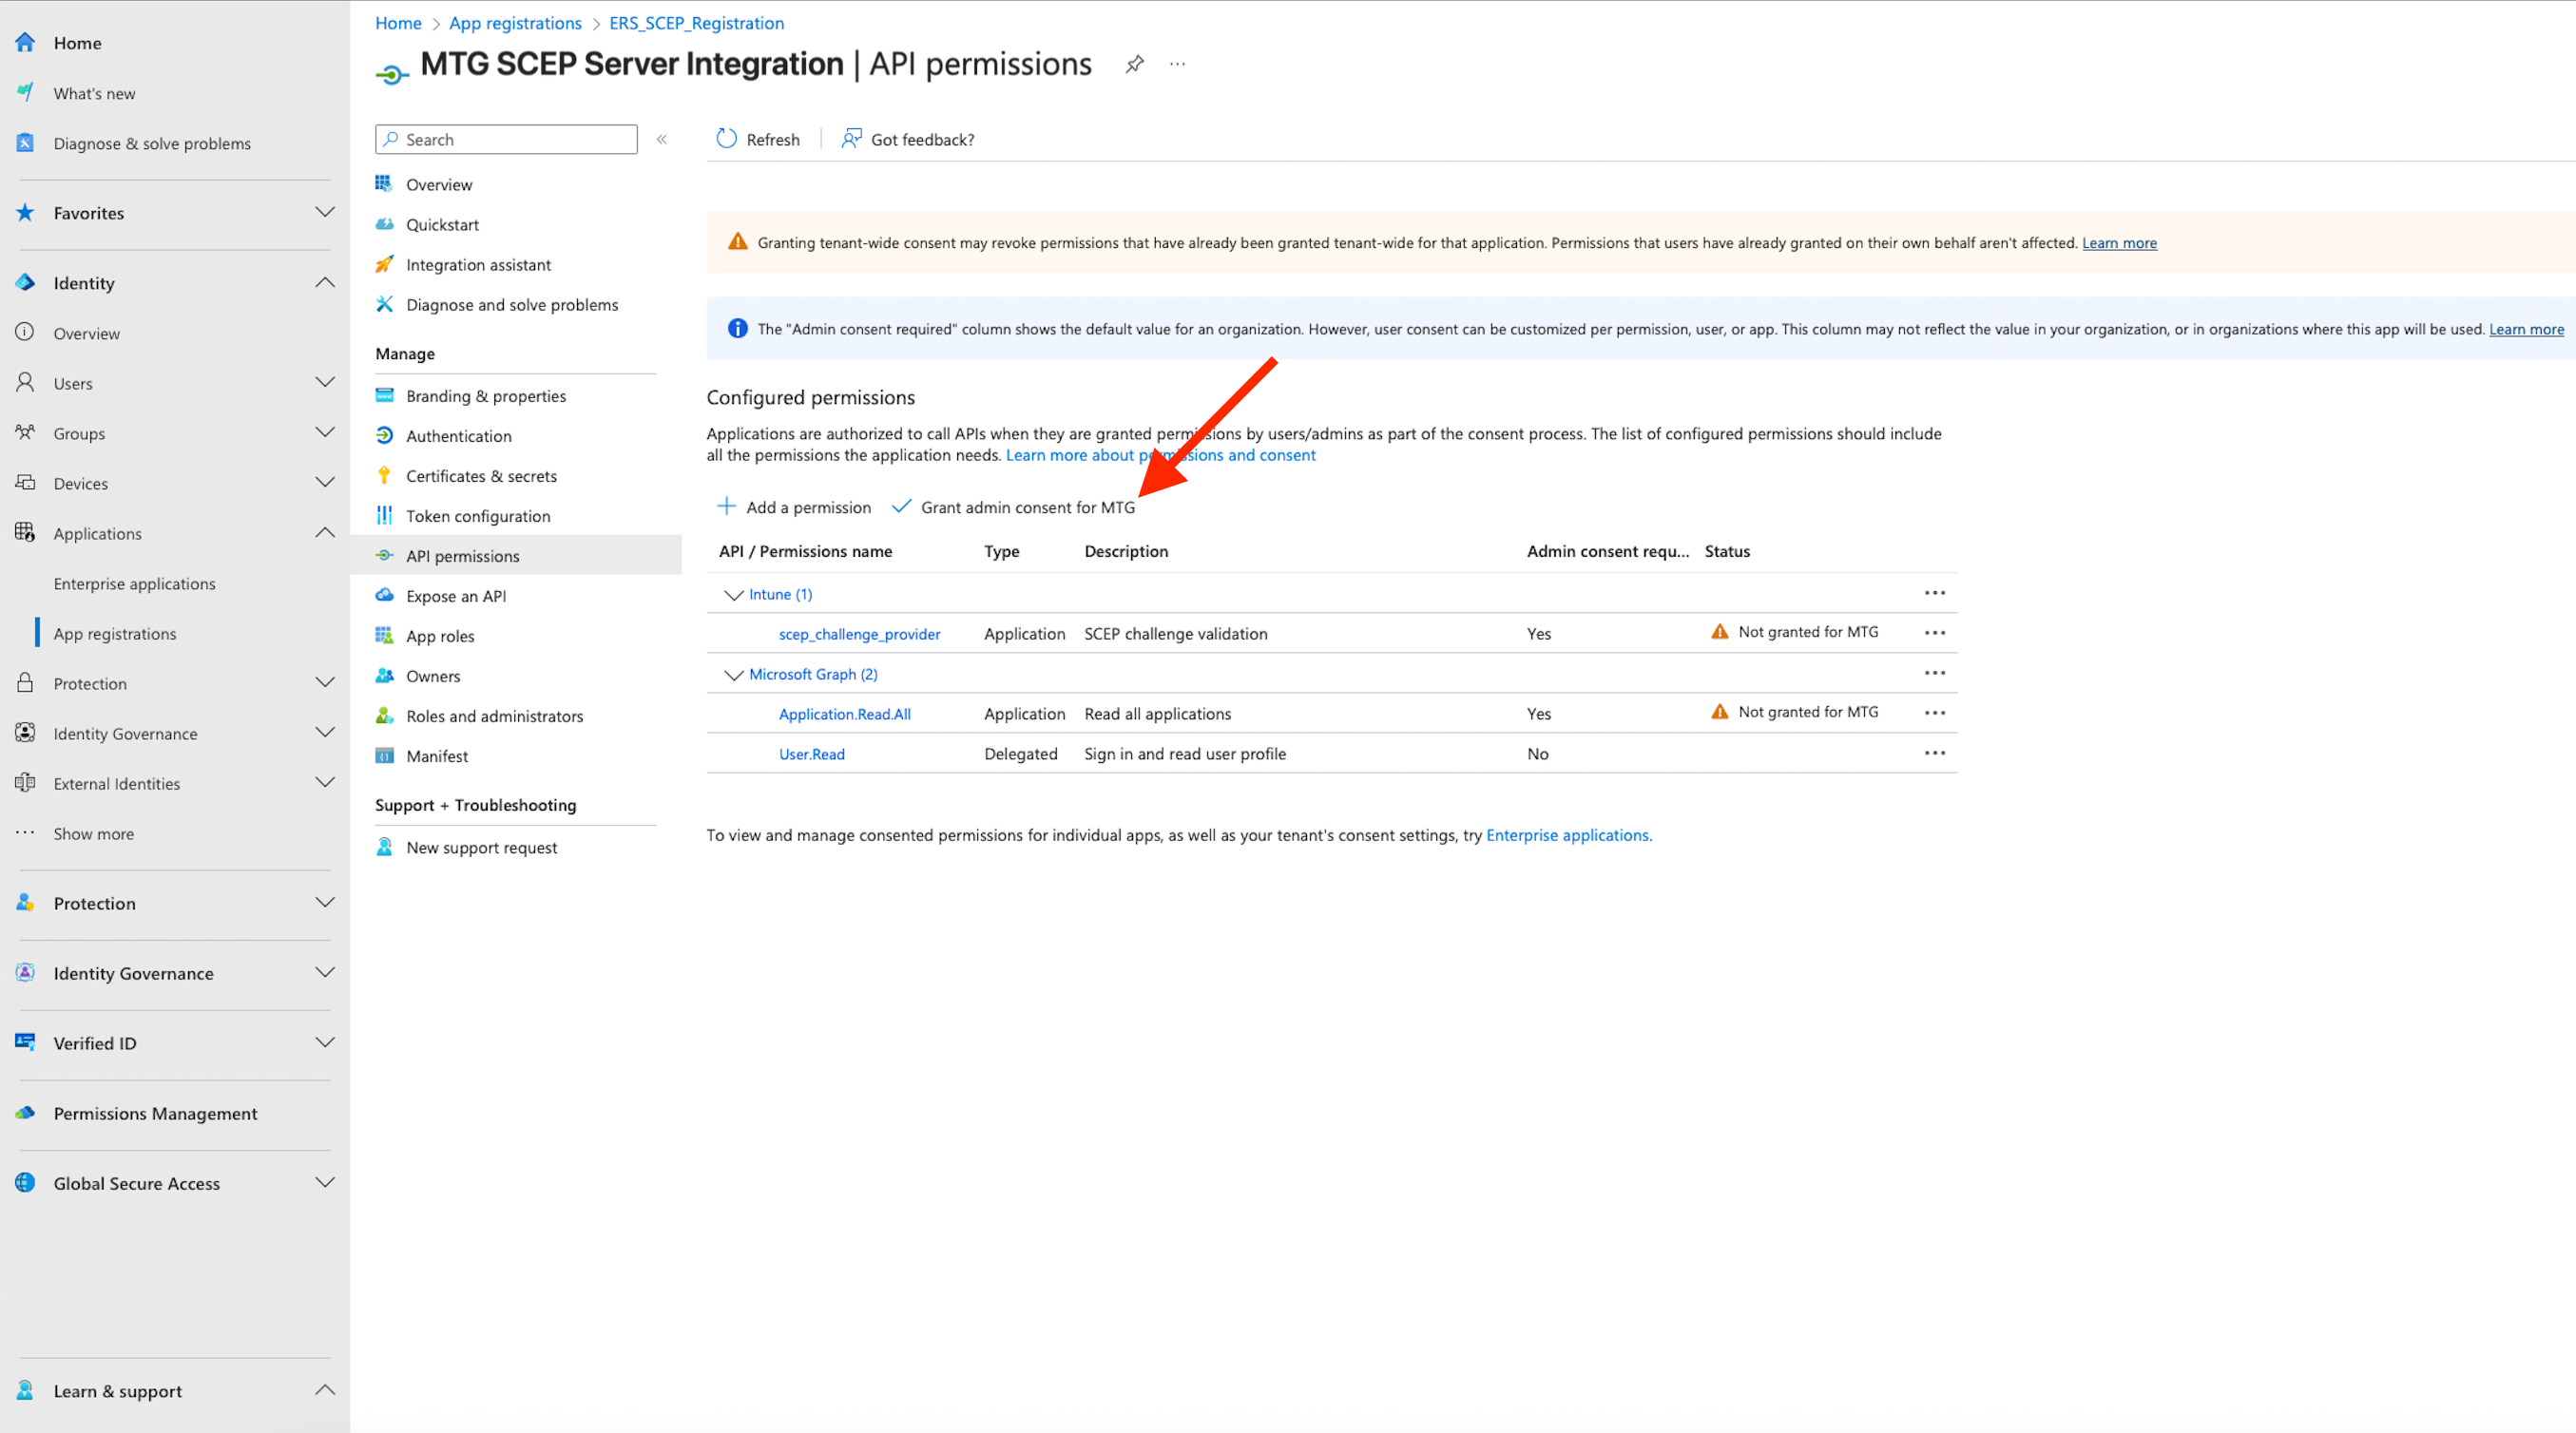
Configure API Permissions
1. Add Required Permissions
-
Navigate to API permissions.
-
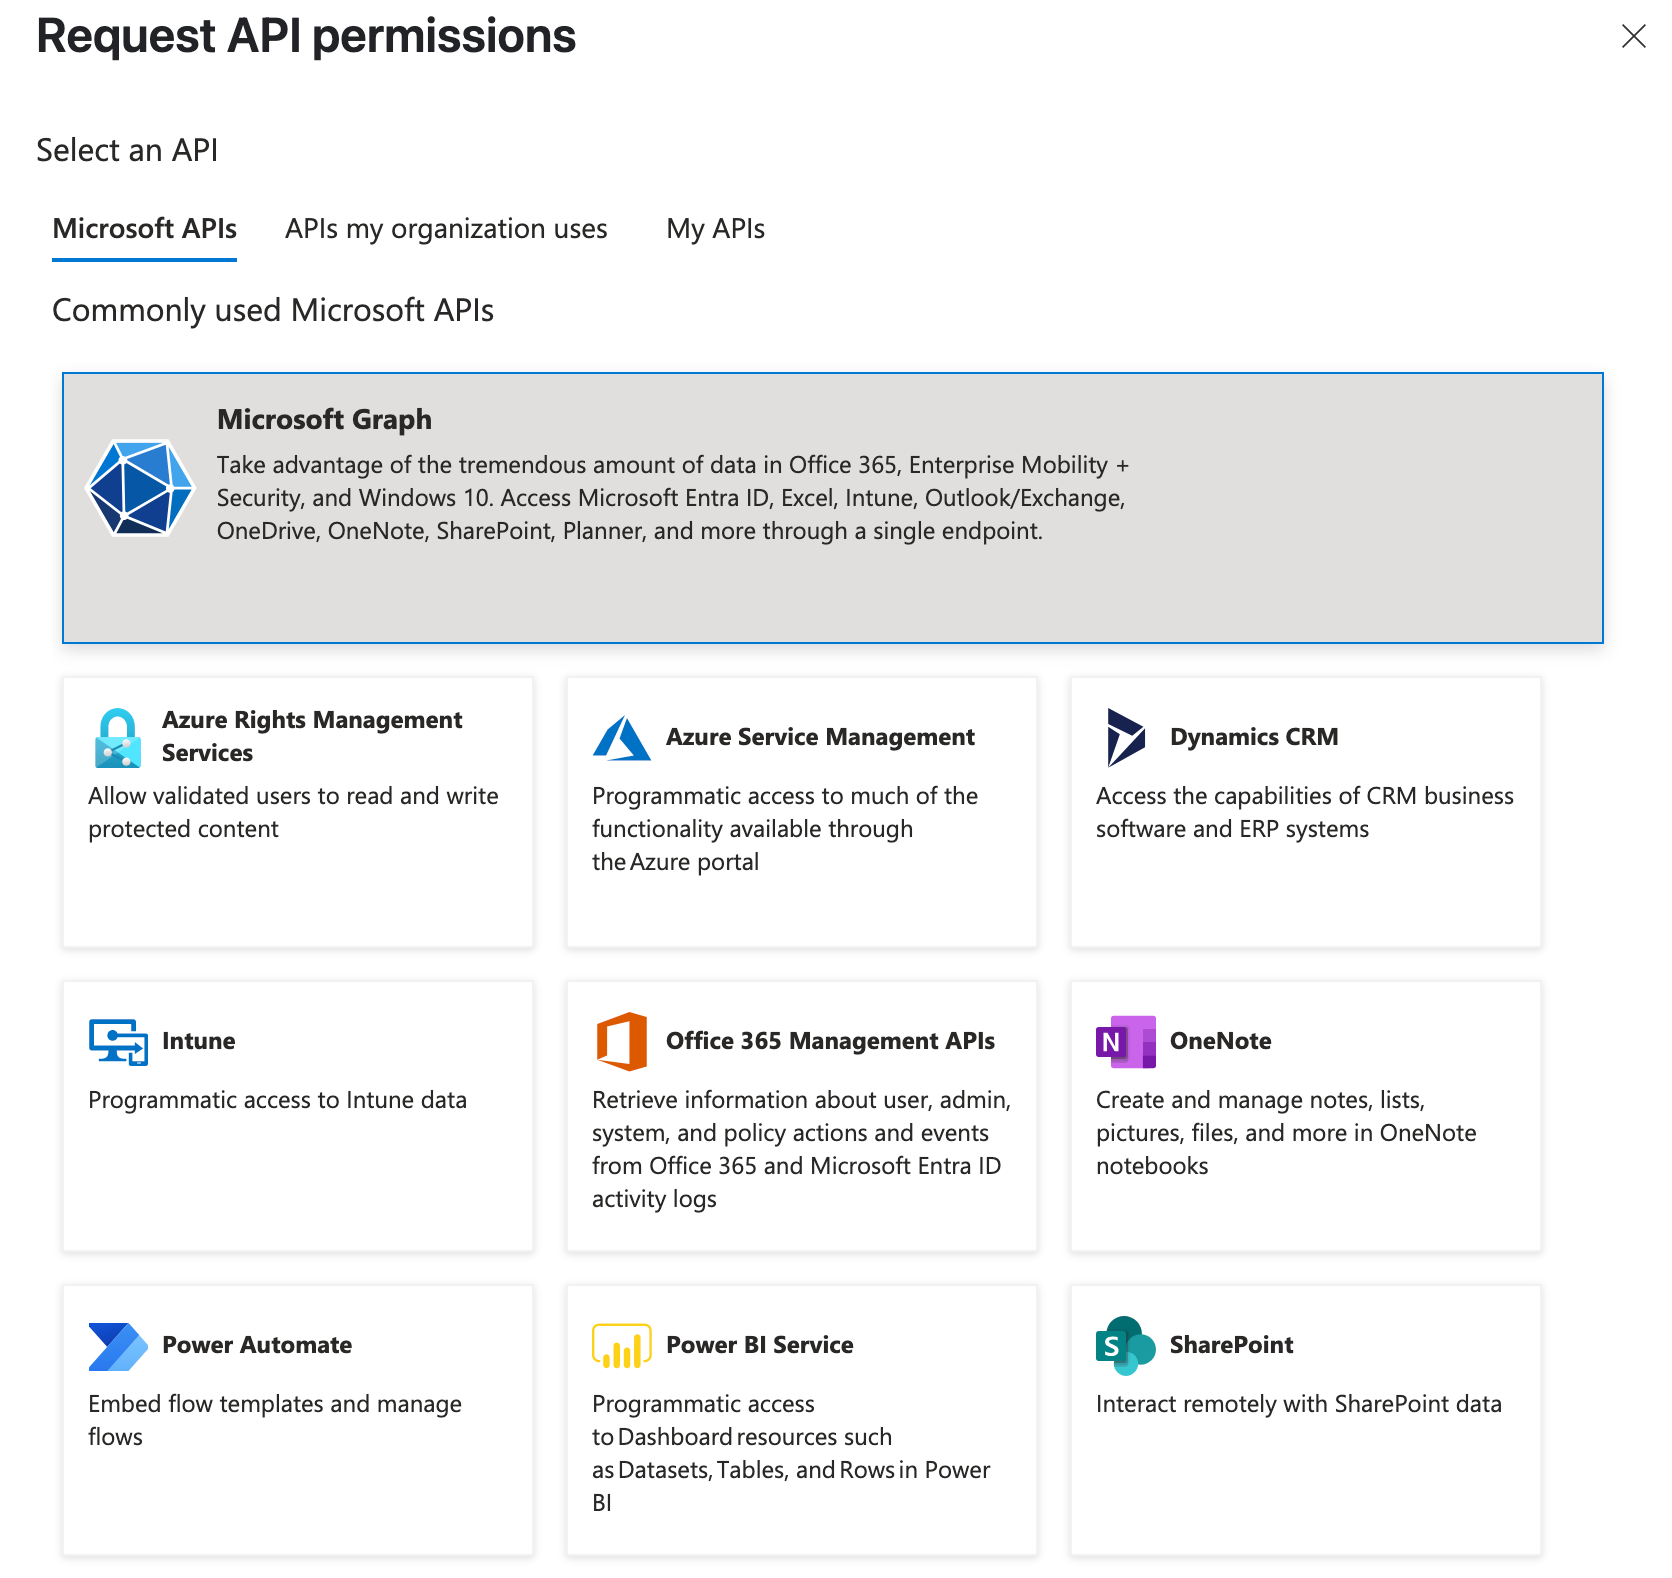
Select Add a permission > Microsoft Graph.
-
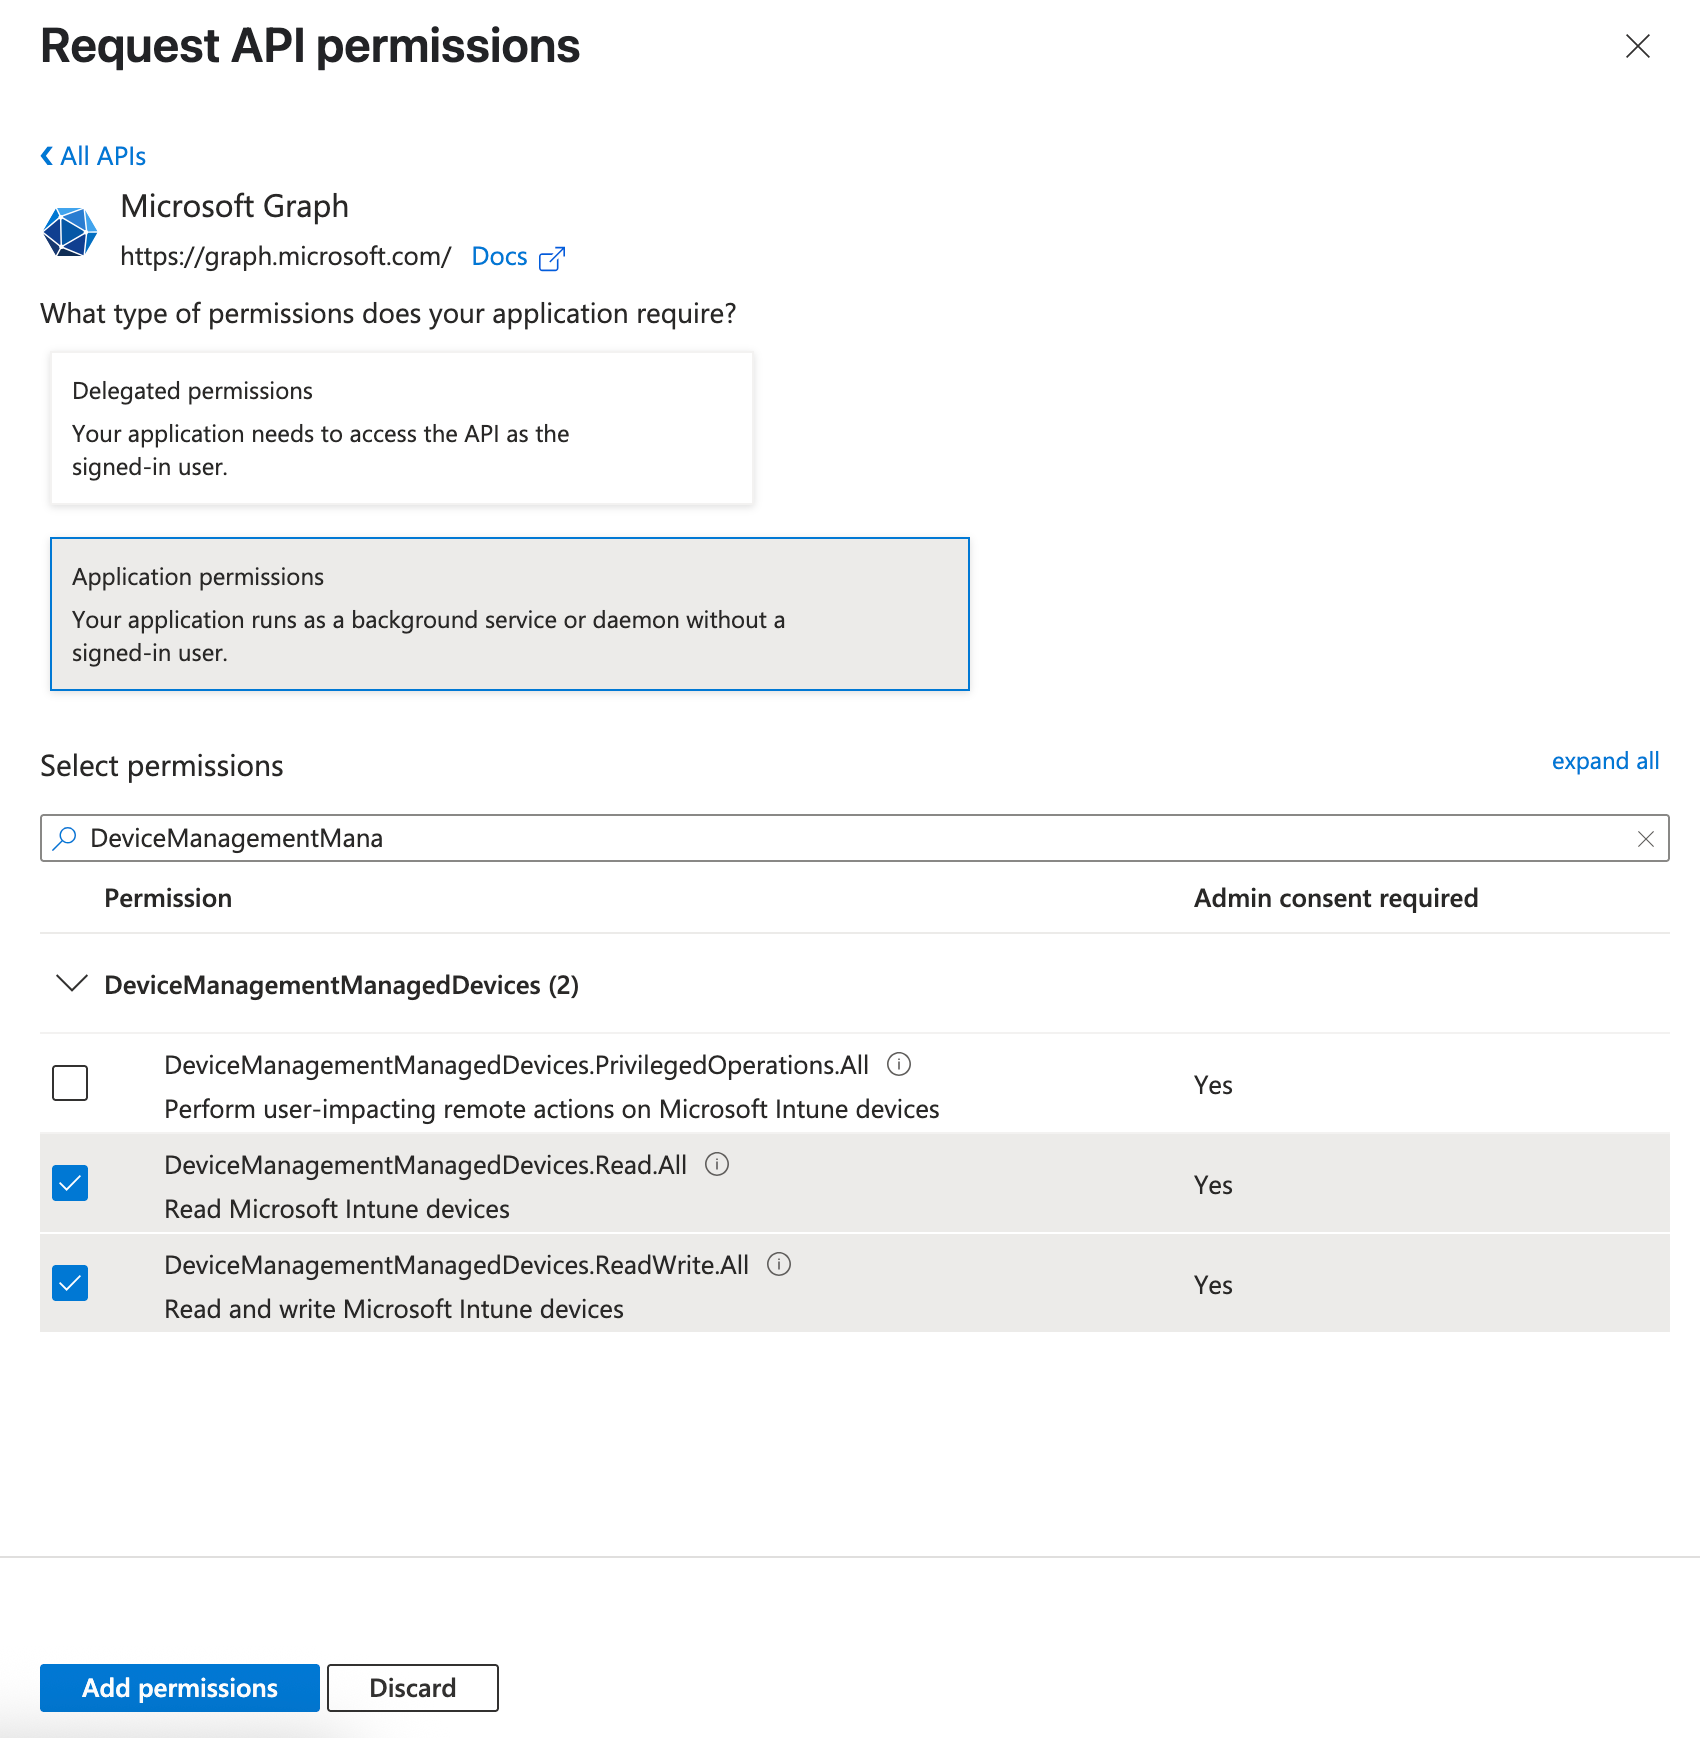
Choose Application permissions.
Click to reveal screenshot
Configure MTG SCEP Settings
1. Update SCEP Parameters
-
Access your MTG CLM administration interface and navigate to the SCEP configuration section.
Required Configuration Parameters:
-
ms.intune.app.id: Your Azure AD Application (client) ID
-
ms.intune.app.key: Your generated client secret value
-
ms.intune.app.tenant: Your tenant identifier
Optional Configuration:
-
Configure proxy settings if your environment requires external connectivity.
-
Adjust logging levels for troubleshooting during initial deployment.
2. Verify SCEP Status
Service Status Check
-
Verify SCEP service is running.
-
Confirm network connectivity from Intune to your SCEP endpoint.
-
Test SCEP URL accessibility: scep.example.com/scep.
Certificate Authority Validation
-
Ensure your issuing CA is properly configured.
-
Verify certificate templates are available for mobile device enrollment.
-
Confirm CA certificate chain is complete.
Configure Intune for Your Mobile Device (iOS)
Mobile Device Enrollment Methods Overview
| Microsoft Intune supports multiple enrollment methods for iOS devices, each with different management capabilities and user experiences. Certificate deployment approaches may vary depending on the enrollment method used. |
Common Enrollment Methods:
-
Device Enrollment with Company Portal: BYOD method with visible management profiles. Users can see installed certificates and configuration profiles in device settings.
-
User Enrollment: Modern BYOD approach with privacy-focused management. Certificates deploy with minimal profile visibility to users.
-
Device Enrollment Program (DEP): Corporate-owned devices with automated enrollment. Certificate deployment typically occurs in background.
-
Apple Configurator: Manual enrollment method typically showing management profiles and certificates in device settings.
| The steps below demonstrate the Company Portal enrollment approach. Certificate deployment configuration may require adjustments for other enrollment methods. |
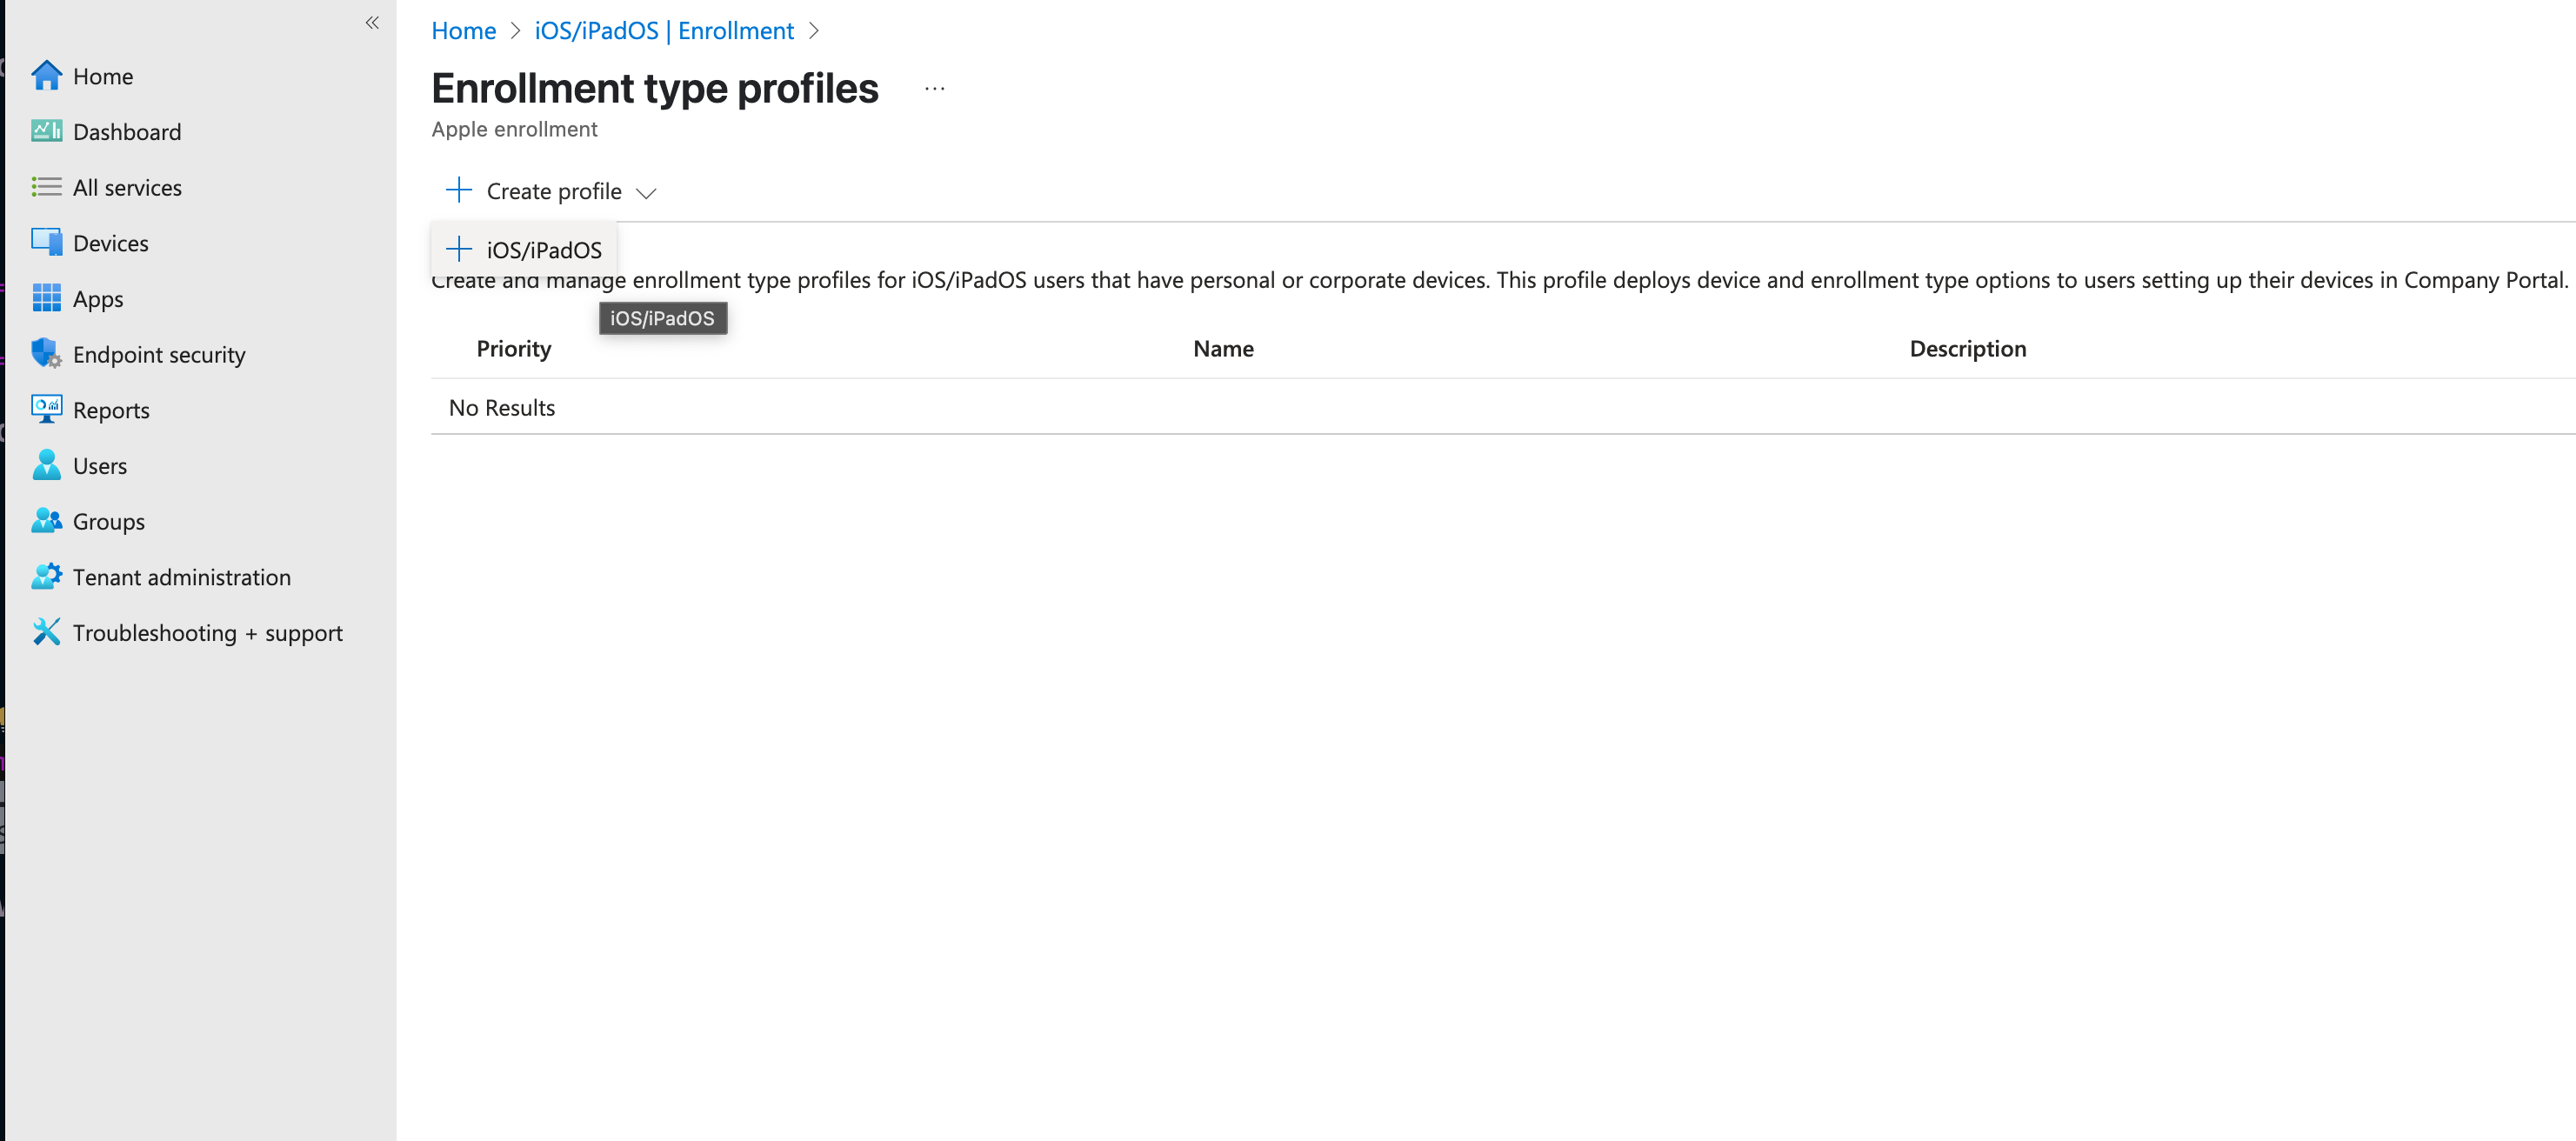
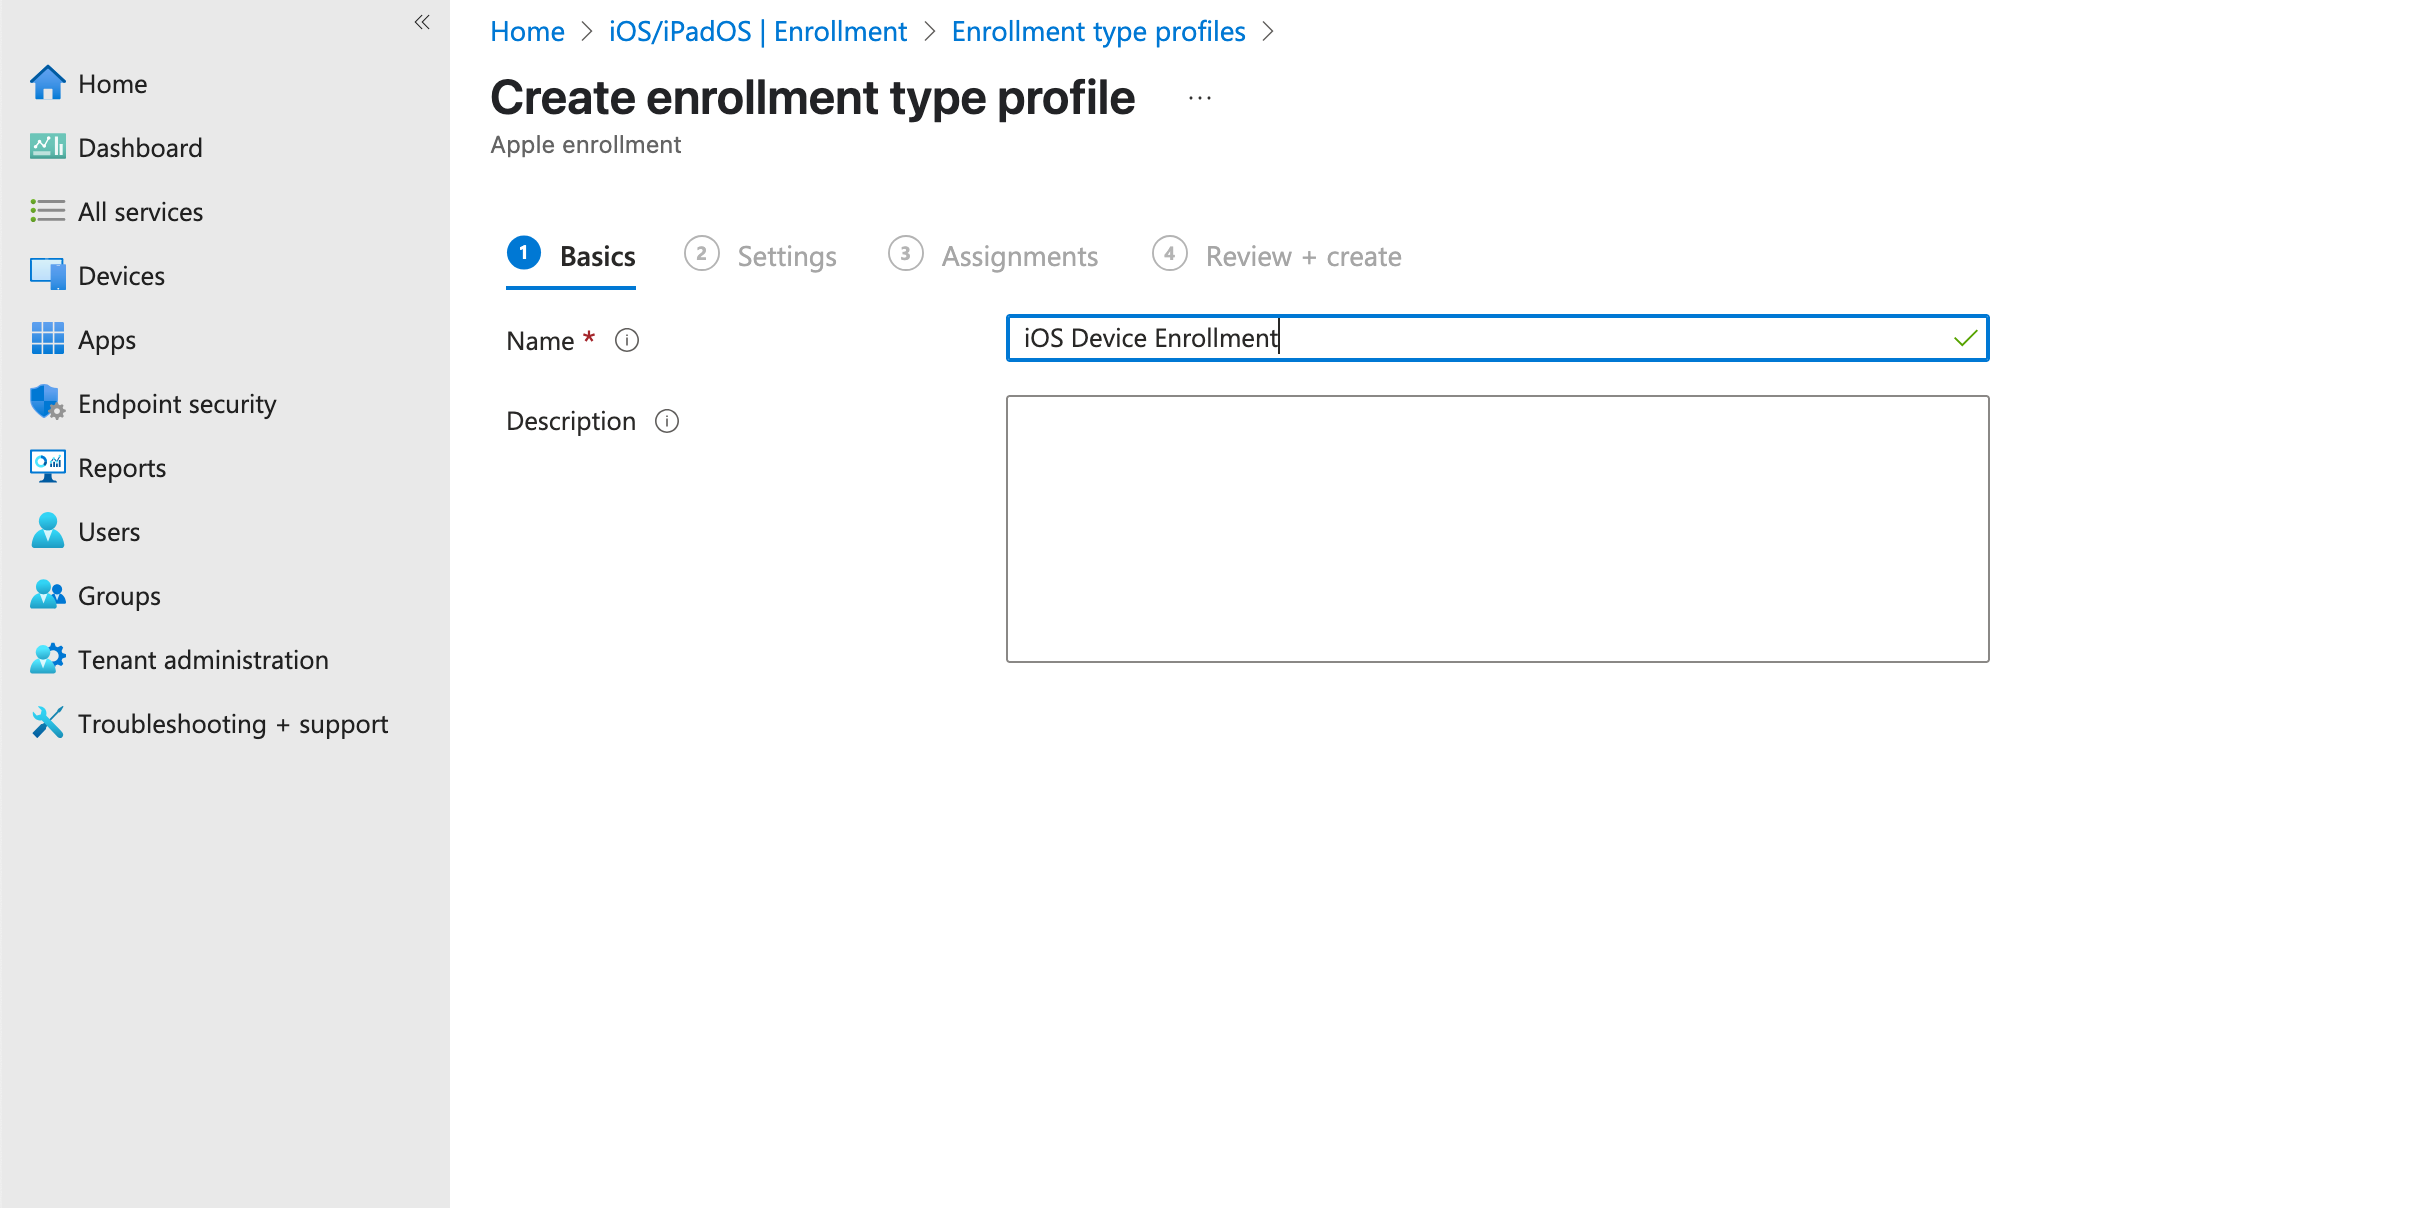
1. Set Up Device Enrollment Profile
Create iOS Enrollment Profile
-
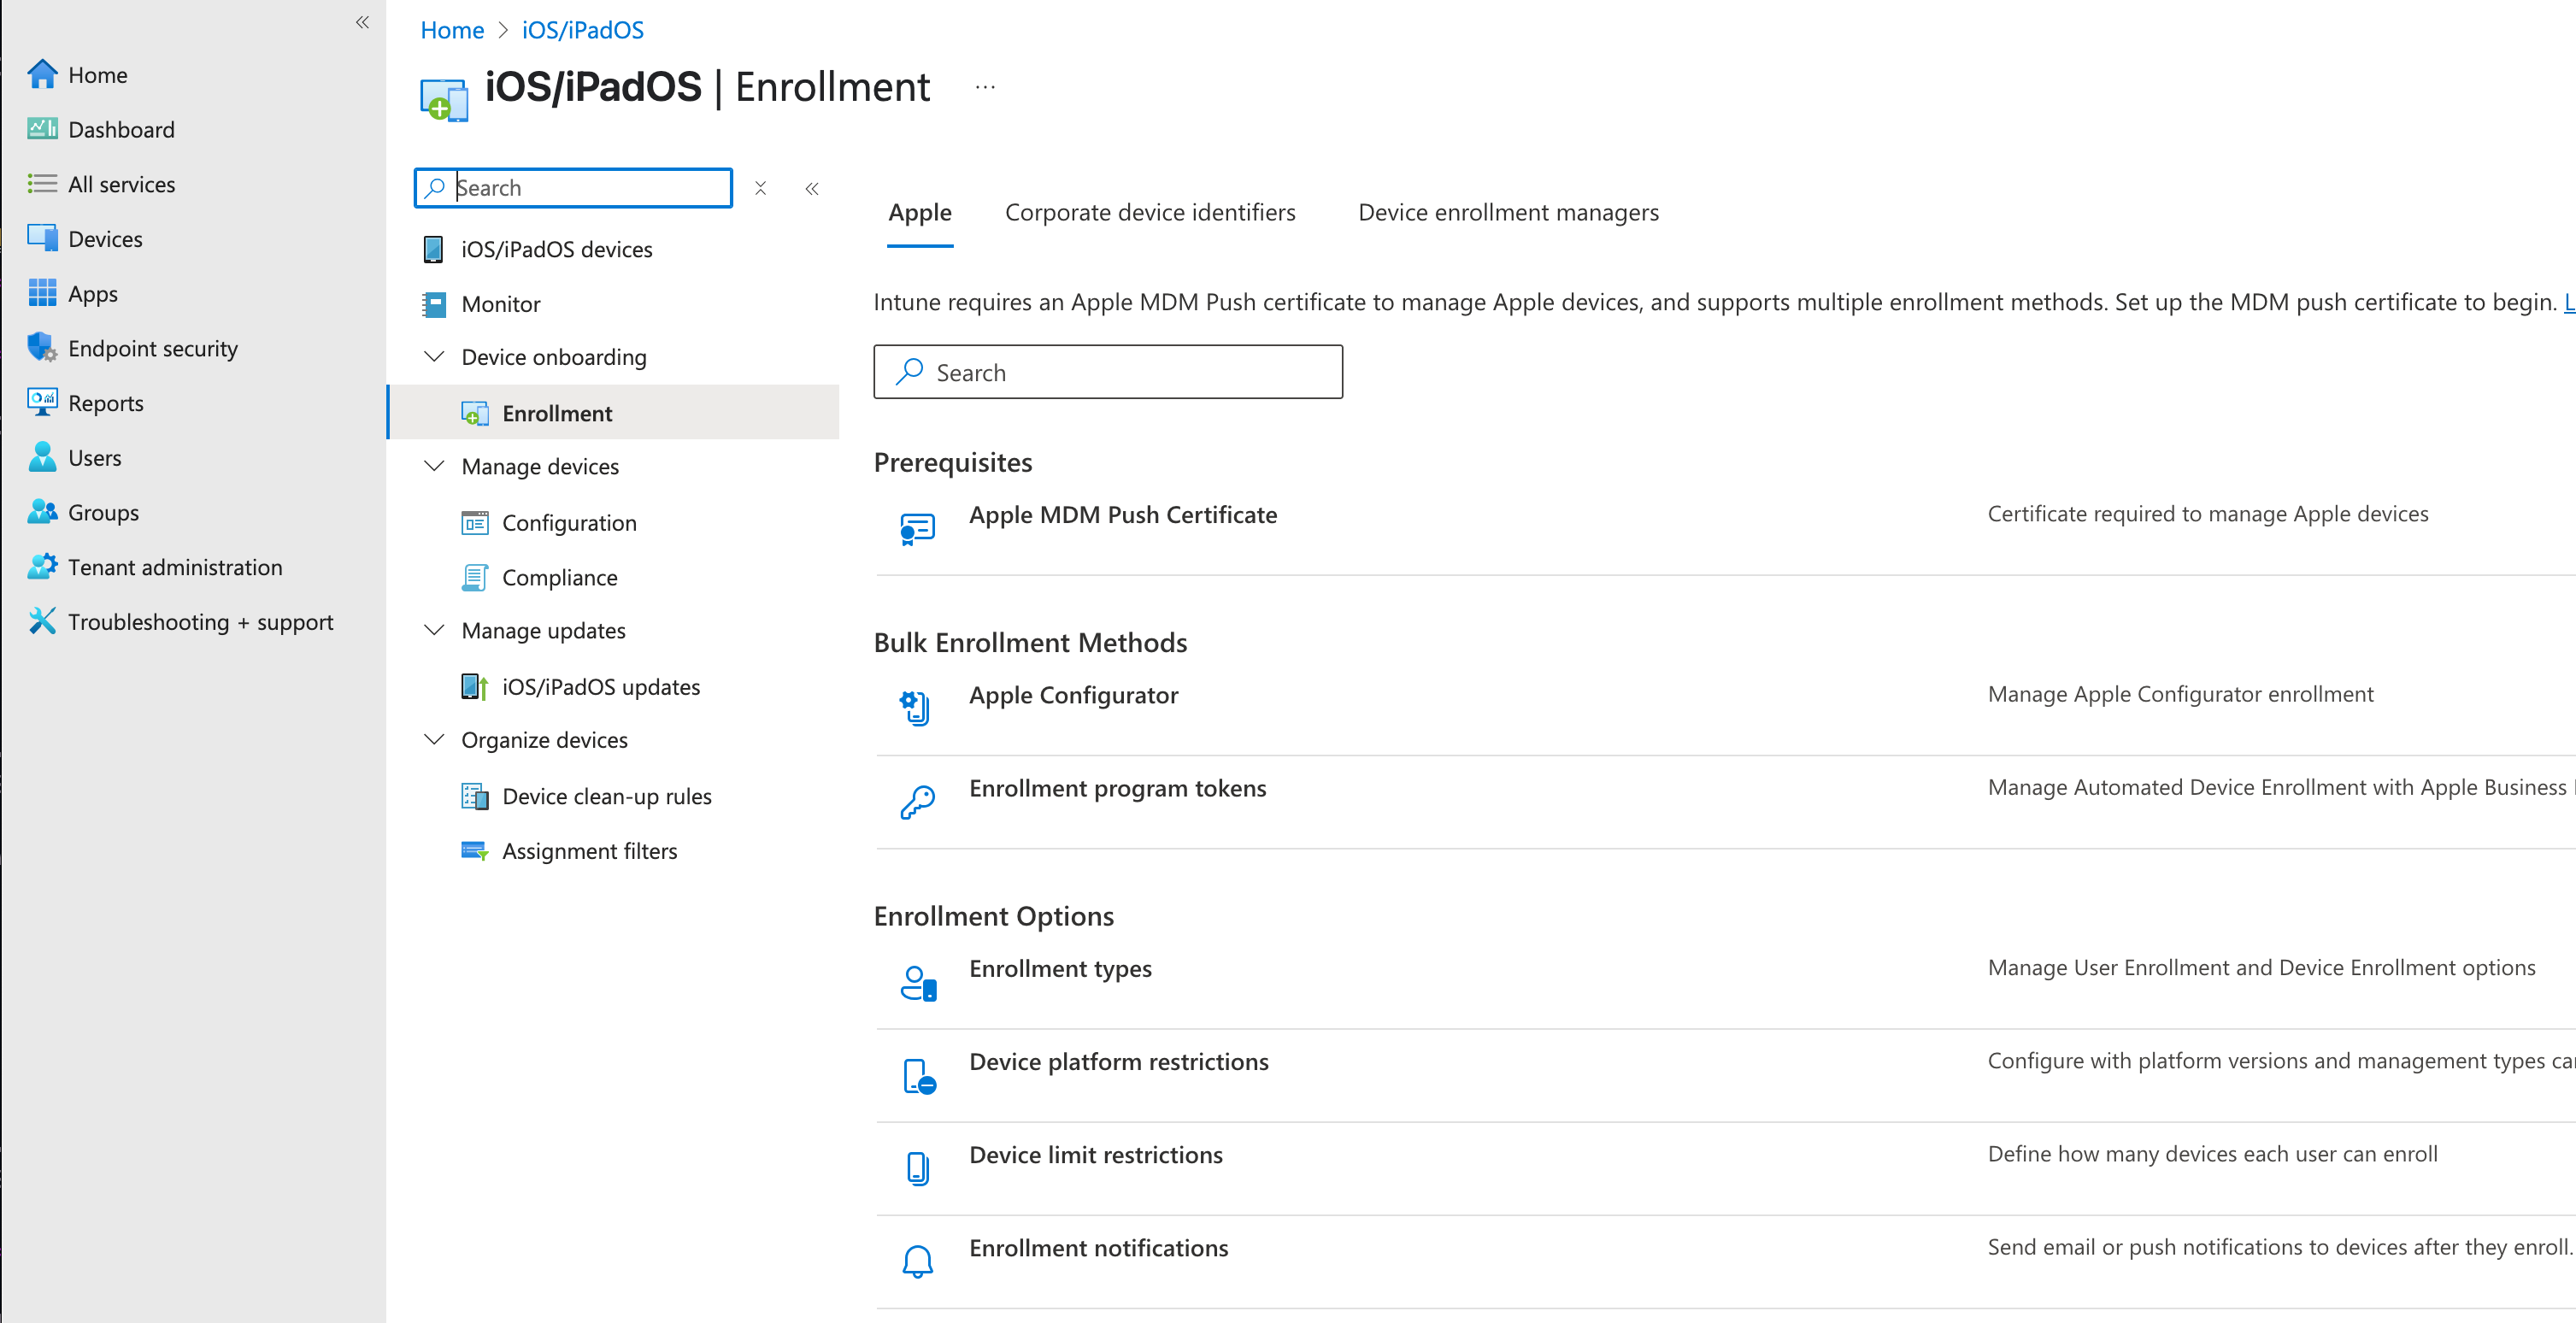
Navigate to Devices > iOS/iPadOS > Enrollment types.
-
Select Create profile.
-
Name: Enter "iOS Device Enrollment" (or similar descriptive name).
-
Profile type: Select "Device enrollment with Company Portal".
-
User affinity: Allow all users.
-
Select Create.
Click to reveal screenshots
Verify Device Platform Restrictions
-
Navigate to Devices > Enrollment restrictions > Device platform restrictions.
-
Select All Users policy.
-
Verify that iOS platform is Allowed.
-
Ensure Personal owned devices are permitted.
-
Confirm no manufacturer restrictions are blocking Apple devices.
Click to reveal screenshot

2. Mobile Device Enrollment Process
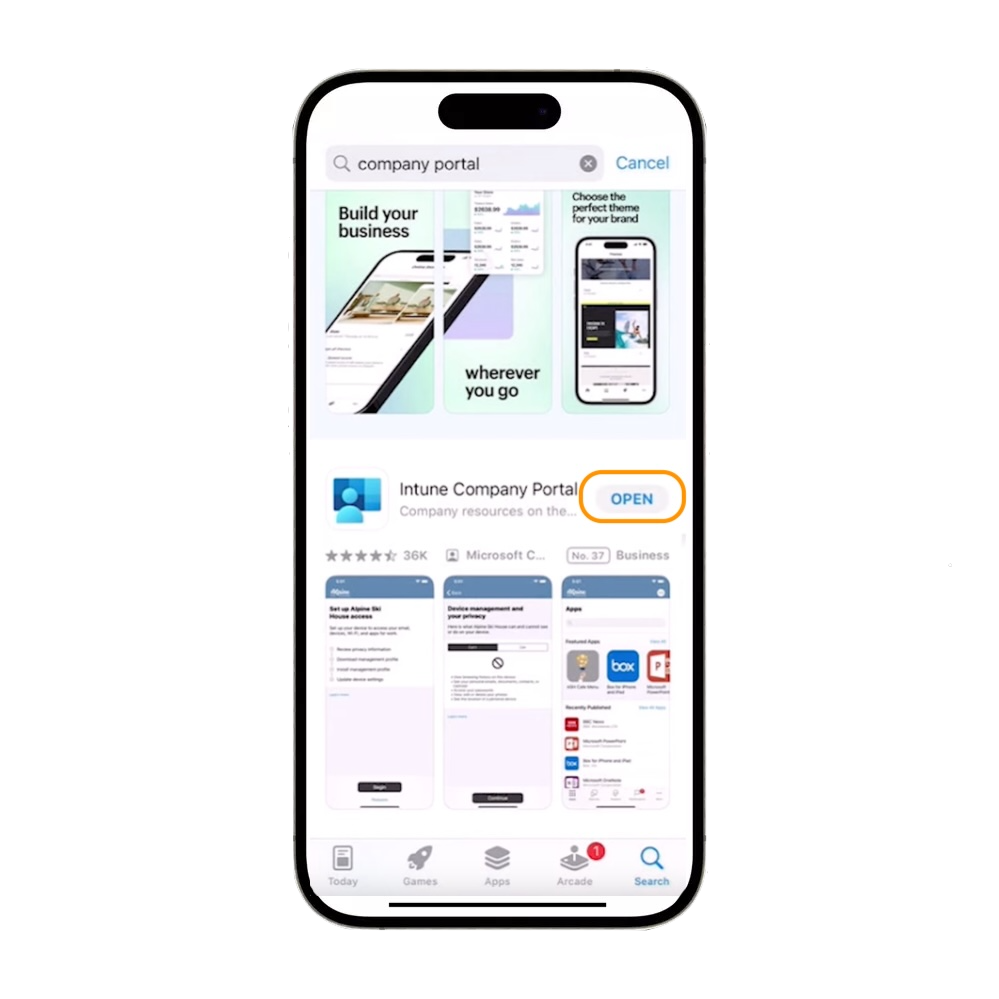
Install Company Portal App
-
On the mobile device, open the App Store.
-
Search for "Company Portal".
-
Download and install the Intune Company Portal app.
Click to reveal screenshot
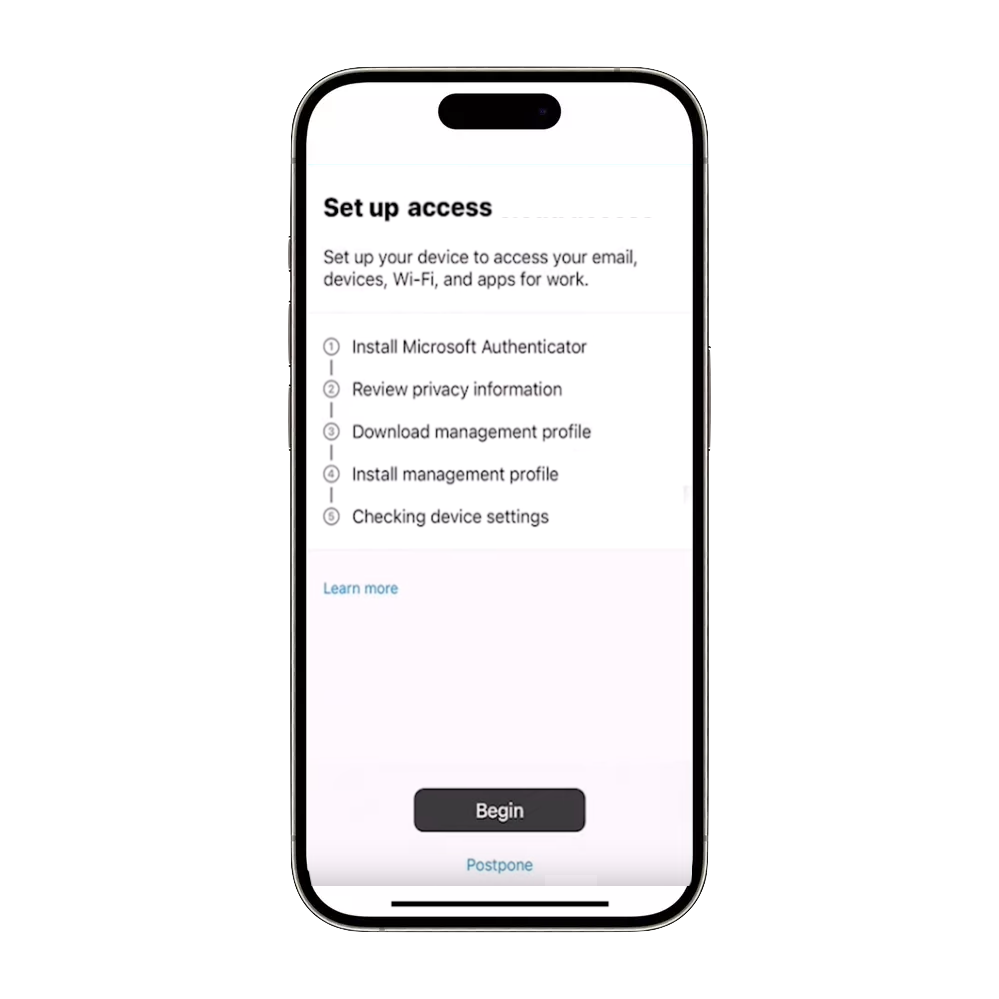
Initial Company Portal Setup
-
Open Company Portal app.
-
Sign in with organizational credentials (UPN format: user@example.com).
-
Follow the privacy and permissions prompts.
-
Select Begin to start the enrollment process.
Click to reveal screenshot
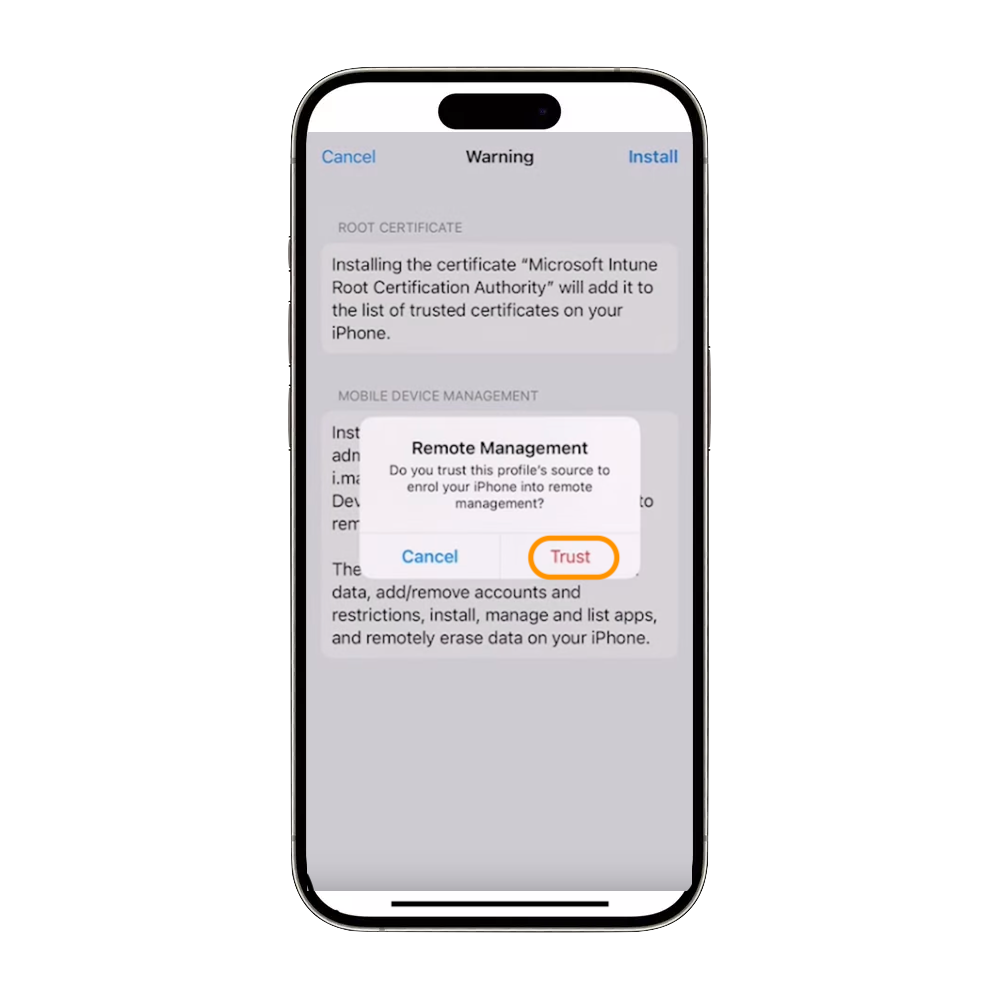
Install Management Profile
-
When prompted, go to device Settings > General > VPN & Device Management.
-
Select the management profile for your organization.
-
Tap Install and enter device passcode when prompted.
-
Confirm installation by tapping Install again.
-
Select Trust to complete the profile installation.
Click to reveal screenshot
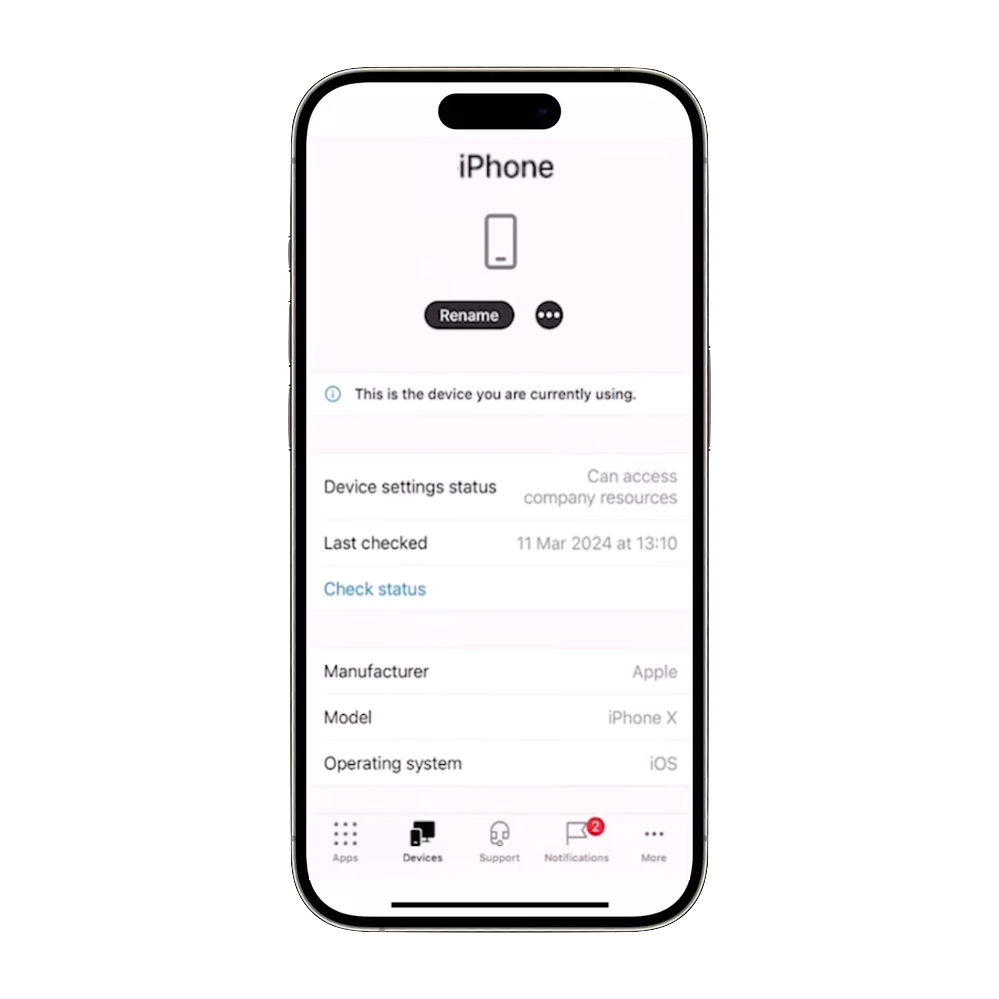
Complete Enrollment
-
Return to Company Portal app.
-
Tap Check Status to verify successful enrollment.
-
Device should now appear as compliant and managed.
Click to reveal screenshot
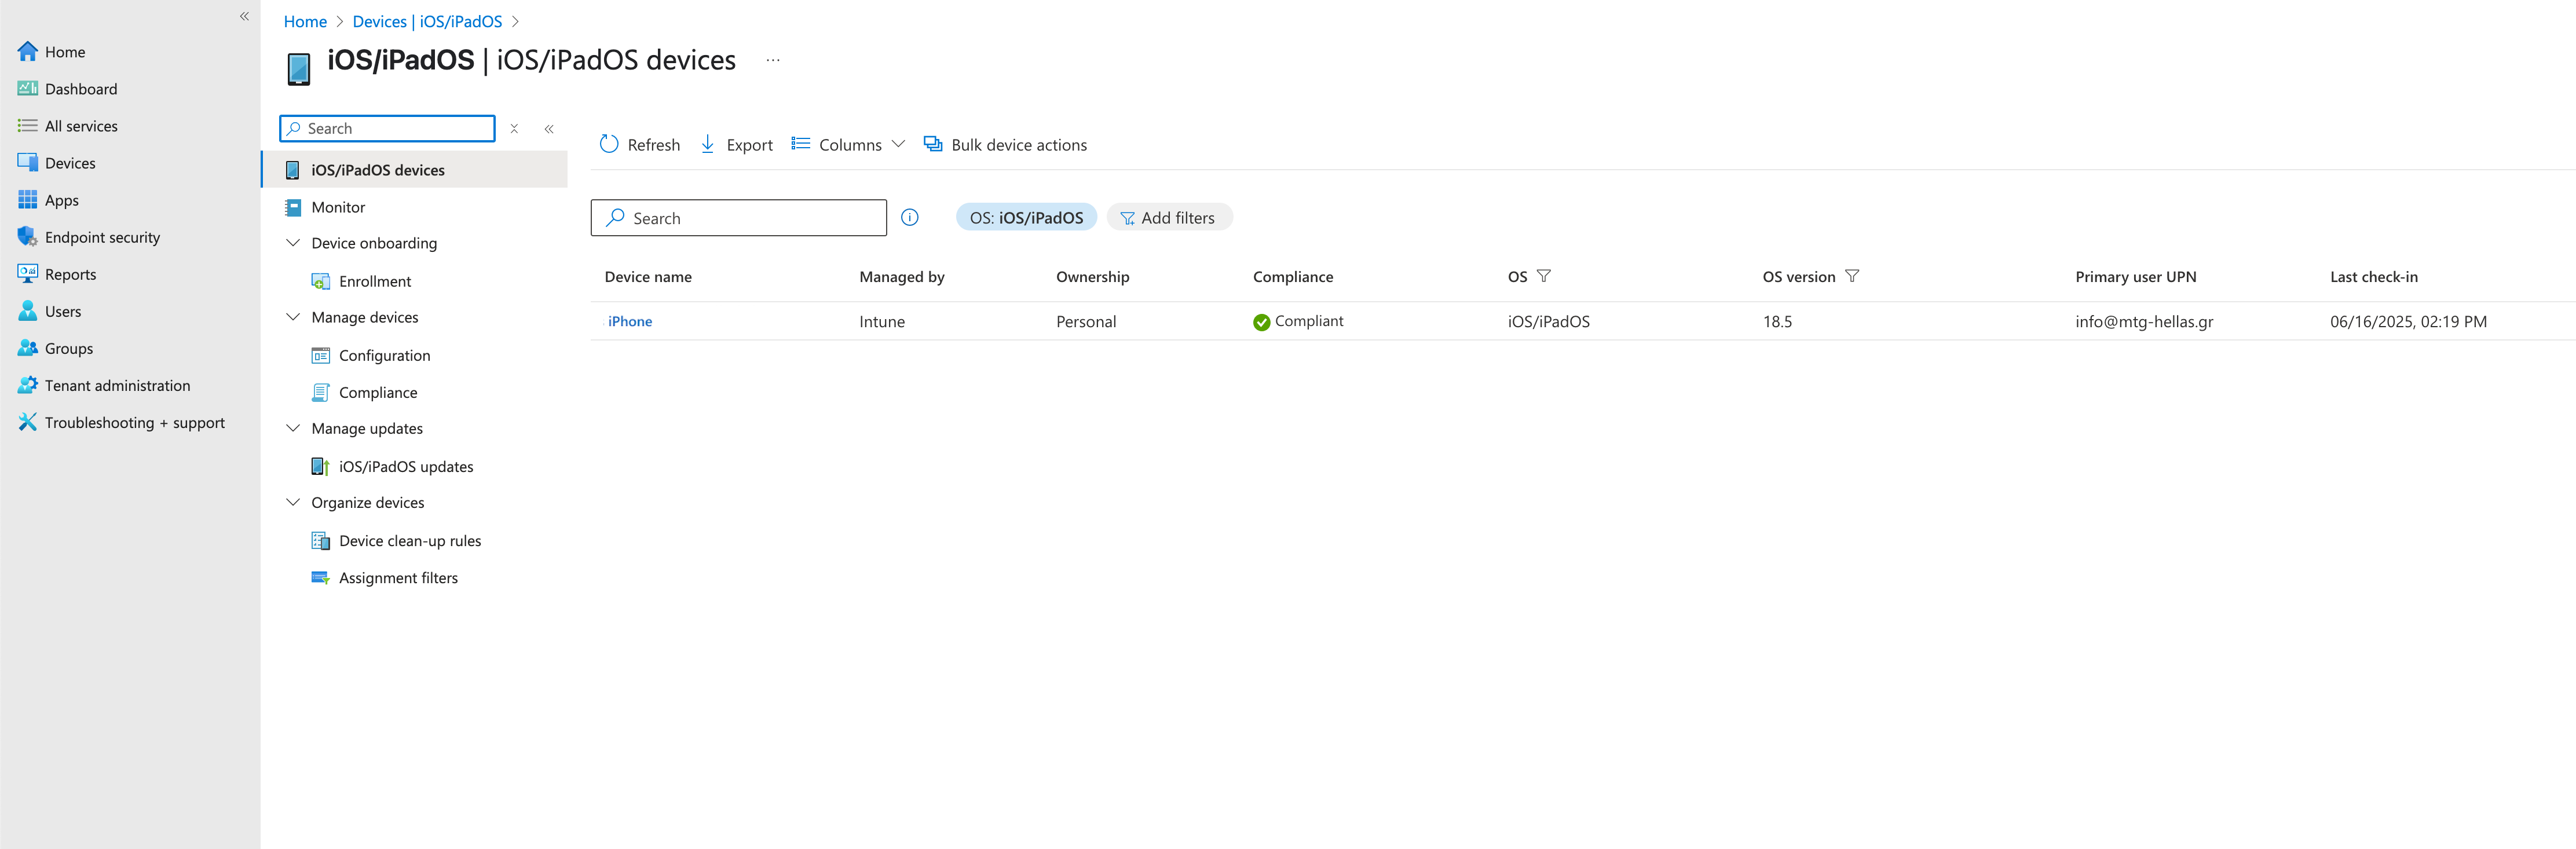
3. Verify Device Enrollment in Intune
Check Device Registration
-
In Microsoft Endpoint Manager admin center, navigate to Devices > iOS/iPadOS > iOS/iPadOS devices.
-
Verify your enrolled device appears in the list.
-
Note: Device details (OS version, storage) may take several minutes to populate.
Click to reveal screenshot
Validate Certificate Deployment
-
Select the enrolled device from the device list.
-
Check certificate deployment status under device details.
-
Verify both trusted root certificate and SCEP certificate profiles are successfully installed.
| Personal device enrollment (BYOD) provides limited management capabilities compared to corporate-owned devices. For enhanced control, consider Apple Business Manager integration for corporate device enrollment. |